Fireplace Renovations
Call or text us at (314)-313-1495
We Take Pride In Our Work
what we can do
- Prospective Changes to Your Fireplace Include:
- Change the color of your brick or stone
- Add an overmantel
- Swap out a traditional mantel for a beam mantel
- Make old wood look new or make new wood look aged, without it looking decrepit
- Clean off soot
- Make green marble look like some other kind of marble
- Change the color of bright brass doors
- Make a brick hearth look like a single hearthstone
- Make your fireplace more your style; Contemporary, Traditional, Rustic, Refined, Coastal . . . Whatever!
What Can be Done with an Unattractive Fireplace?
Plenty!
These days we have at our disposal tremendous products that can be used to modify the appearance of all kinds of surfaces, including most of the surfaces typically found on fireplaces. Couple those products with some creativity and your fireplace can receive a whole new aura.
Explore this site, surface by surface to come up with a solid plan for your unit. For each different surface, you’ll see a variety of options for modification. For inspiration, you might try exploring the Gallery page of the Color Craftsmen website. “The Color Craftsmen” is the name of a company that performs fireplace makeovers for customers, most of whom are in the St. Louis, Missouri vicinity. However, on this Fireplace Renovations site, you can learn about the kind of changes you’d like to make to your fireplace, with or without help from any contracting company.
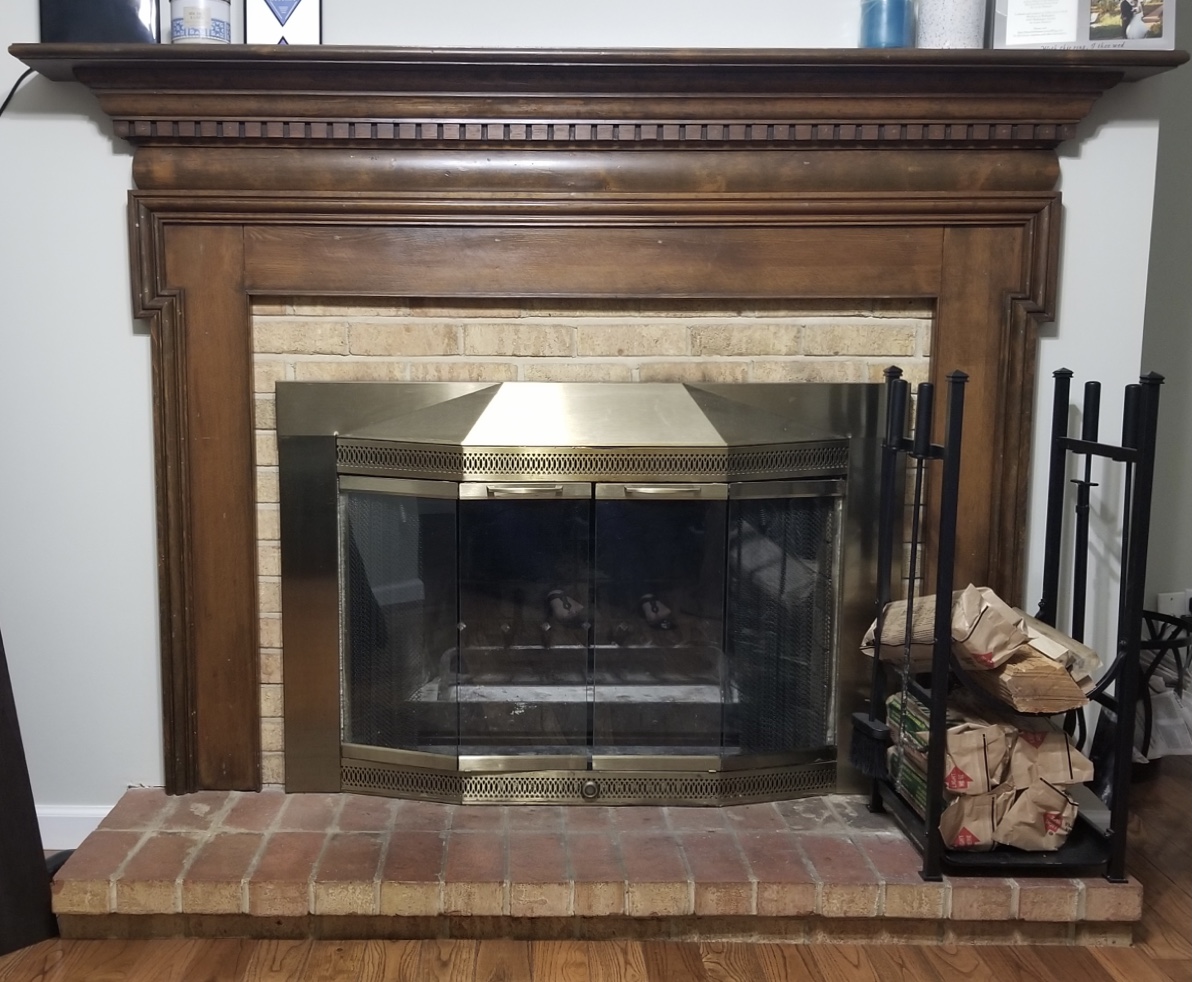
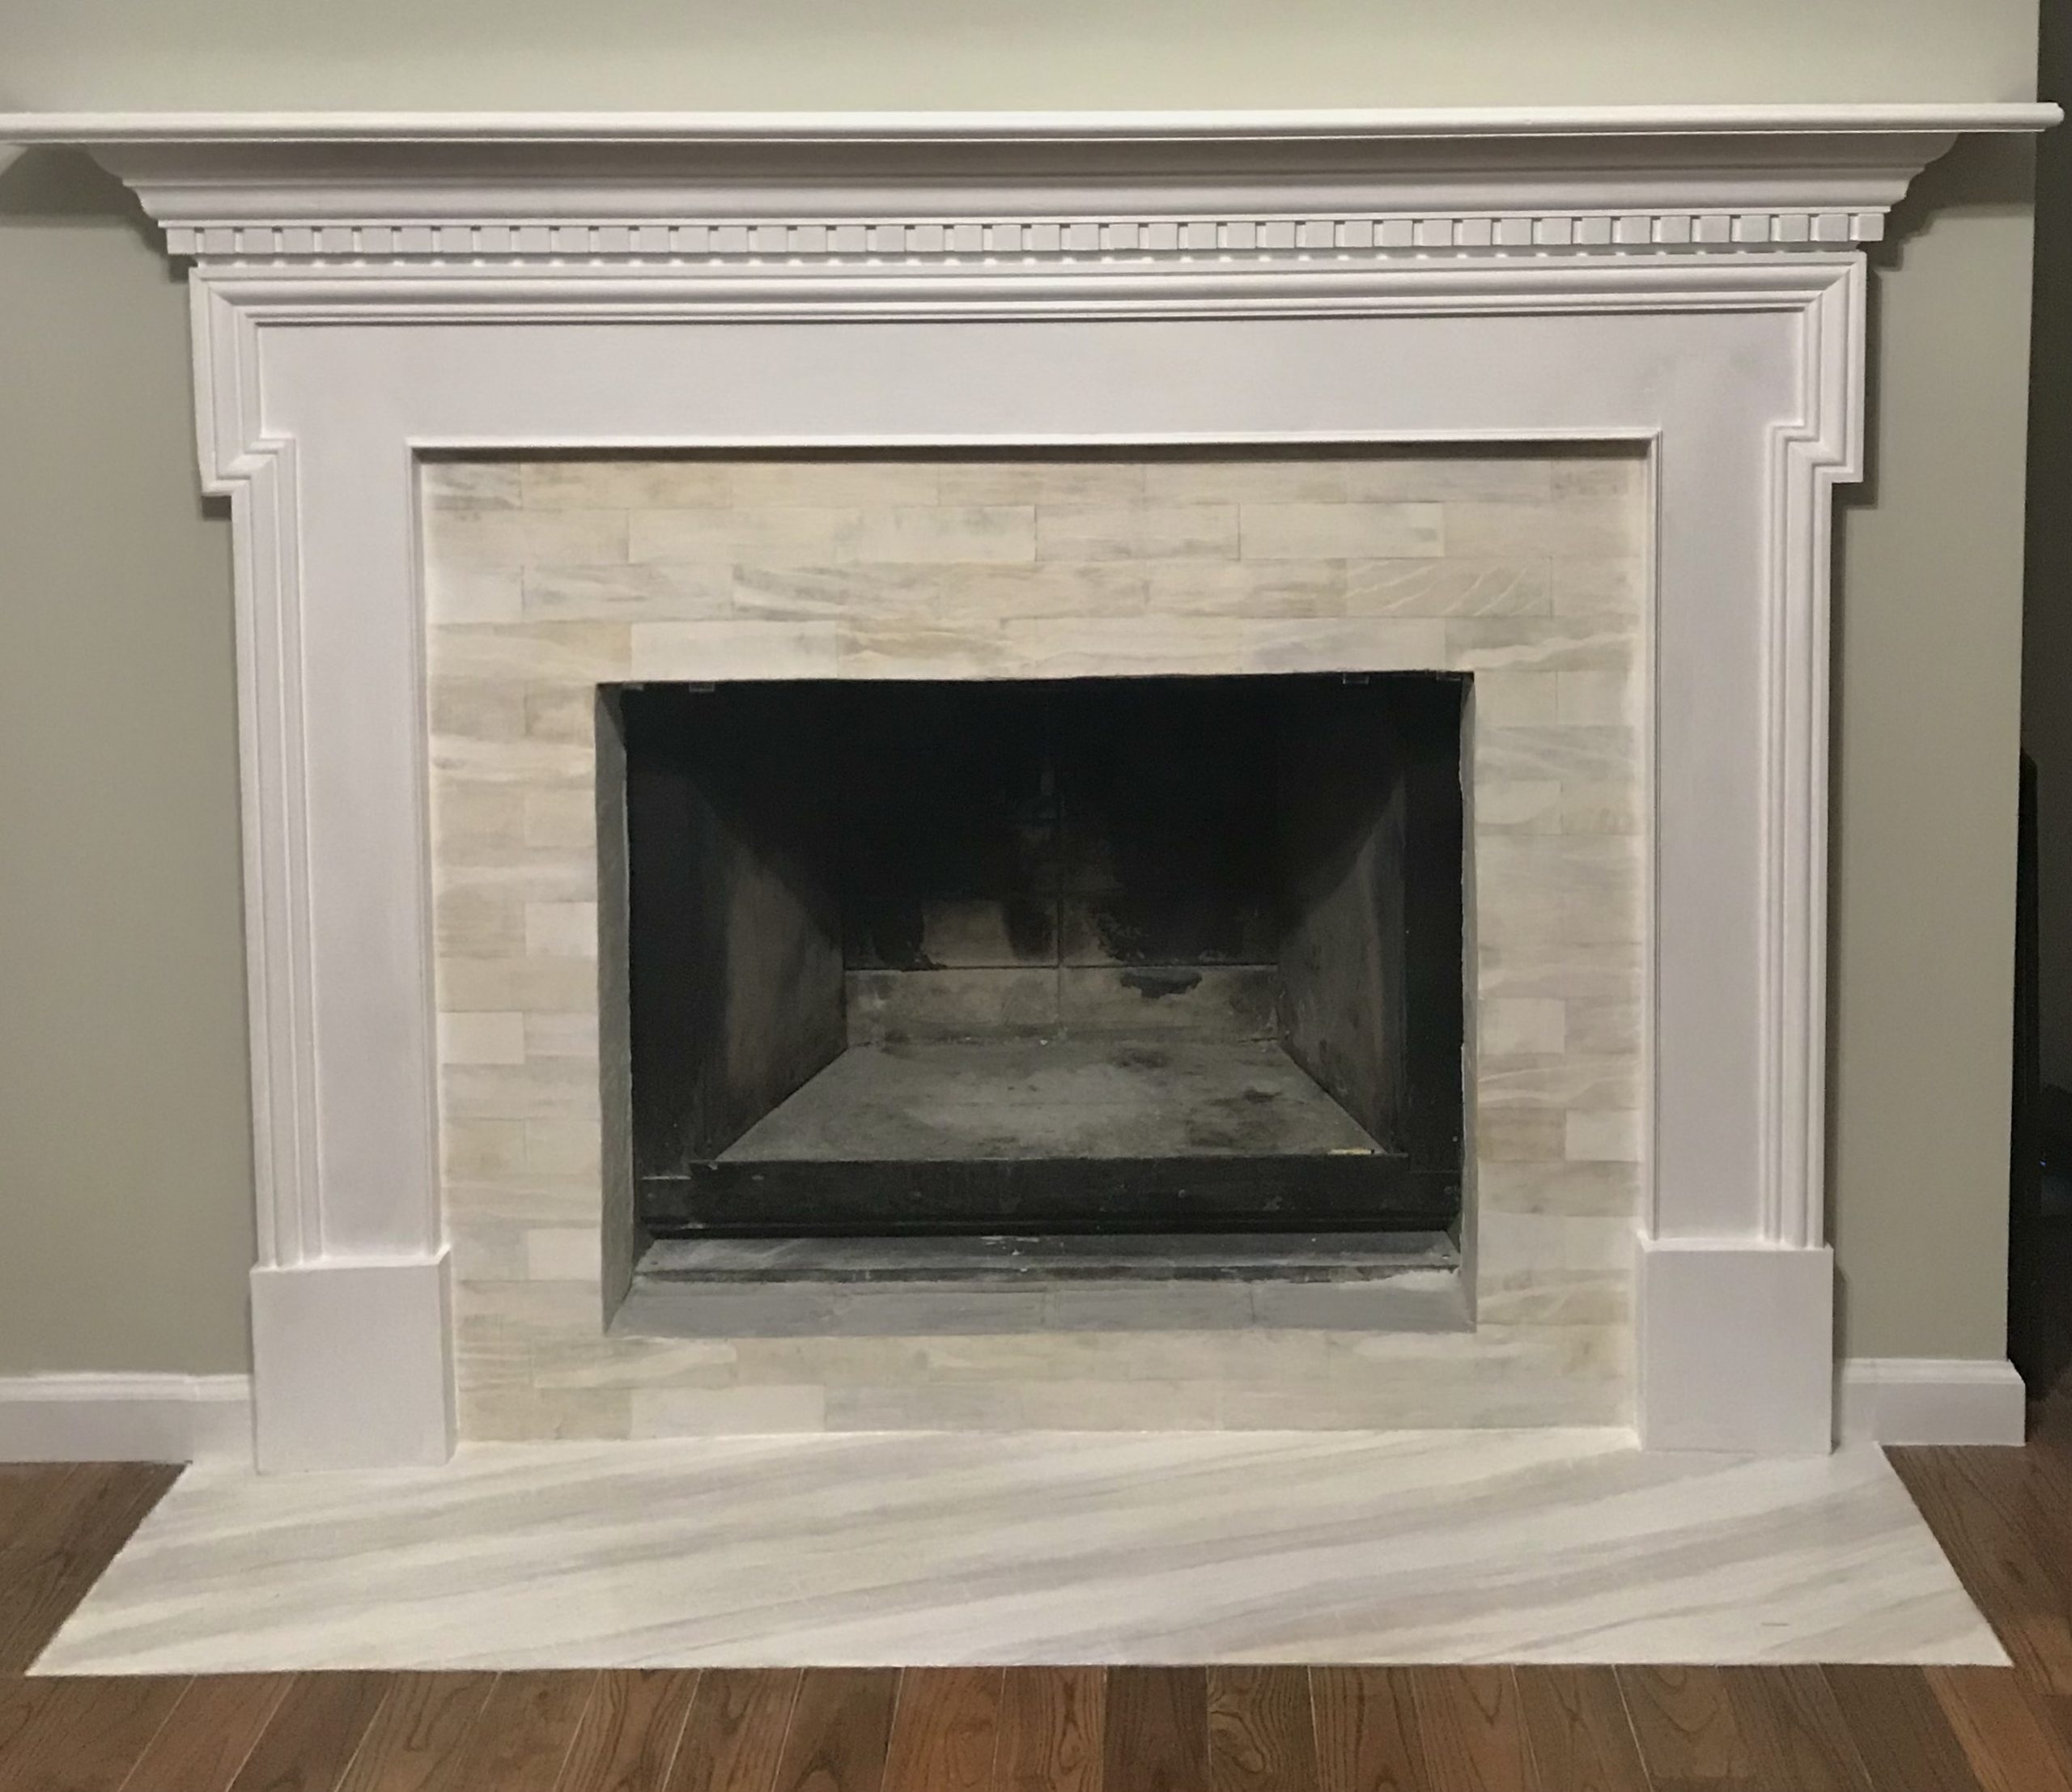
before & after
our previous transformations
Changing the look of your fireplace is a live prospect. Take a look at what has been done with other fireplaces and come up with a plan for a new look for your unit.
Engineering your dreams with us
What can be done with Brick?
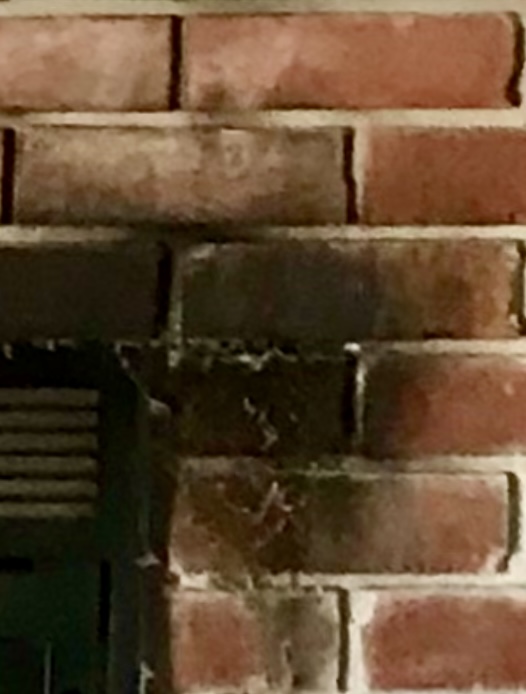
Cleaning
Clean your brick with a non-sudsing cleaner. Often some soot will remain. If it does, consider staining the affected bricks in their original color to achieve a clean look. Also, use a second stain; one that matches the color of clean mortar.
Color Change
Another option would be to change the color of your brick. There are several ways to do that with stain, paint or Limewash.
Staining & Painting:
Whether you use stain or paint as a first coat, your objective is to apply a base color. You might or might not choose to add more layers. Consider varying the color of individual bricks. Use either a dry-brush technique or a thin wash of color to vary the look of each brick.
Limewash
There are many different ways to do a lime wash. You might put it on and rub it off; leave some areas unpainted or even thin your limewash for a unique look. Any color is feasible except very dark ones.
Mulling Bricks
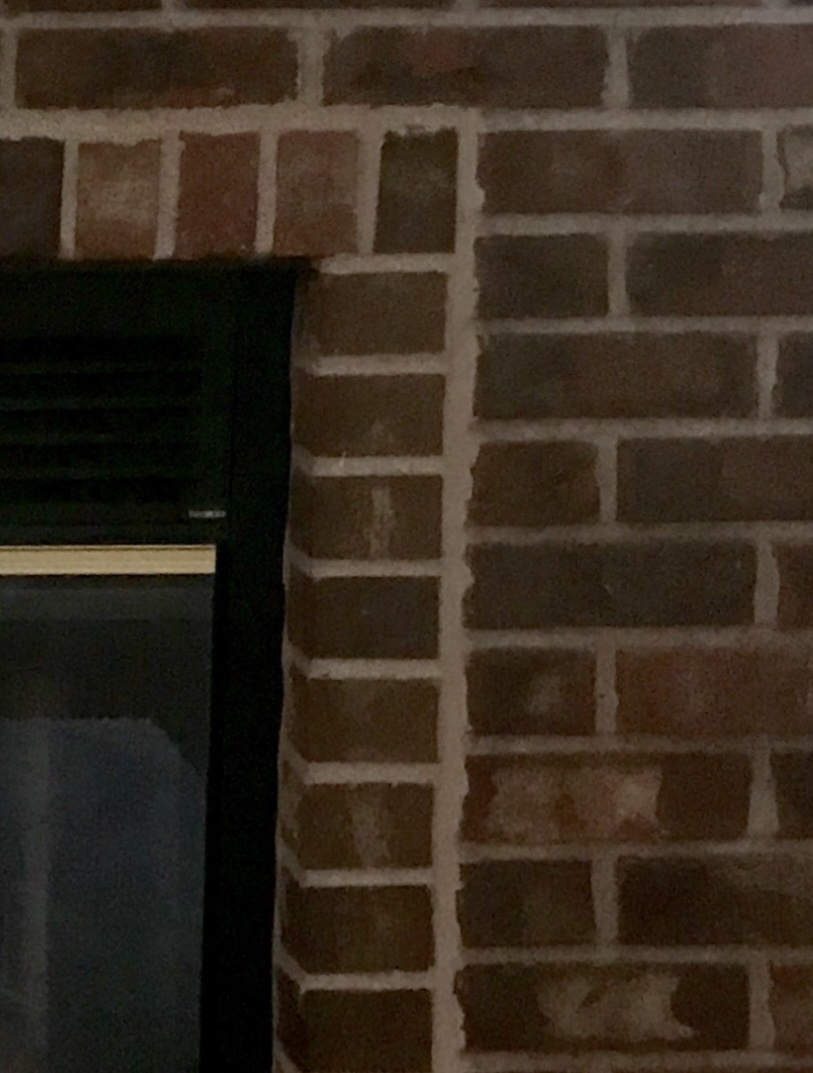
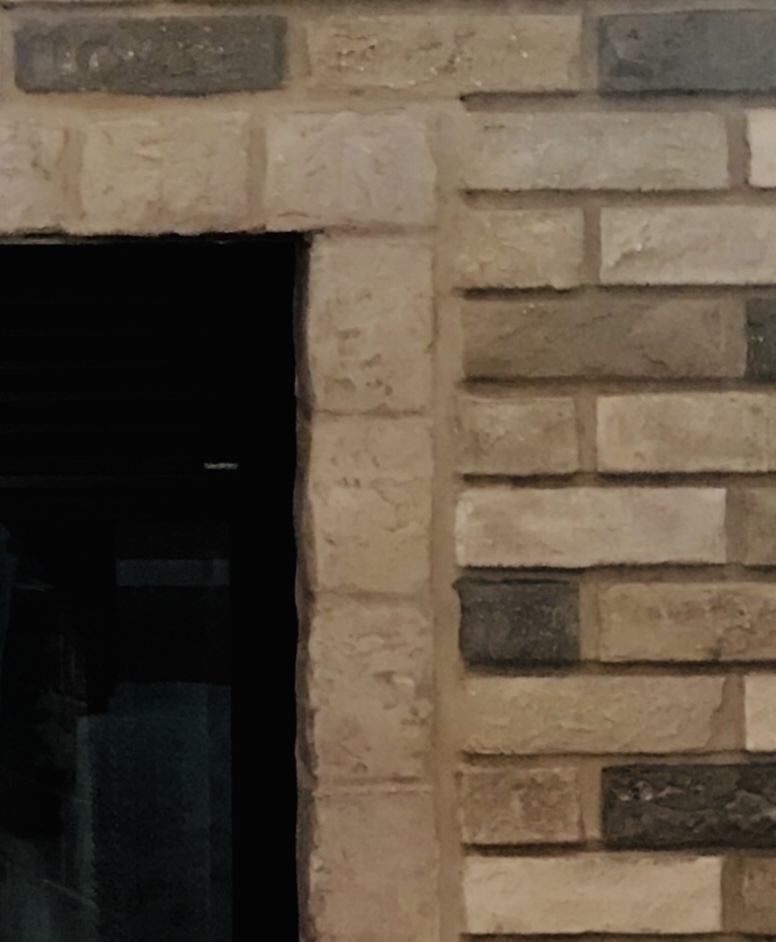
Mull bricks together with a sand-free engineered cement and then paint to look like stone.
Smooth Over
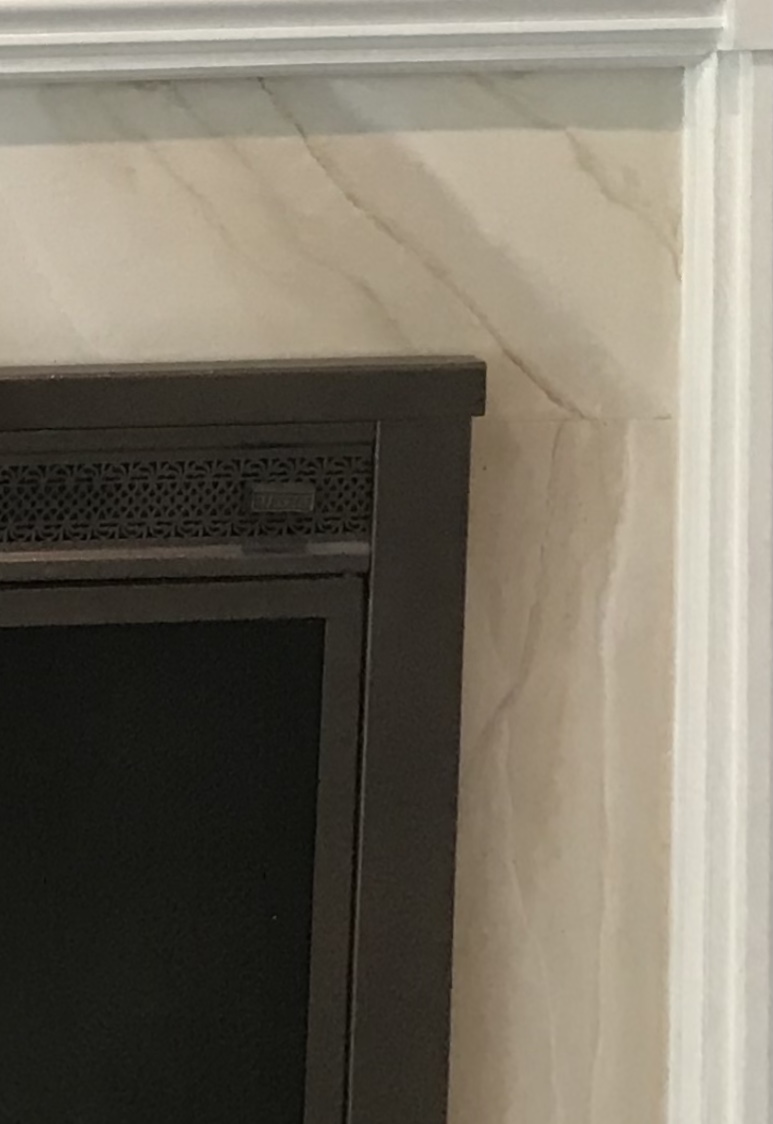
Smooth over brick, then paint or apply decorative plaster.
Covering Brick
Stone Tile & Veneer:
Stone Tile and Stone Veneer are two options for covering brick. Shop for either at big box stores like Menards or Lowe’s. For greater selection, try a tile shop for stone tile or a purveyor of stone veneer.
brick cleaning
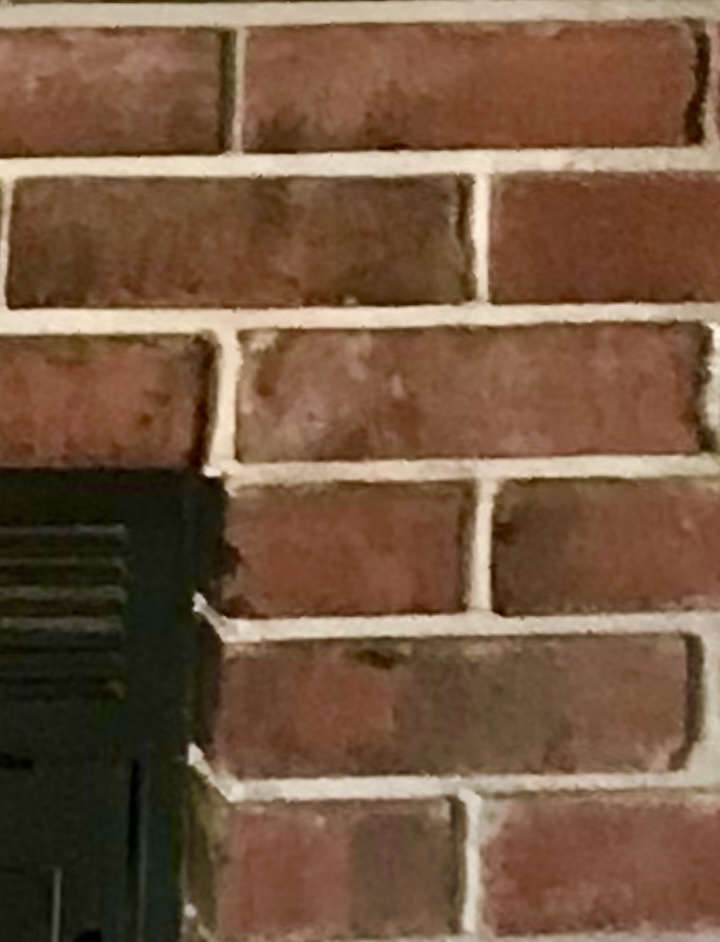
Color Change
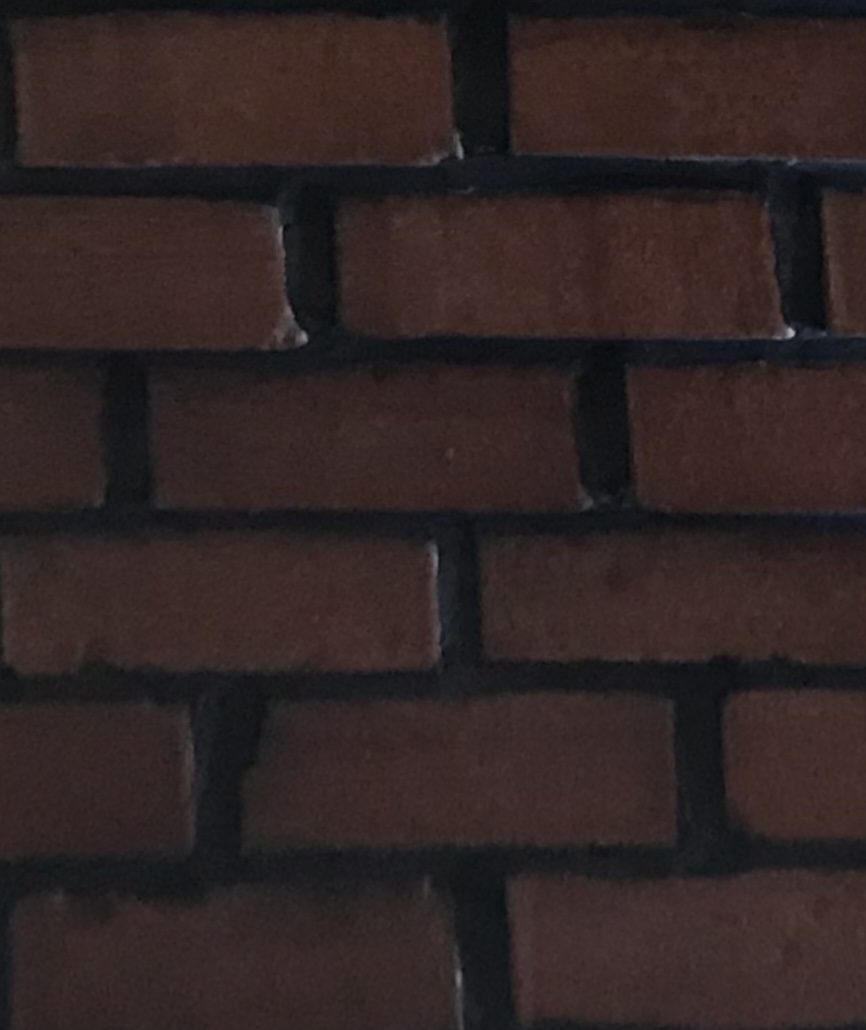
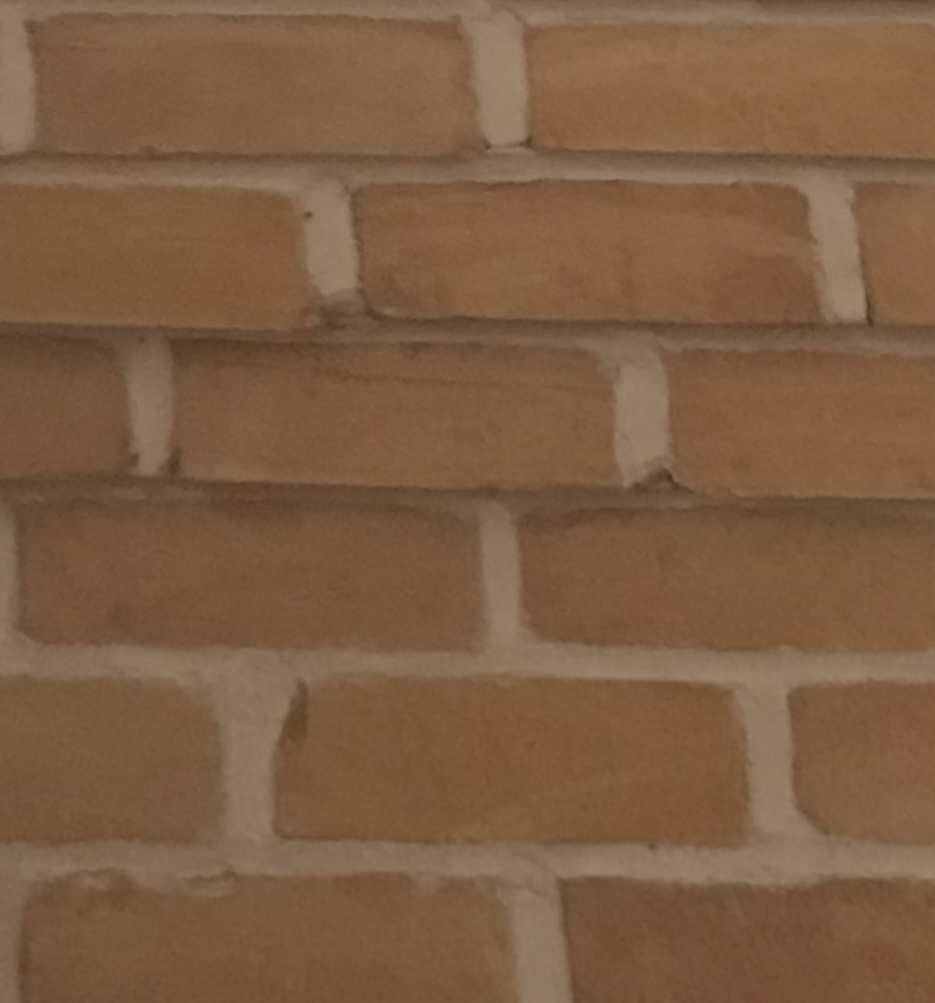
Limewash


Mulling Bricks
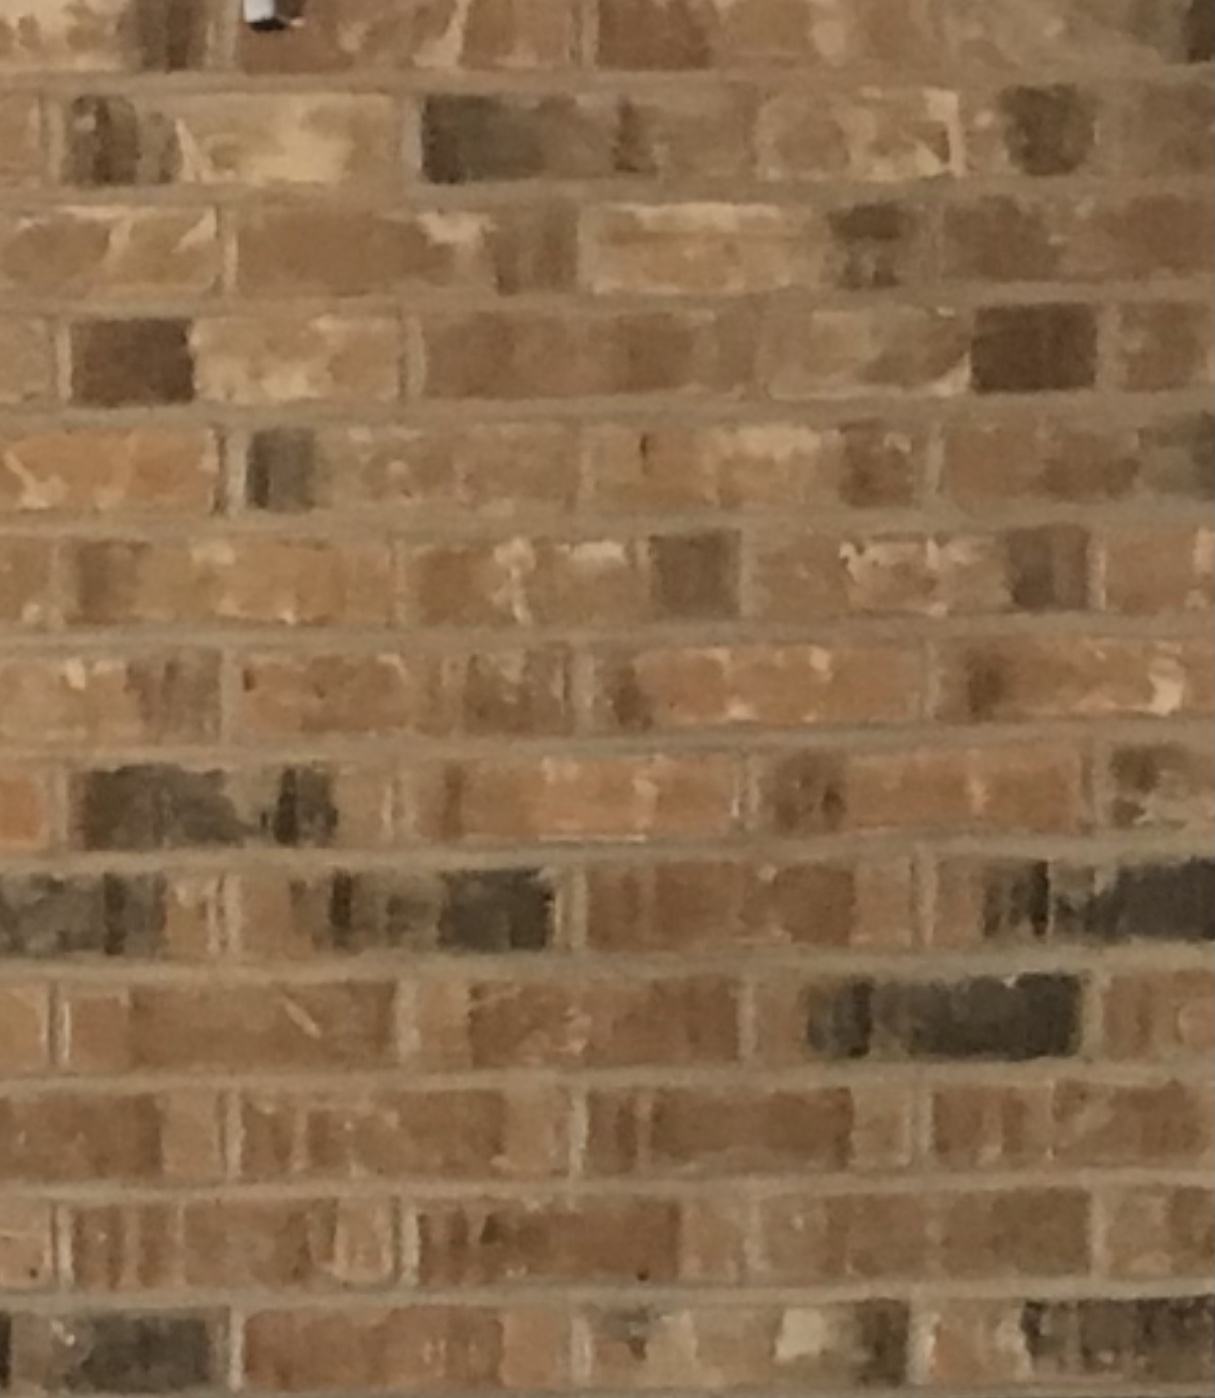
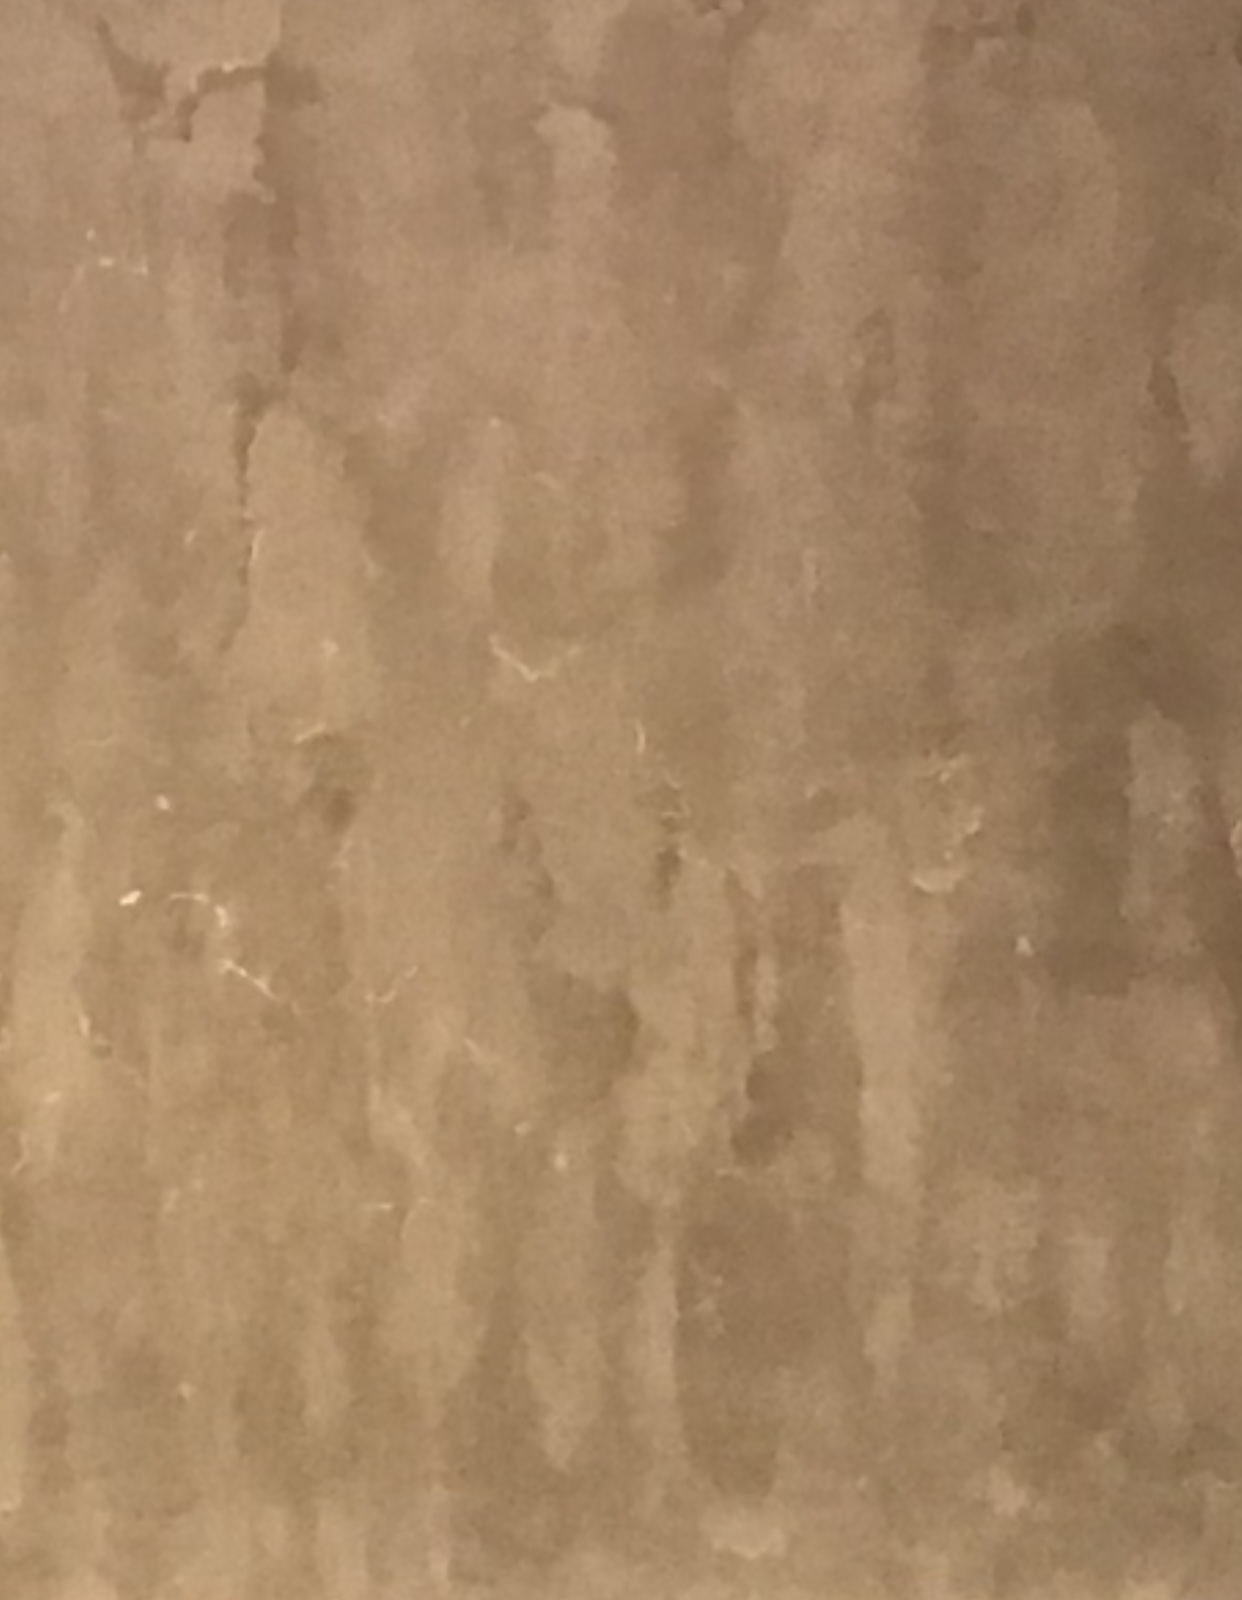
Smooth Over
Brick smoothed over and painted to resemble marble.
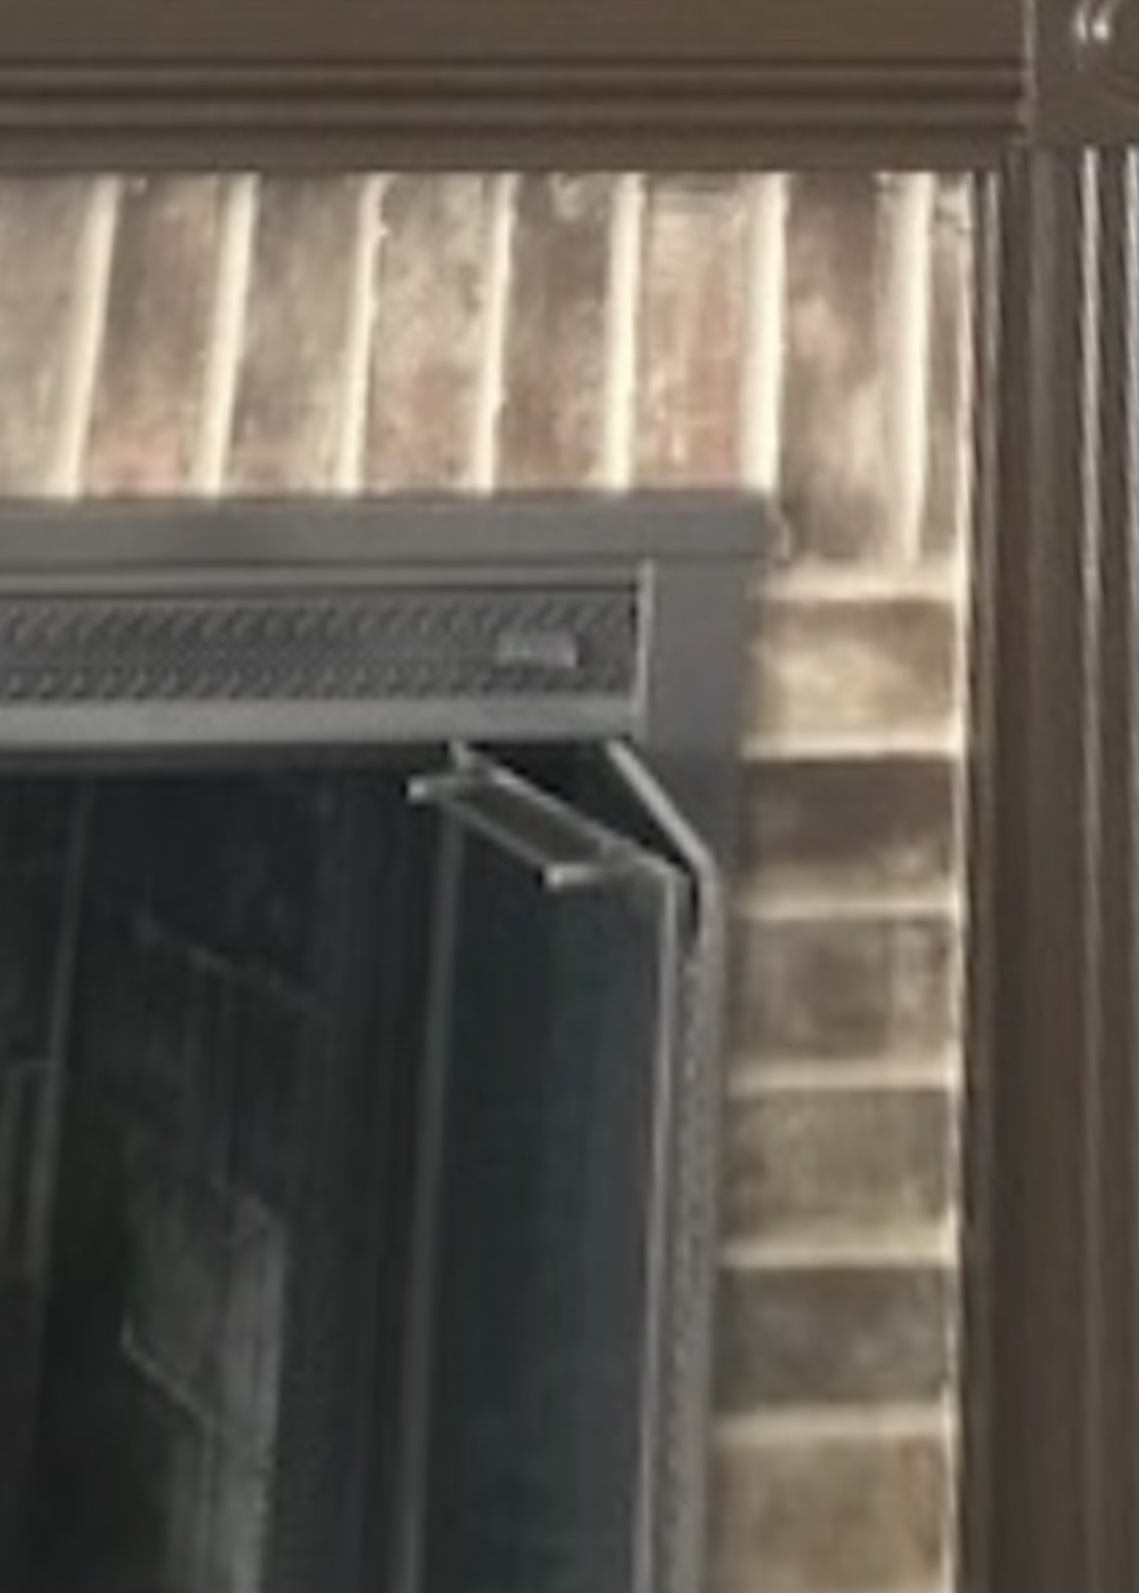
In this case, smoothed and covered with a decorative plaster.
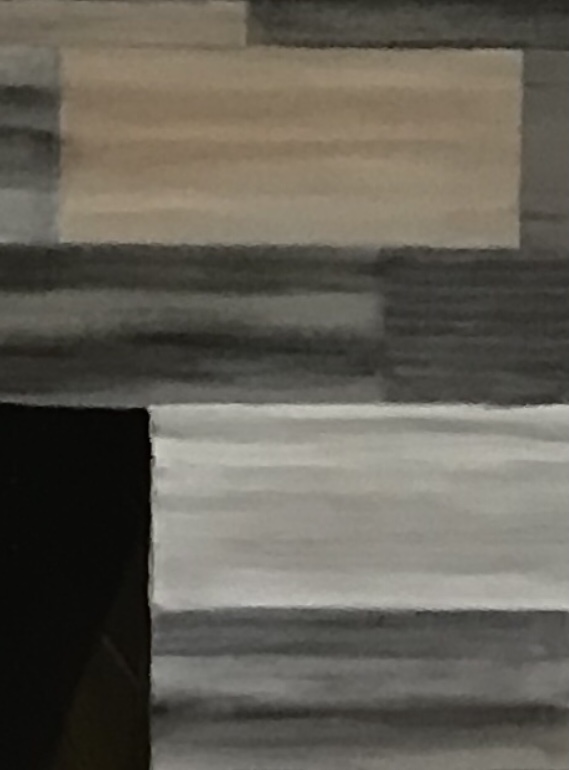
In this case smoothed and painted to resemble tiles.
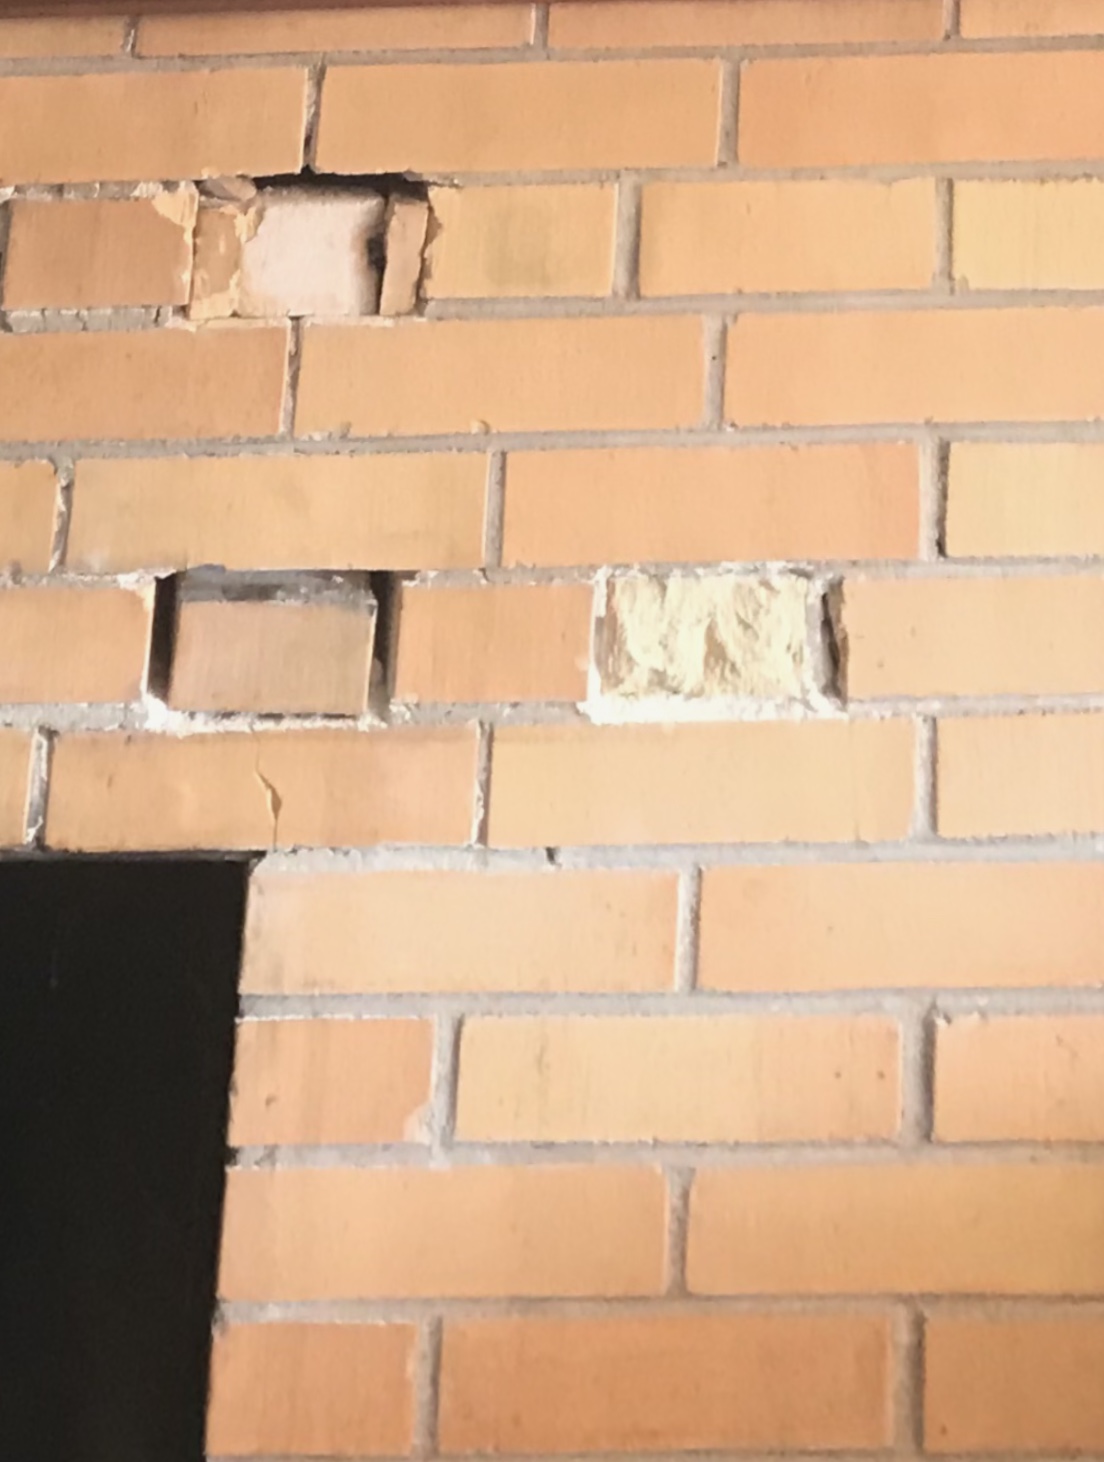
stone tile
Stone Veneer
quality is our main priority
What can be done with Stone?
Cleaning
If your stone has accumulated soot, try removing it with a non-sudsing cleaner. Usually, some soot remains. You could try thinning some paint down to make it a stain. It’ll be mostly water.
It should be the same color as the clean stone. Judiciously apply it over the soot to hide the soot. (You may need a few colors for the stones. Often they’re not a single color. Also, the mortar may need its own distinct color.)
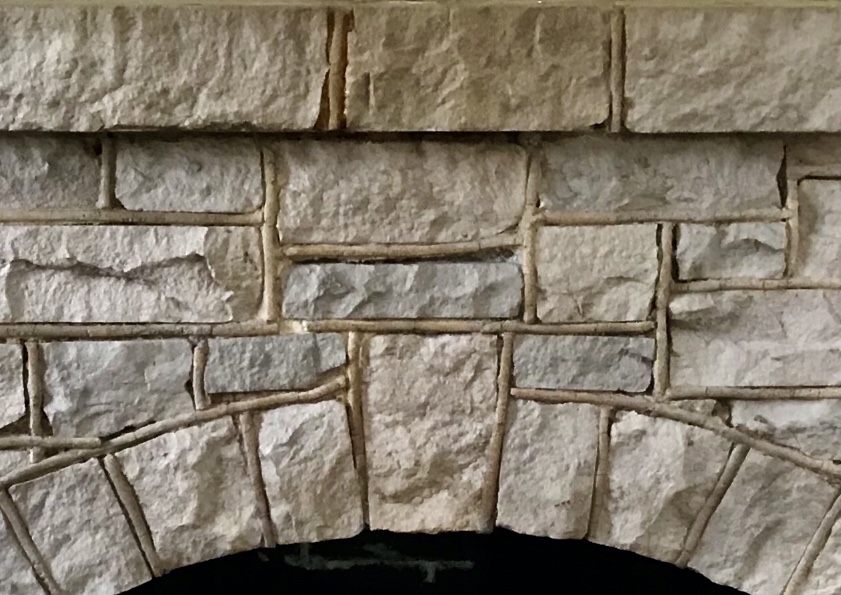
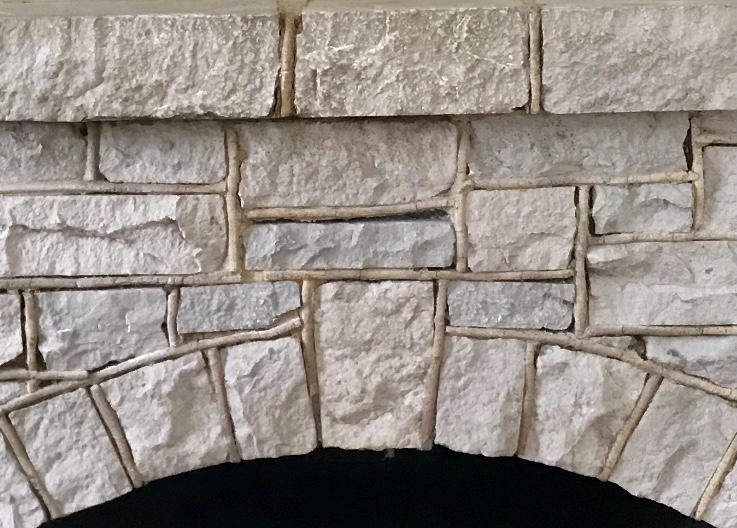
Color Change:
It’s feasible to change the color of stone. Thin paints in your choice of new colors. (Be careful not to choose colors that wouldn’t be found in nature.)
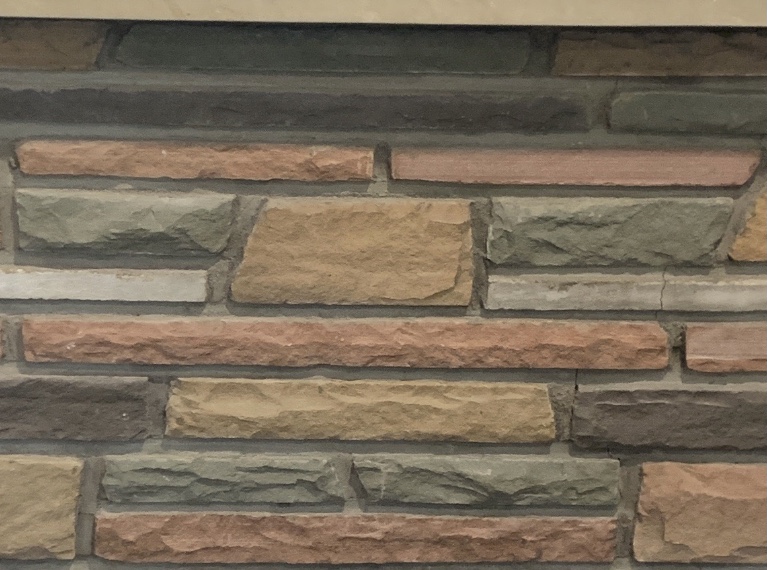
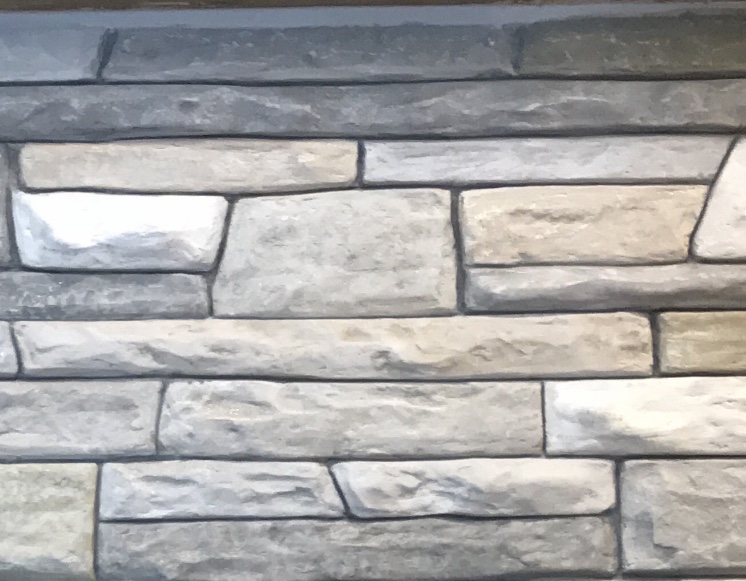
After the paint dries it’s helpful to apply one or more washes to stones (paints thinned to the consistency of water.) it’s good to use wash colors that lean towards cool tones as well as others that lean towards warm tones. Plan to use a round brush to recolor mortar lines.
Stone Repair
Stone can be repaired, modified or covered. I recommend a non-sanded engineered cement for repairs. Without sand it can be readily sanded smooth once it’s dry.
It’s possible to modify a stone fireplace by filling voids or adding more bulk where needed. Imagine a fireplace made of volcanic rock. All of those pinholes could be filled with a non-sanded engineered cement to create smoother stone.
stone cleaning
Color Change


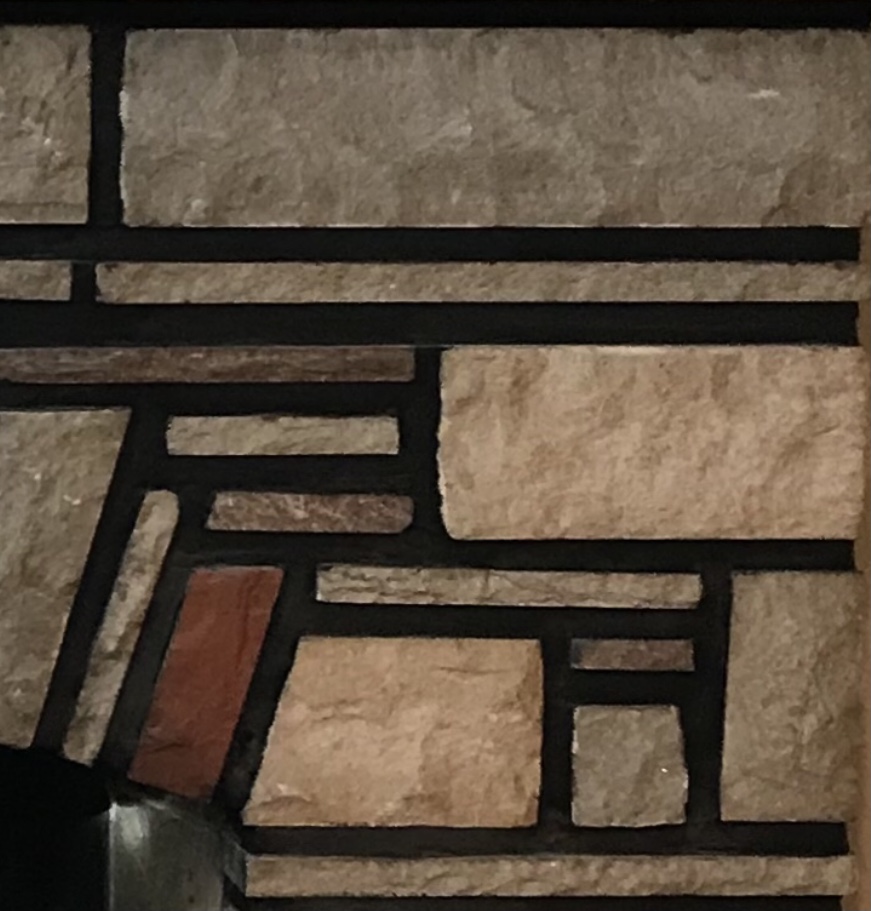
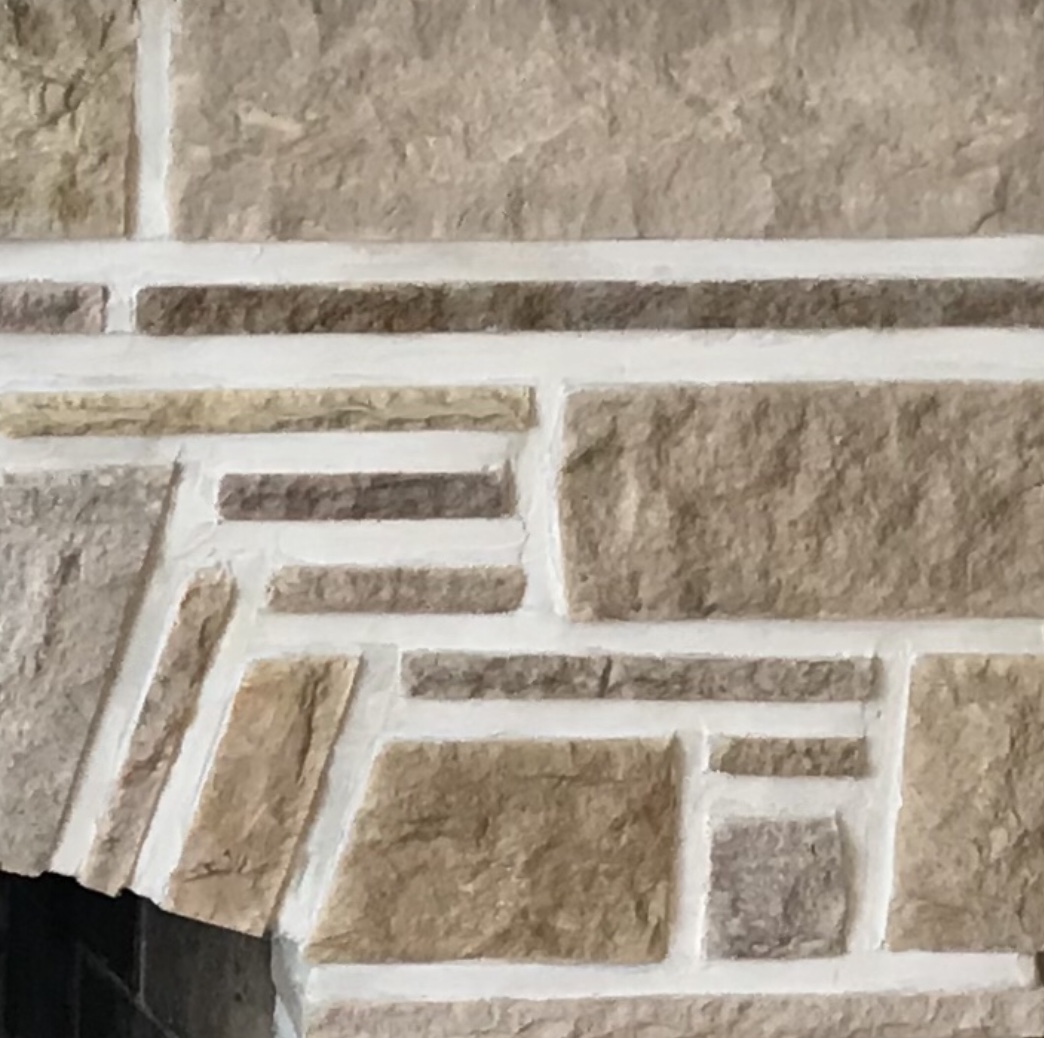



Mortar Joints
stone repair
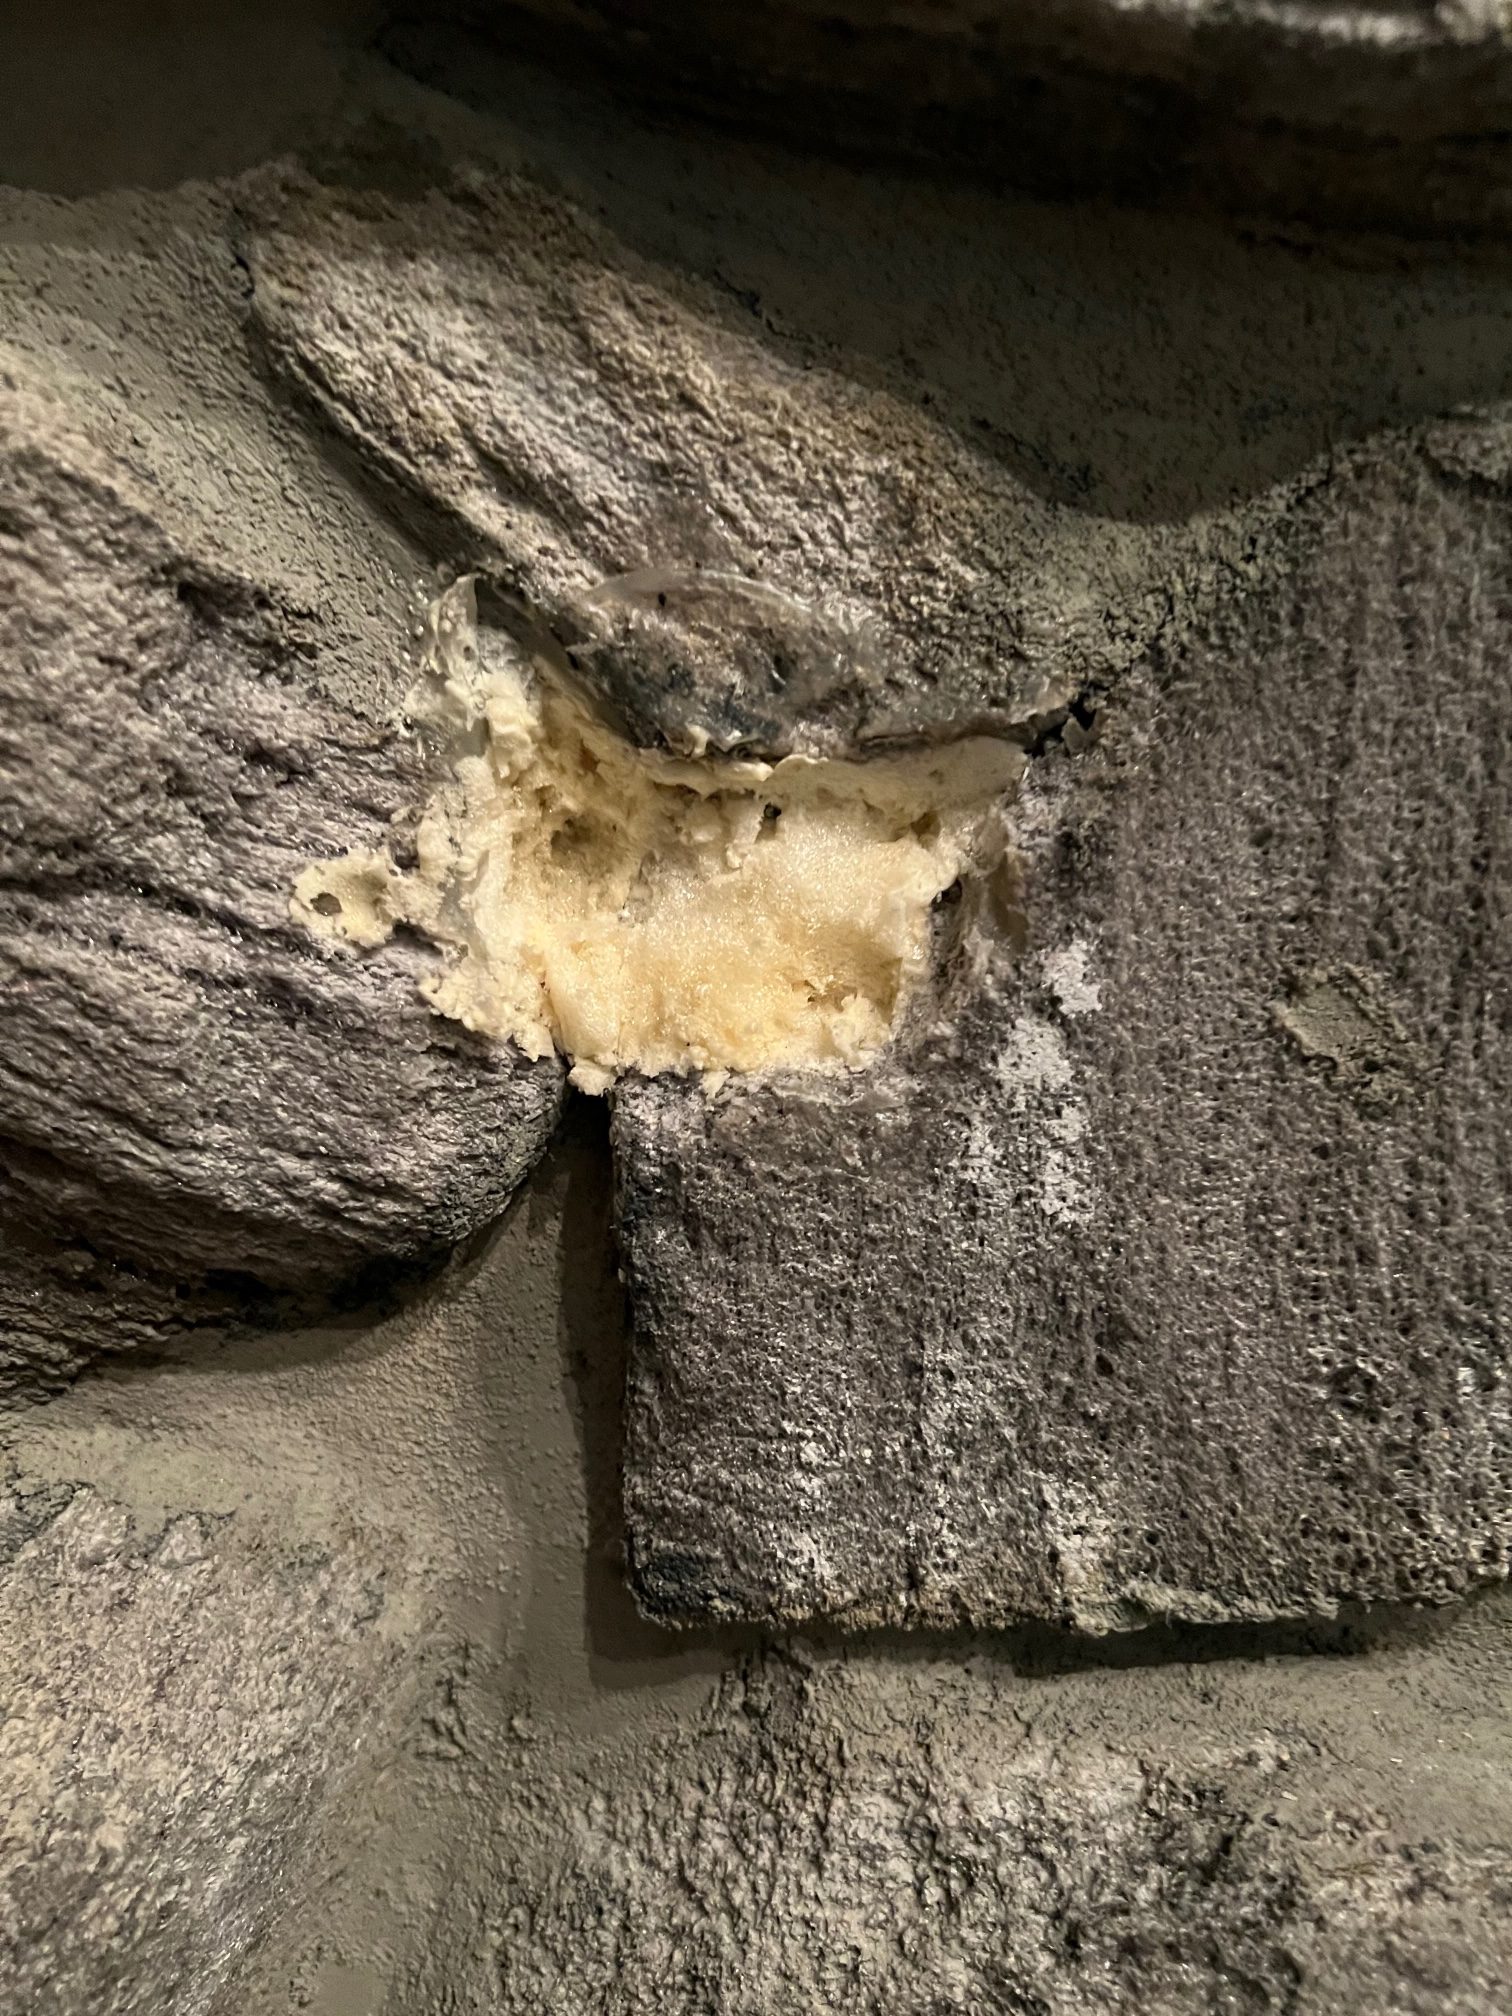

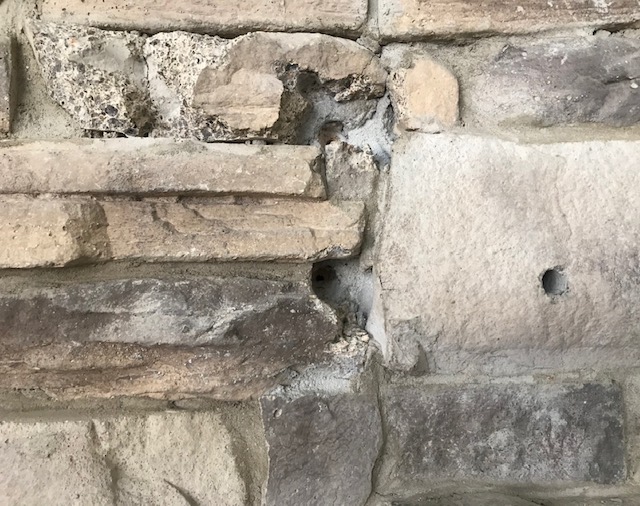
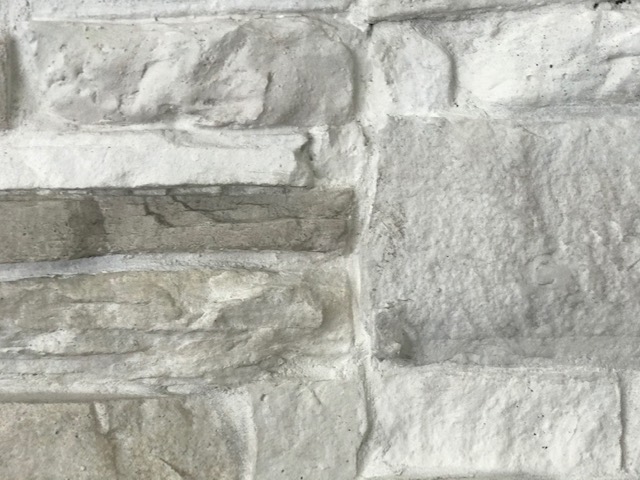
Stone Veneer
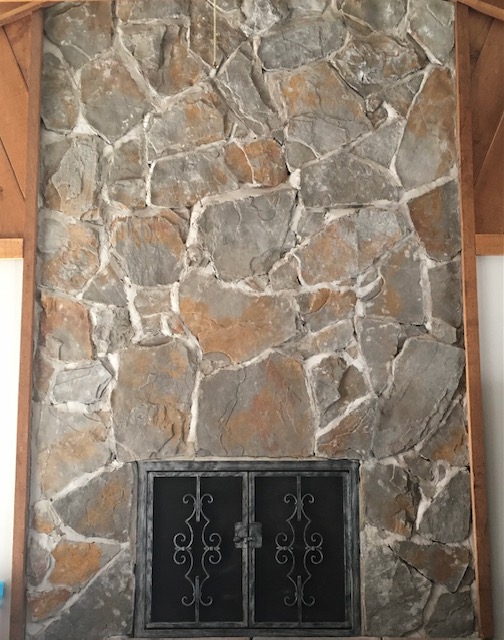
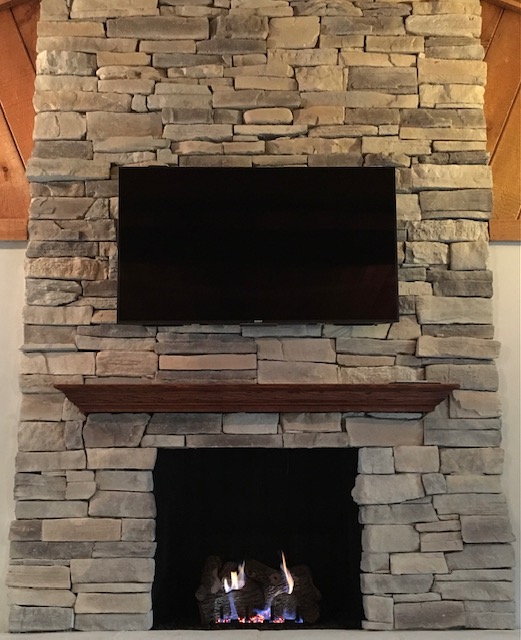
fixing wood can save you a lot of money
What can be done with Wood?
Wood offers many options for change. Don’t suppose that your only option is to cover it up with paint. Usually, people want to keep the grain. Fortunately, we have wonderful products available today. Two kinds of product are feasible for adding a translucent layer of color without altogether obscuring the grain.
TRANSLUCENT COLOR
The first is an oil-based product call “Gel Stain”. Don’t apply it like paint, you want to spread it far. I recommend using a cheap chip brush to spread the product as thinly as possible. Experiment first on a sample board or on an inconspicuous area.
A second option would be use a waterbased stain that is suitable for sealed surfaces. (Be sure to check with the manufacturer; most stains need to go only on raw wood.). Use the same method as above. Practice first because it’s a bit tricky working with a product that dries quickly.
AGING
Stained & Sealed Wood:
In some cases, people might want a stained piece of wood to look aged without looking decrepit. Purposely disguising some of the grain with a darker color is a way to age a piece.
WOODGRAINING
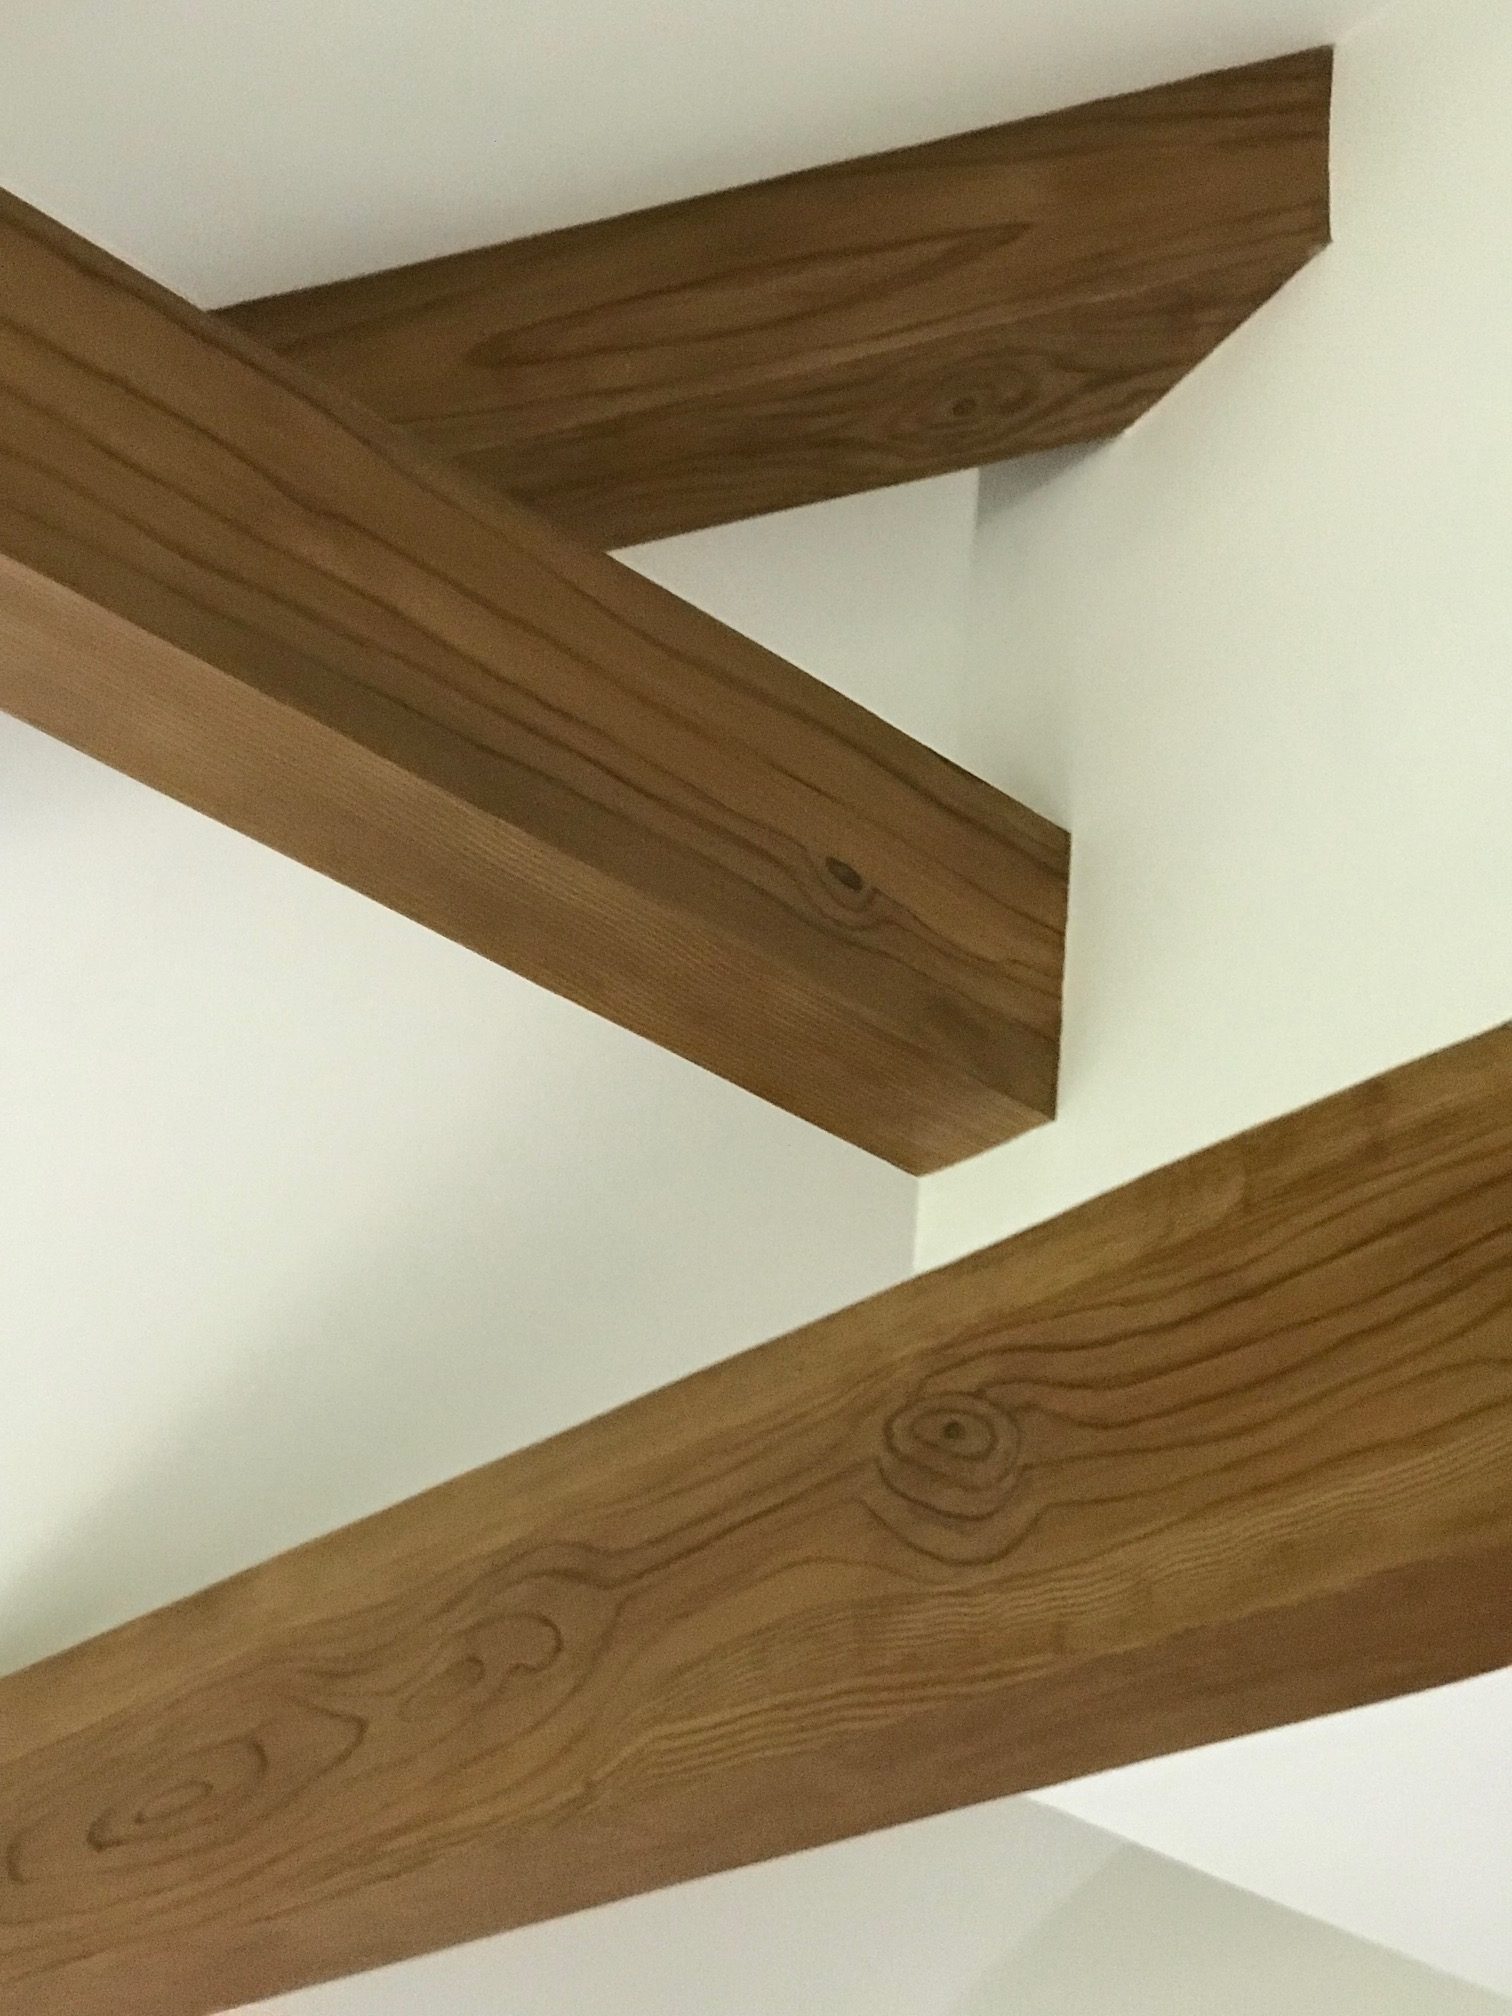
It is possible to lighten the color of wood or to make materials other than wood look like wood. It requires a few steps and requires careful work.
The first step is to paint the surface a color similar to the lightest color you want to see in your wood. Use a satin sheen and let it dry overnight. Your goal is to have a surface that does not “grip” the next coat before you can manipulate it.
Next, create a glaze that is darker. A glaze is a translucent coat that has just a bit of colorant in it. Apply that and drag something through it in order to create some subtle, fine lines all across the piece.
When that is dry, you might like to add the step of using an artist’s brush to paint in some darker grain lines. Examine photographs of wood online to see how grain looks in the species of wood that you want to replicate. It’s good to obscure the edges of these grain lines by gently dragging a comb or a nylon brush or a soft bristle brush (or all of these) across the paint before it dries.
When that’s dry, it’s good to coat the work with a layer of very translucent glaze that’s neither as light as the base coat, nor as dark as the second layer. This helps to blend the colors together. Finally, clear, protective coats should be applied to protect your work.
You might drag a stiff brush through the glaze or a piece of burlap wrapped around a piece of cardboard. The torn edge of a piece of pasteboard might even work. Alternatively, look for a plastic or rubber tool made for this purpose. A popular one is called "Roller Rocker".
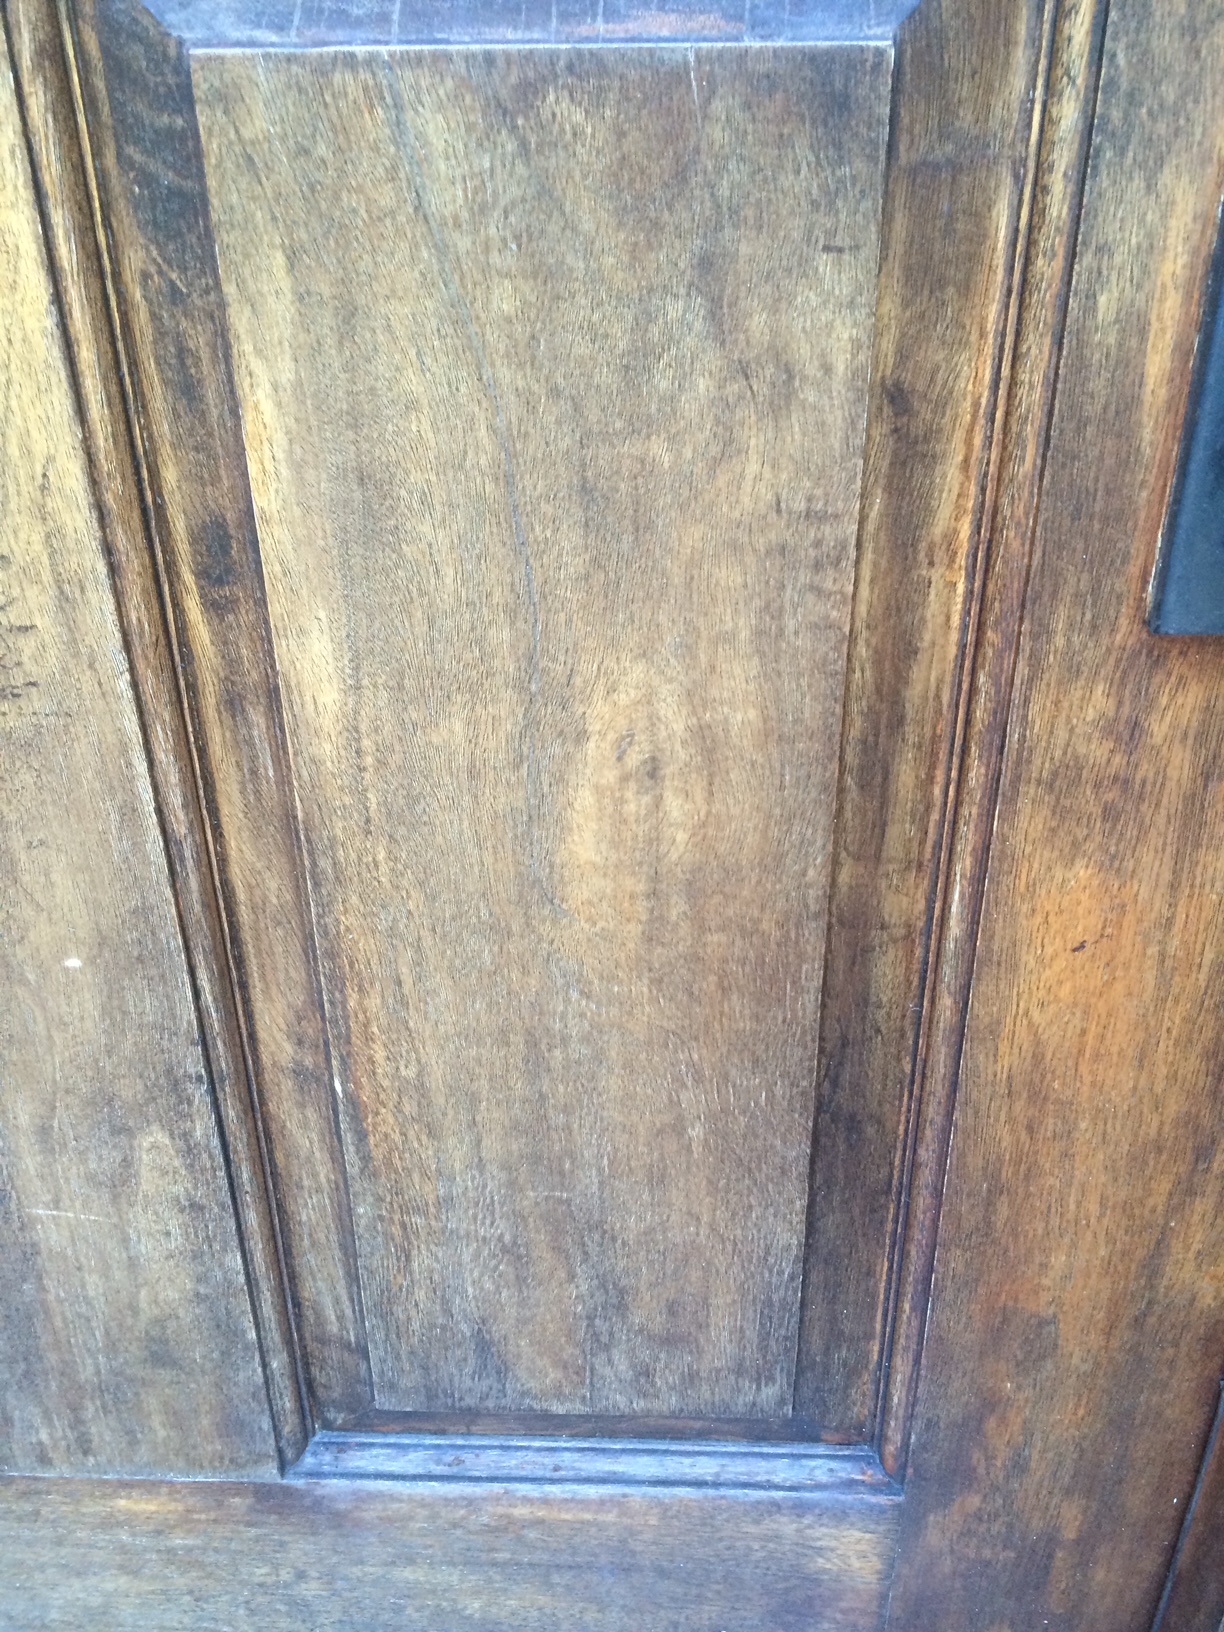
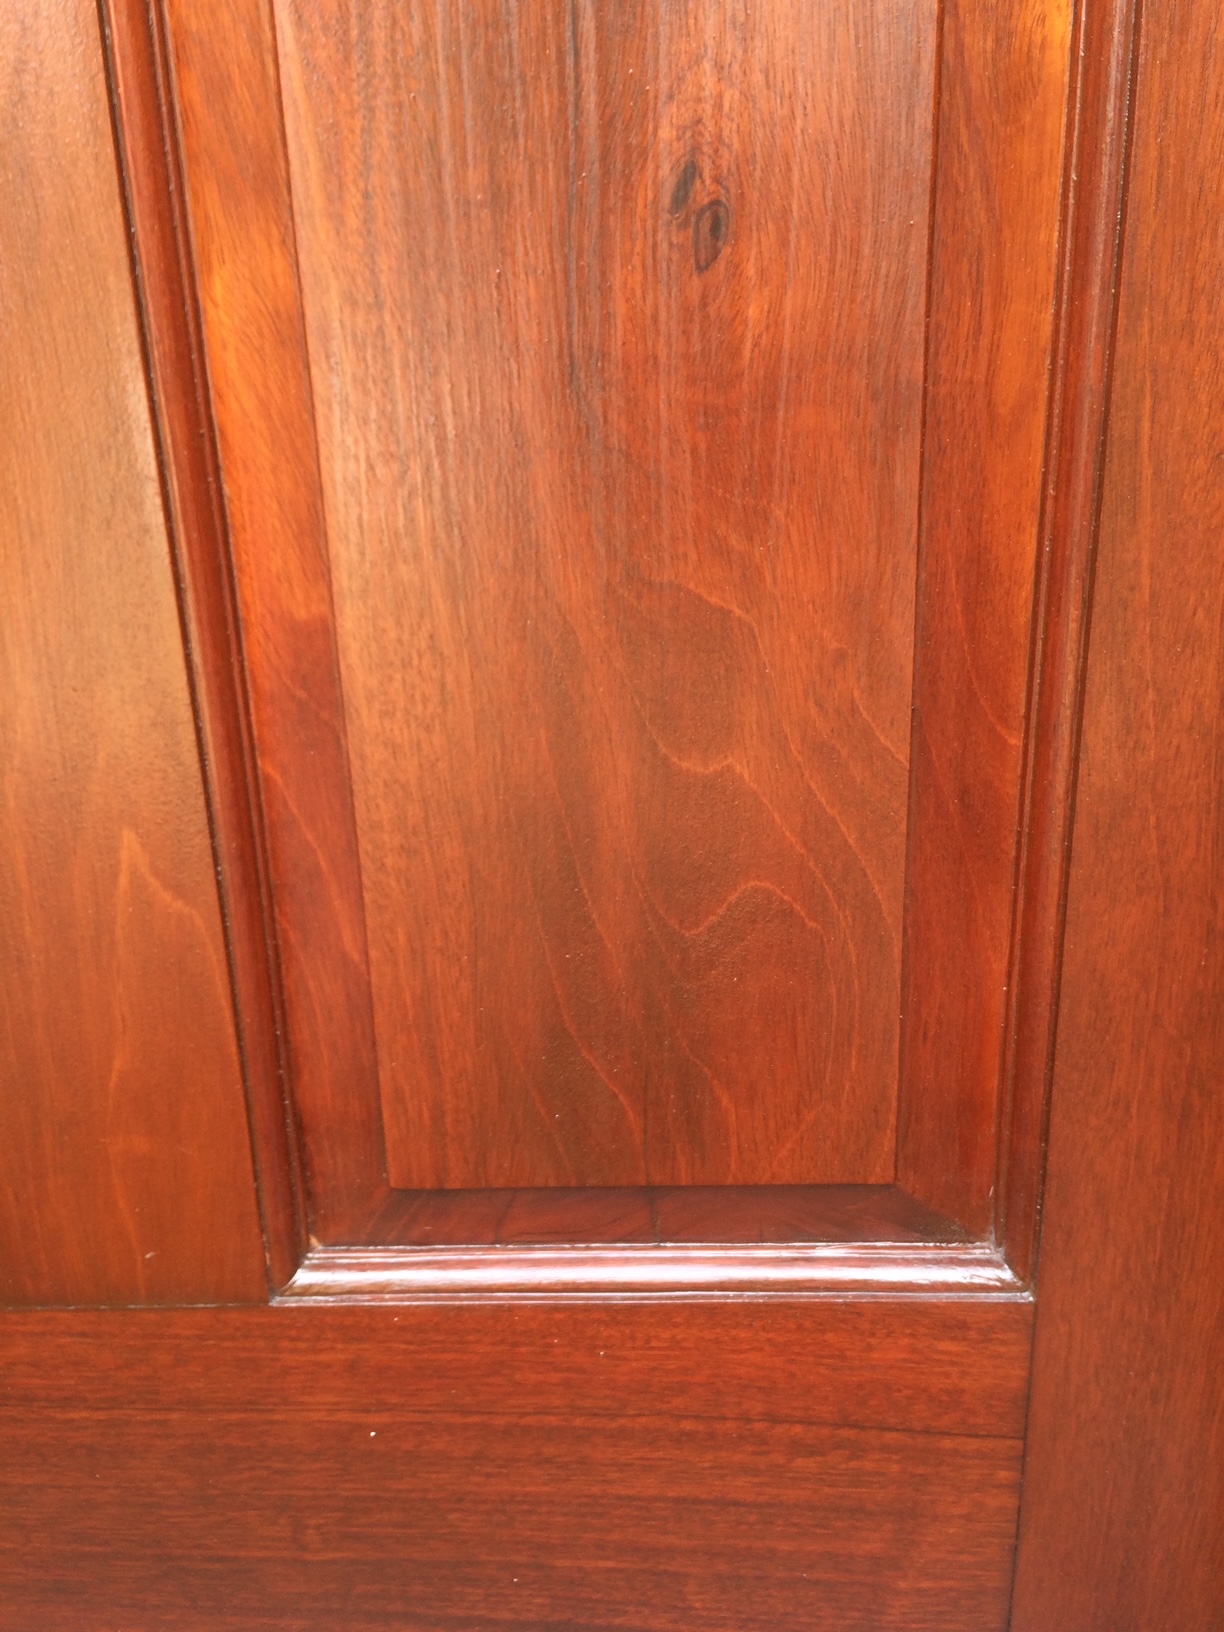
Strip & Refinish
If wood is degraded and you want to revive it, a good option is to strip it and re-stain it.
If it’s painted, consider using a safe, water-based striping chemical to remove the bulk of the paint. After clear-coat or paint is removed, sand the surface by hand or with an electric sander until the surface has a consistent, clean color.
Stain with a color of your choice and apply clear coats.
TRANSLUCENT COLOR


Same surface with a thin, translucent layer of water-based stain, manufactured to adhere even to a sealed surface. Note that the grain is somewhat obscured, but not altogether.
AGING wood

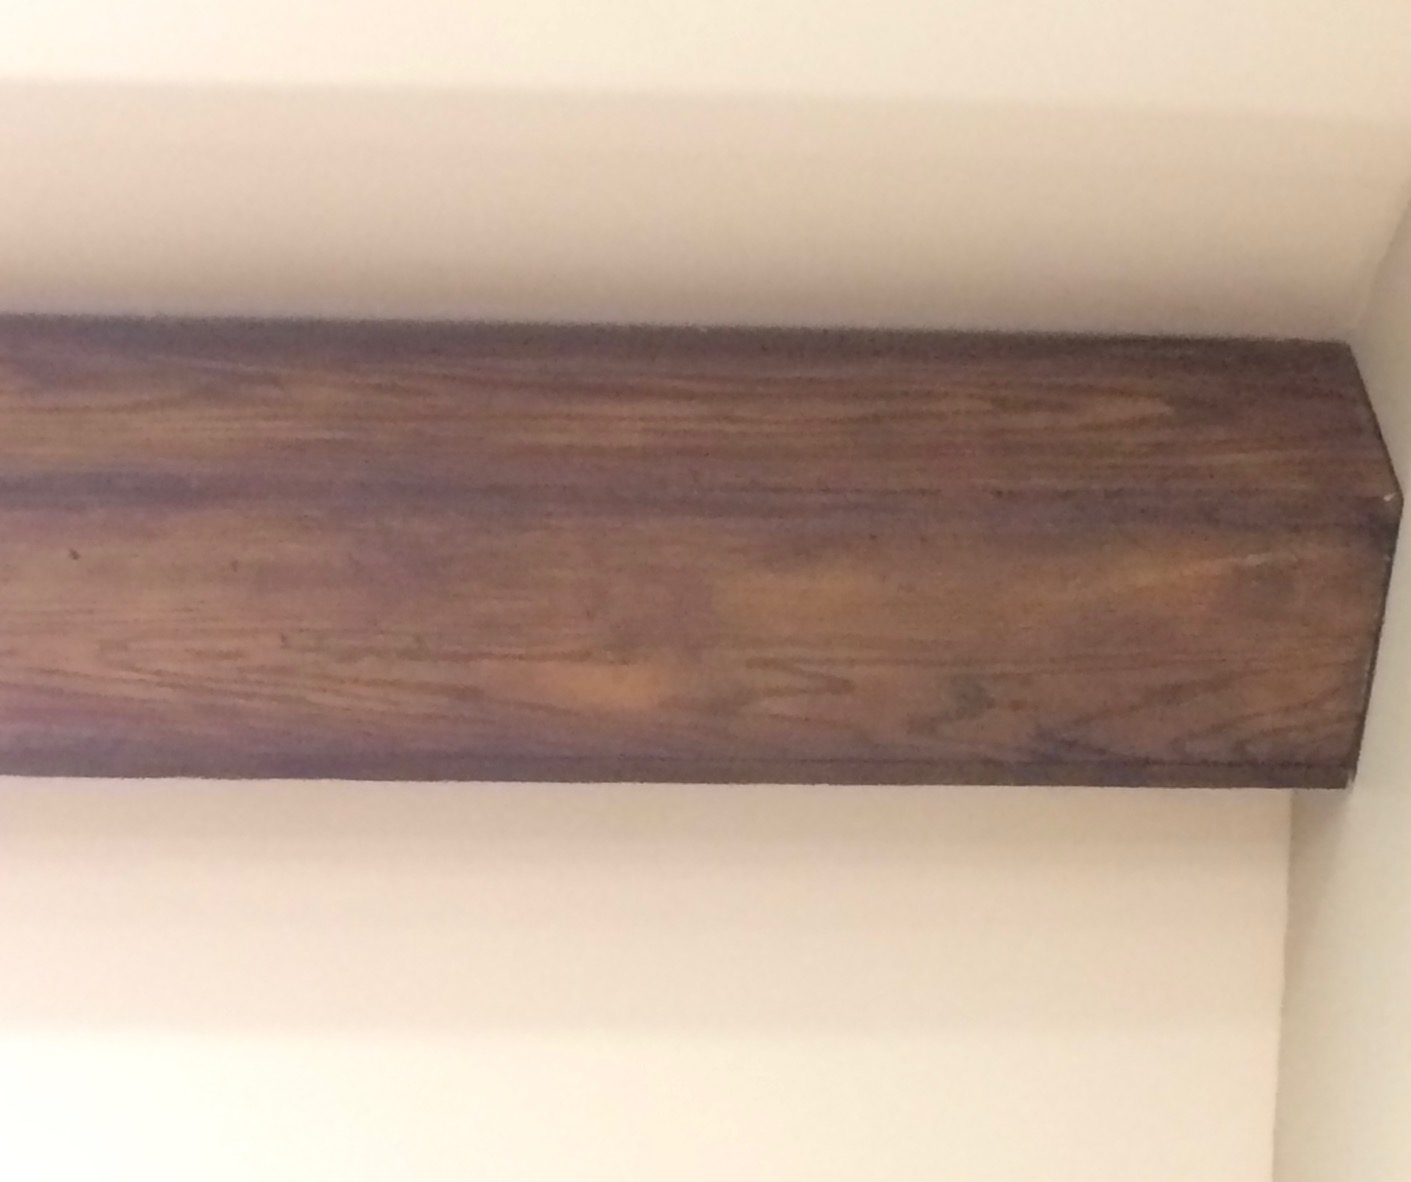
In this example, the same piece of wood with dark, translucent stain is applied only to edges
WOODGRAINING

Strip & Refinish
tile can be customized in so many ways
What can be done with Tile?
Paint
Tile can be painted. If it has a sheen, it should first be cleaned and then sanded in order to provide the paint a better chance to grip onto the surface. Some fireplaces generate a lot of heat. Please take that into consideration when selecting paint products. Investigate whether the paint you select can handle the heat.
For very dense or shiny tiles, it’s recommended to using a primer that is advertised as offering high adhesion. After that’s dry, apply heat resistant paint. Below is a sample. We applied a darker color on the grout in an effort to help create a more authentic appearance for the tiles.
When painting tile, it’s often better to use more than a single color. Here are samples of painted tile which employ multiple colors:
Below, tape was used to cover grout joints. Rubbing alcohol was sprinkled on wet water-based paint to help create natural-looking color breaks on individual tiles.
A third way to color painted tile would be to add some vein lines. The viscosity of the dark-colored paint need to be thin. Care needs to be taken to not have tremendous contrast between the colors, lest the appearance not look unnatural. Vary the width of the veins. They can be interrupted rather than constant. Apply with an artist brush or even with a feather. You might choose to use a second, wide, very soft-bristled brush to lightly draw across the slightly wet veins, moving perpendicularly to the veins. This softens them, making them blend in. It’s best to develop your skills for this procedure on a practice surface before attempting it on your tile.
color change

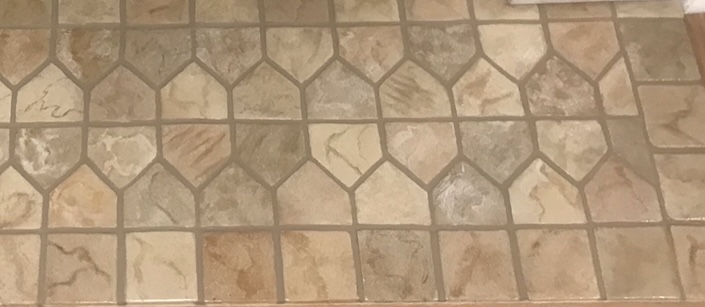
For greater variety, use different base colors from one tile to another.
Vary the color, style and direction of the veins too.
Smooth Over
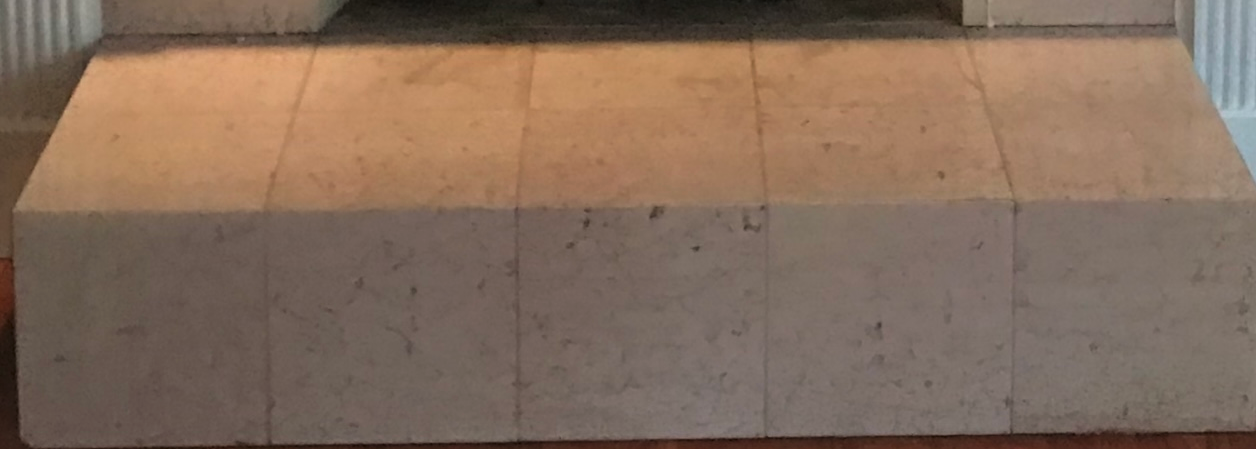

A “rim” – made of 1/2 inch cement board – was added to the perimeter of a hearth. Then the top surface was filled and covered with self-leveling cement before being colored with two tones of gray, applied wet on wet and blended.


Red quarry tile was cleaned, sanded, filled and covered with cement. Next it was coated with a polished plaster which was burnished to bring out highlights.
high Quality is our obligation
What can be done with marble?
Wood offers many options for change. Don’t suppose that your only option is to cover it up with paint. Usually, people want to keep the grain. Fortunately, we have wonderful products available today. Two kinds of product are feasible for adding a translucent layer of color without altogether obscuring the grain.
RECOLORATION
Many people are interested in swapping out the green marble on their fireplace for some other color. One tremendous option is to recolor the existing marble rather than remove and replace it. This process was developed in Europe centuries ago and has been used in spectacular palaces, churches and mansions ever since. Benefits include infinite color options, avoidance of unfortunate blotches that Mother Nature sometimes allows, speed of transformation, etc.
the process
Procedure is similar to the preparation of tile, listed above; clean and sand, tack to remove dust. Prime with high adhesion primer. Apply heat resistant base coat. Paint in veins with artist brush and/or a feather. Thin vein color to allow for translucency. Vary color, size and direction of veins. (Study photos of real marble.) Soften fresh veins with very soft bristle brush. Apply heat-resistant clear coats.
Removal & REPLACEMENT:
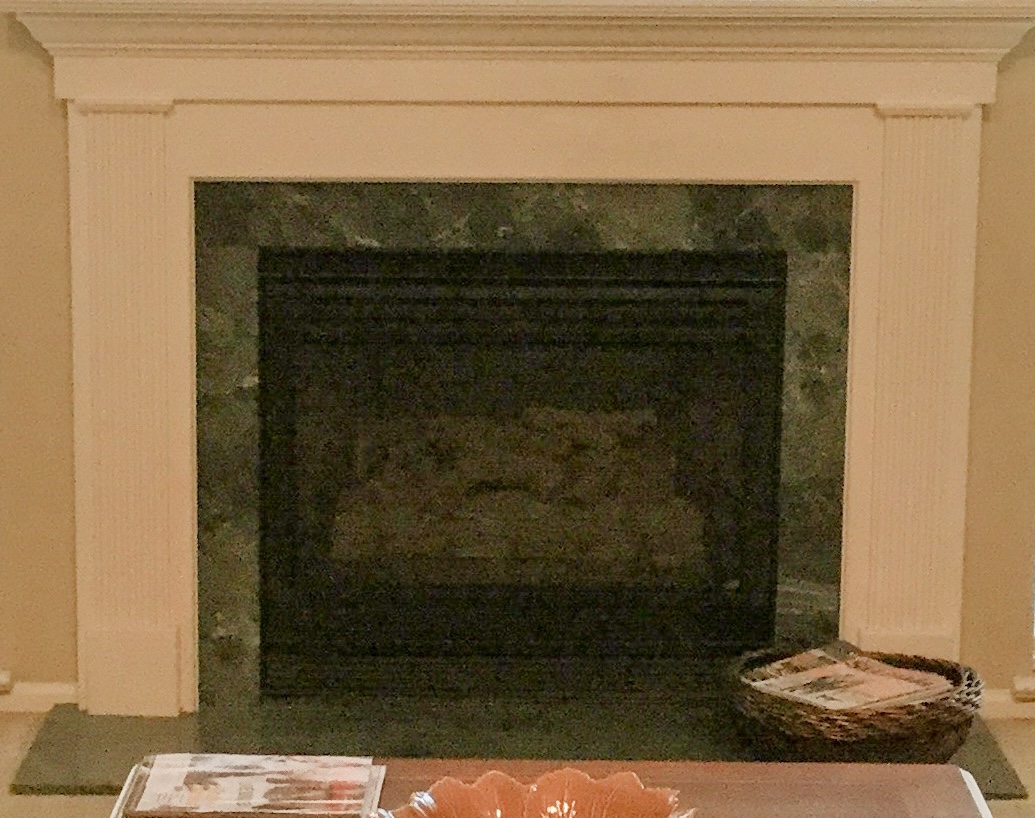
Finally, marble can be removed and replaced with another material.
RECOLORATION
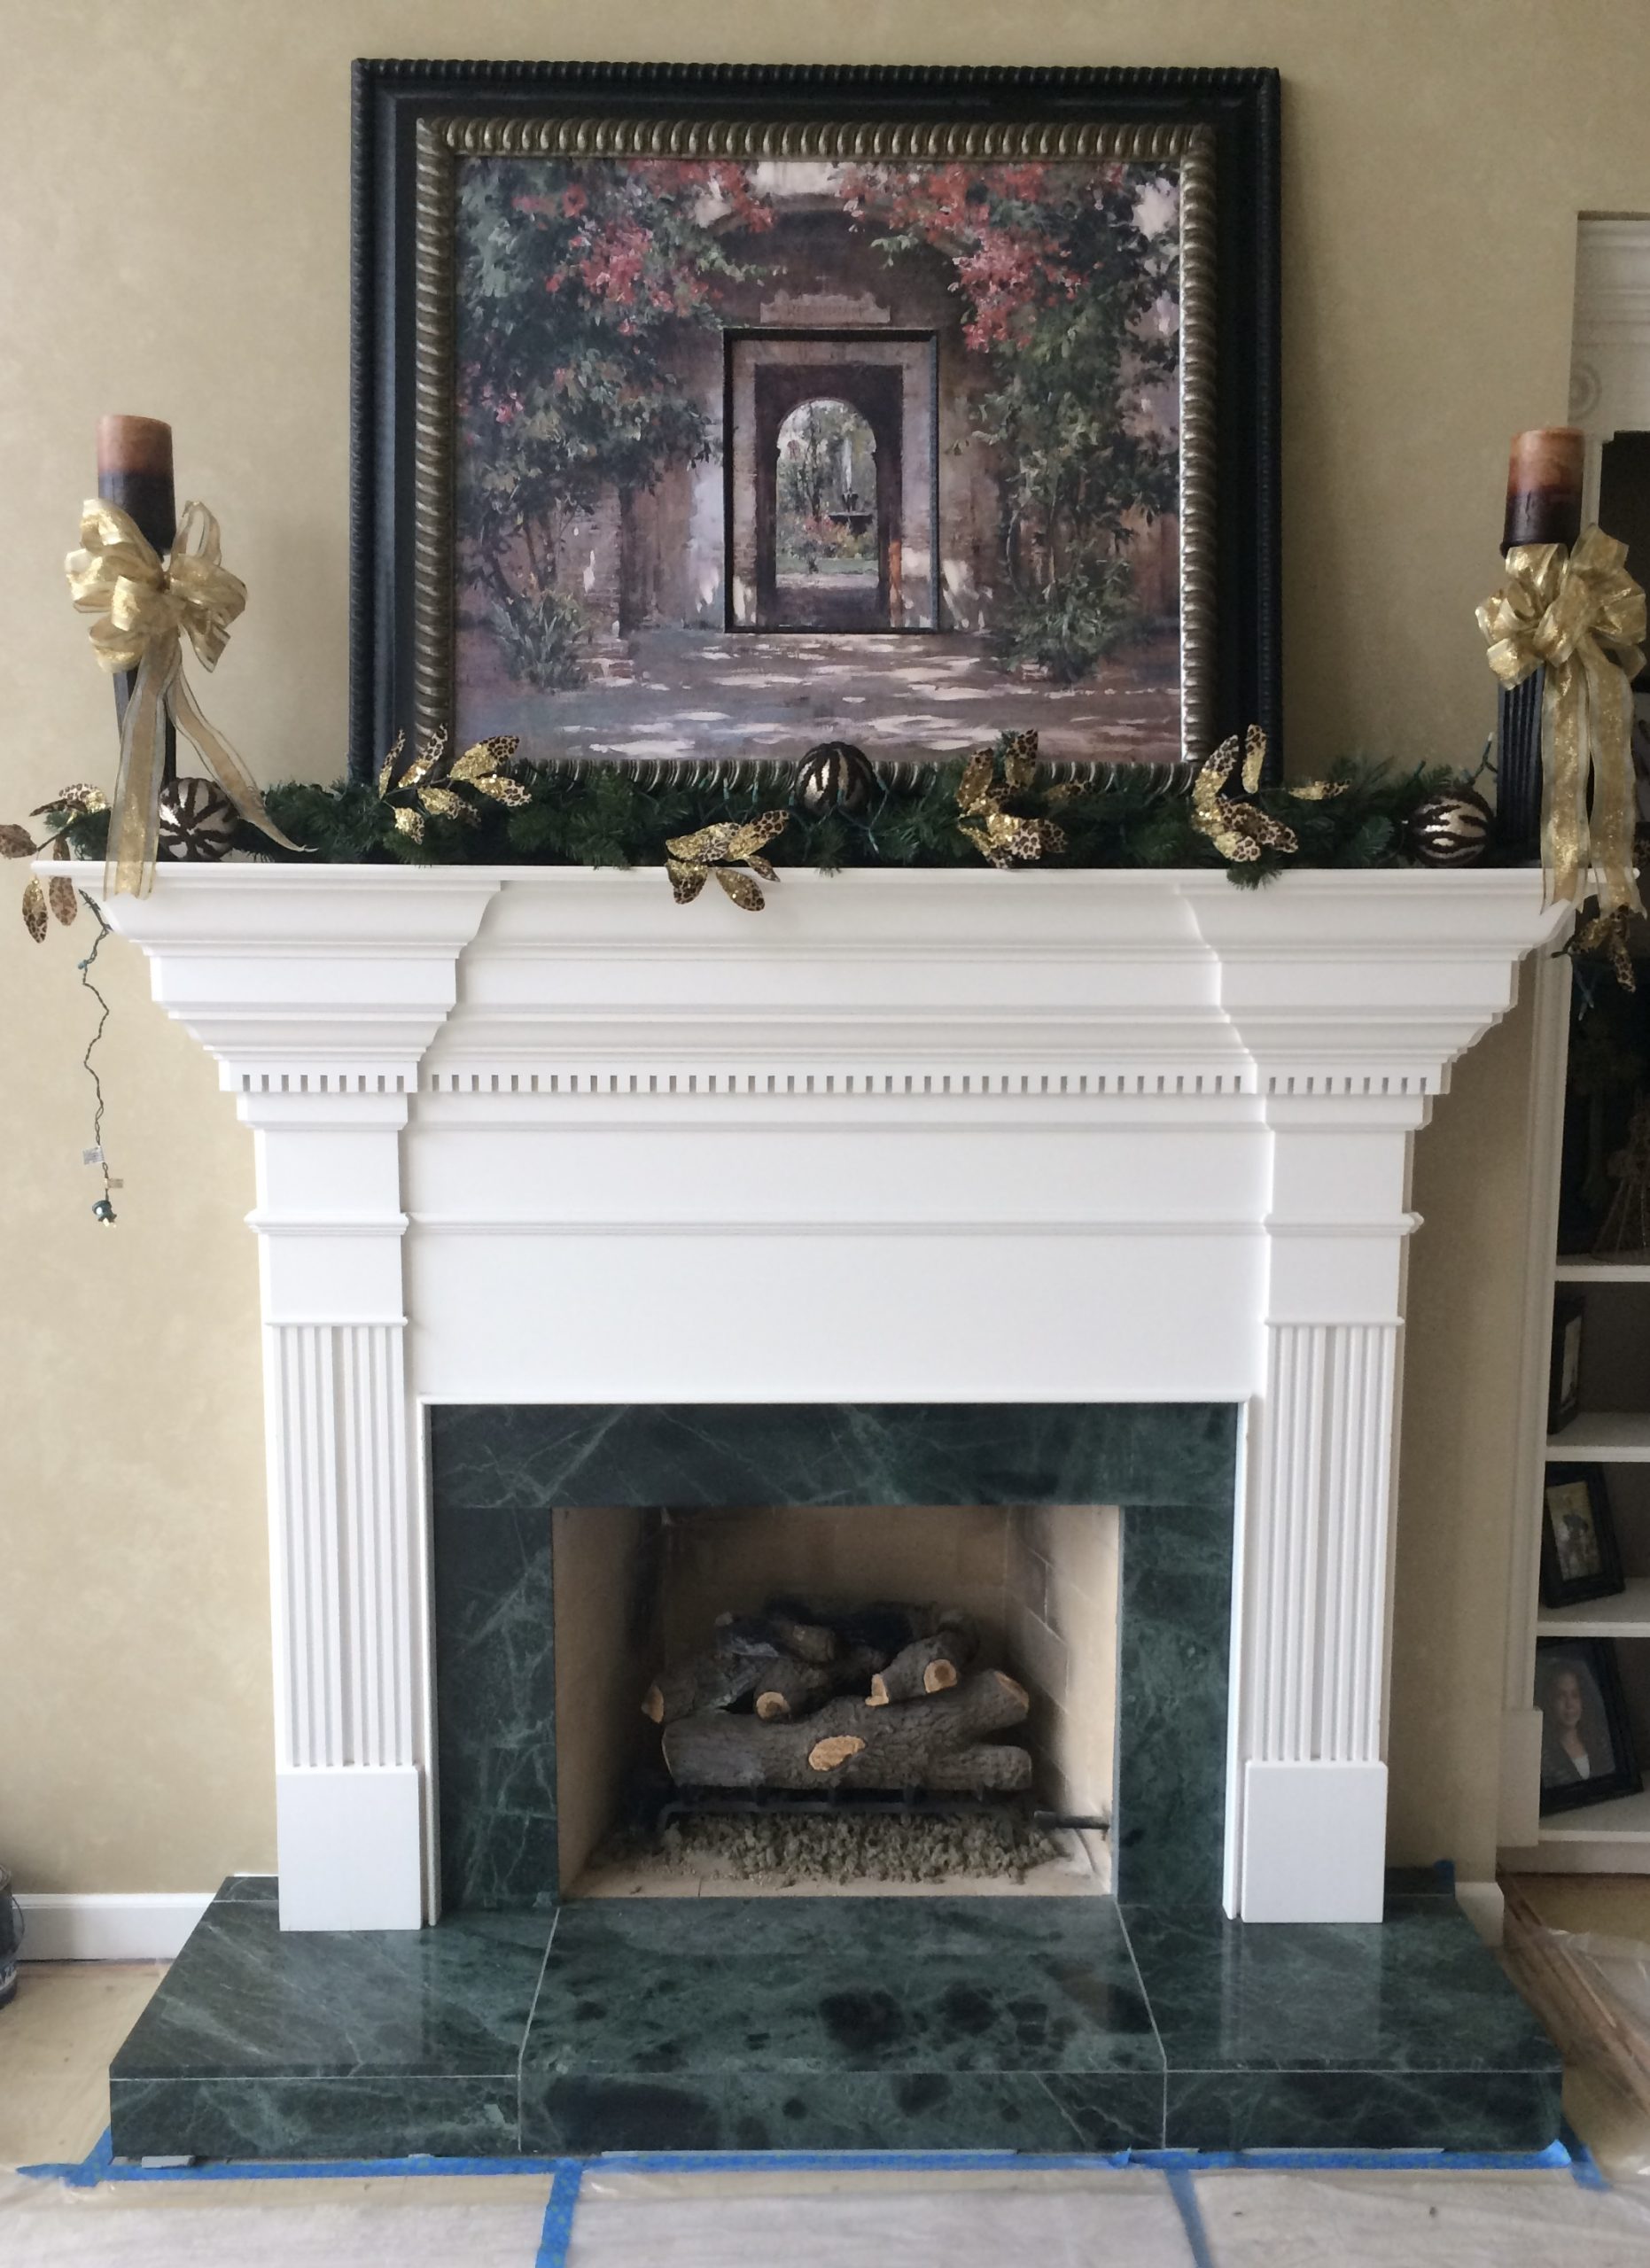
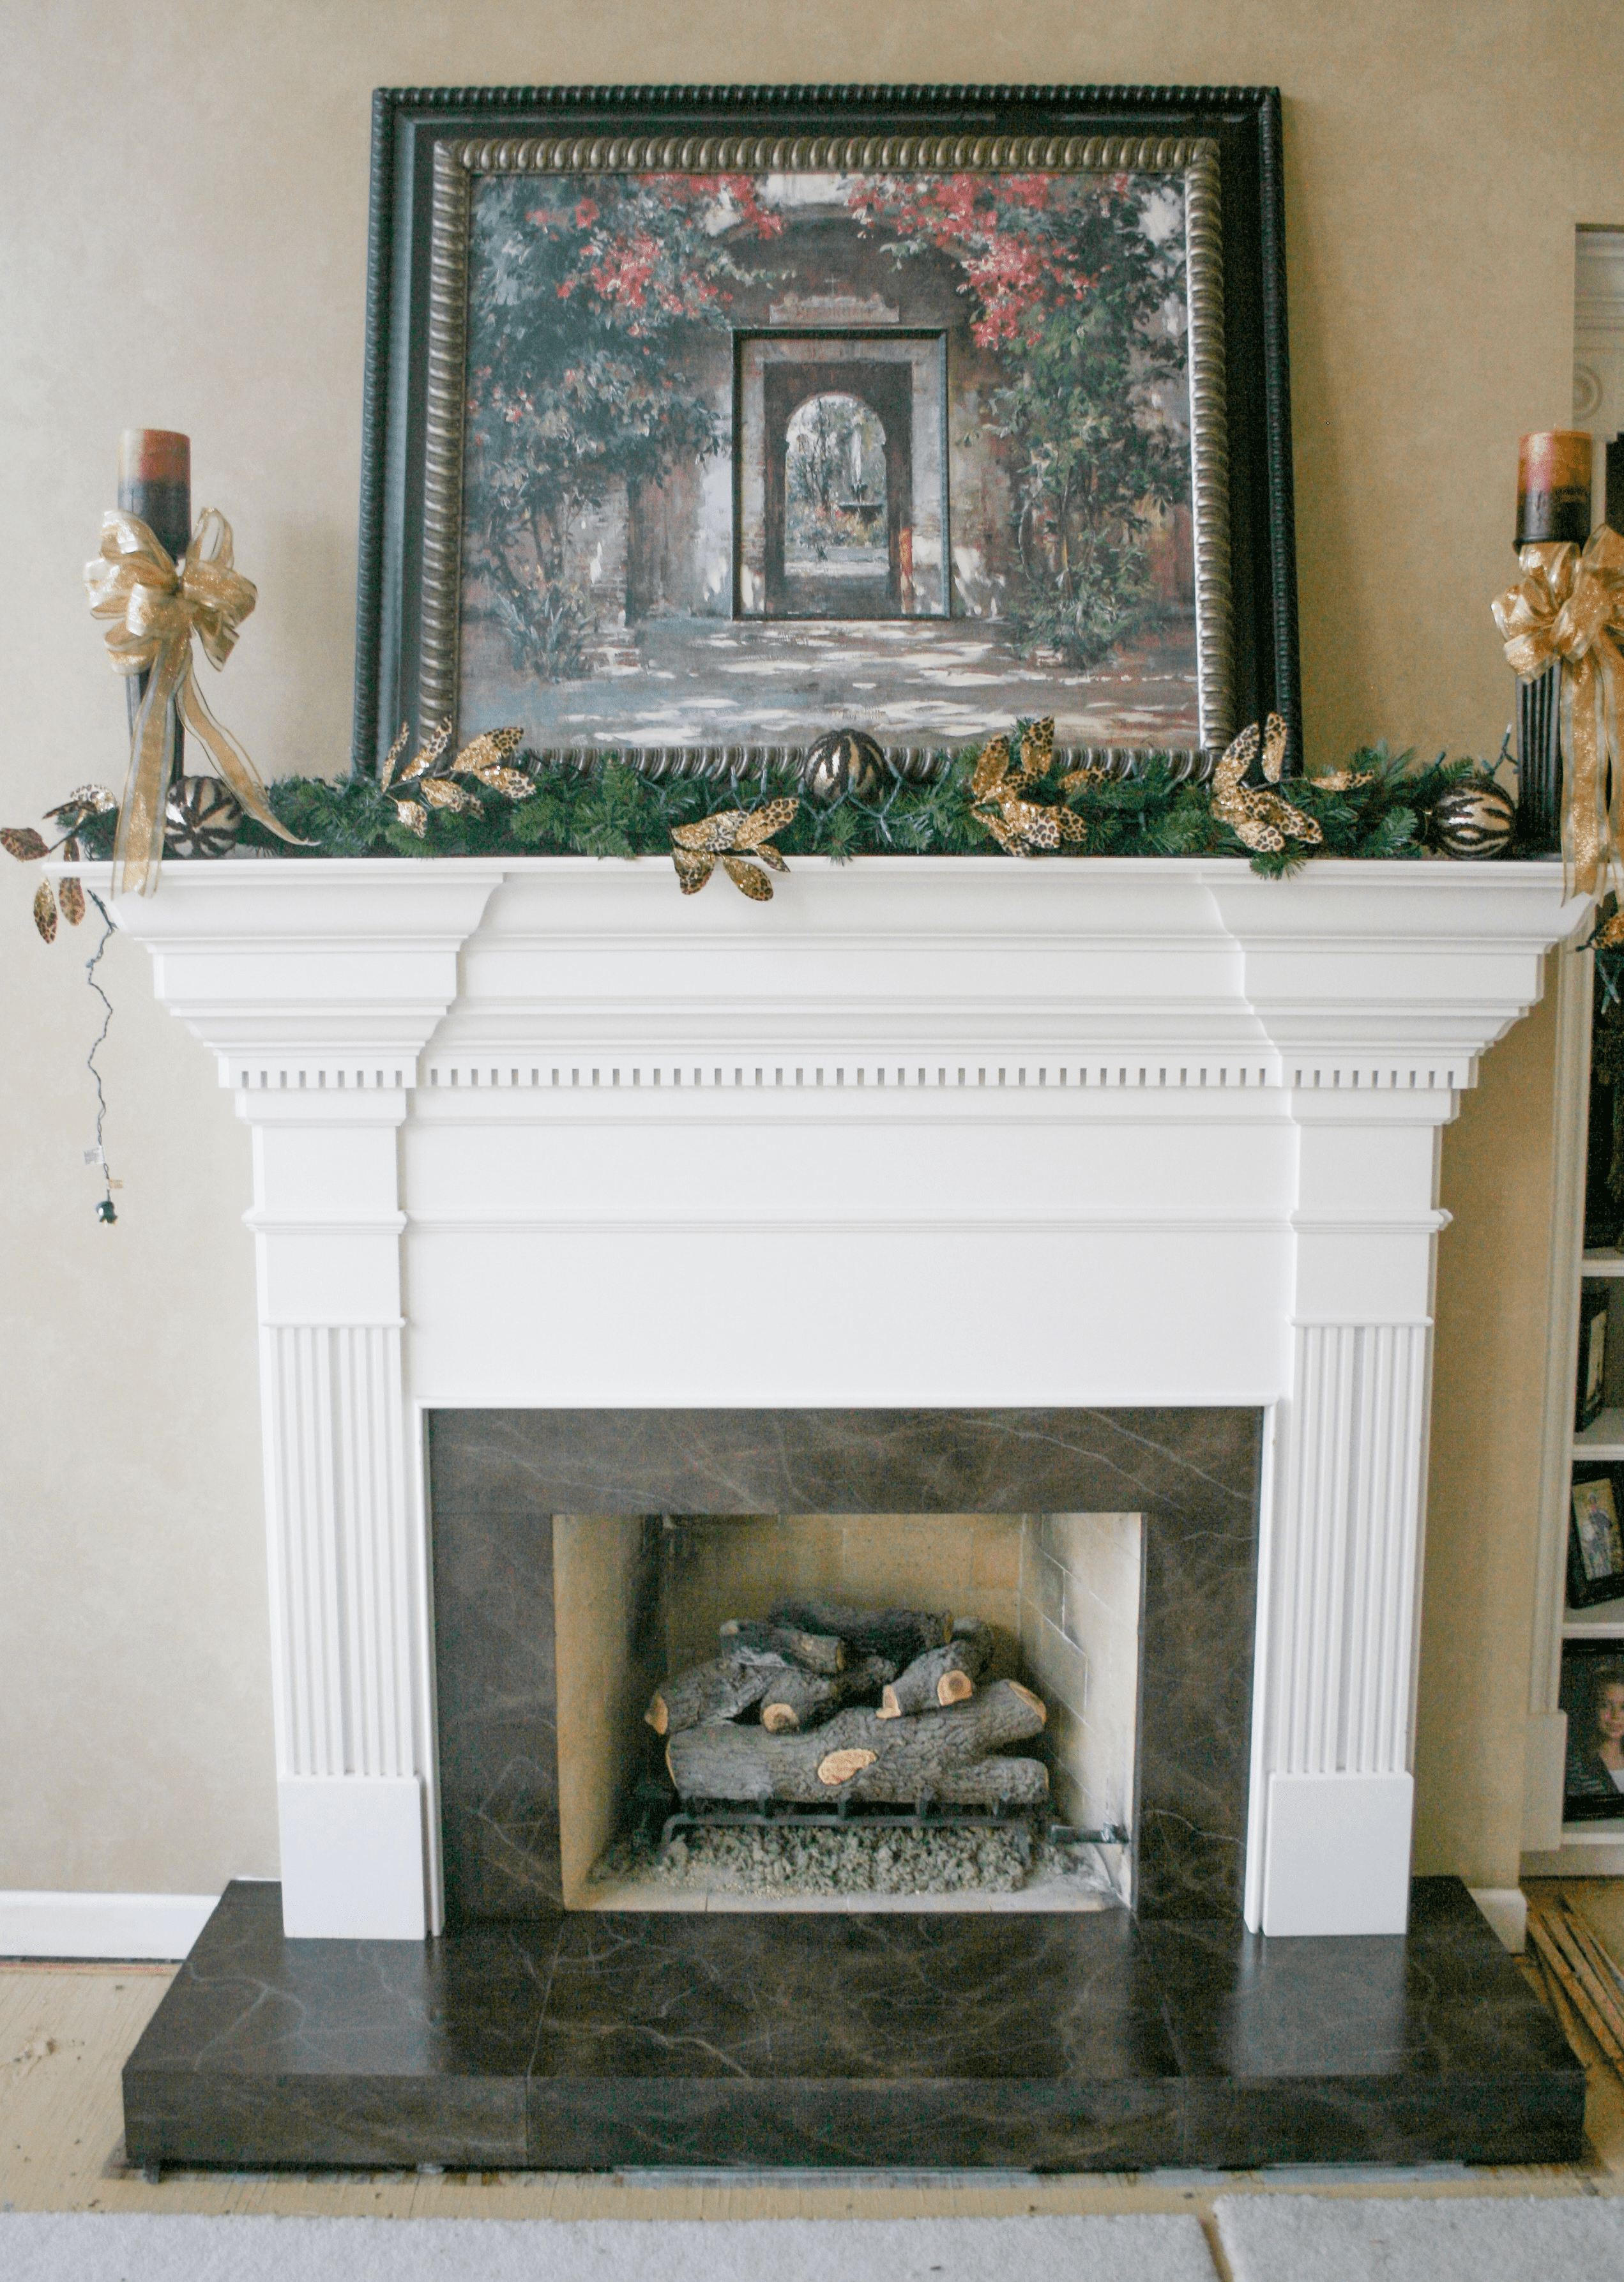
Removal & REPLACEMENT:

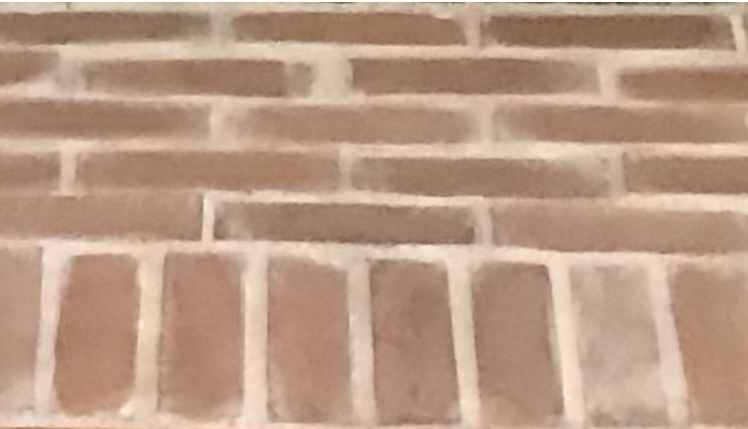
In this case, brick veneer was installed in its place.

we Put customers needs first
What can be done with mantels?
Remove
A mantel can be removed. Any holes that remain after removal can be patched and blended in.
Replace
The mantel can be replaced with a mantel of a different style.
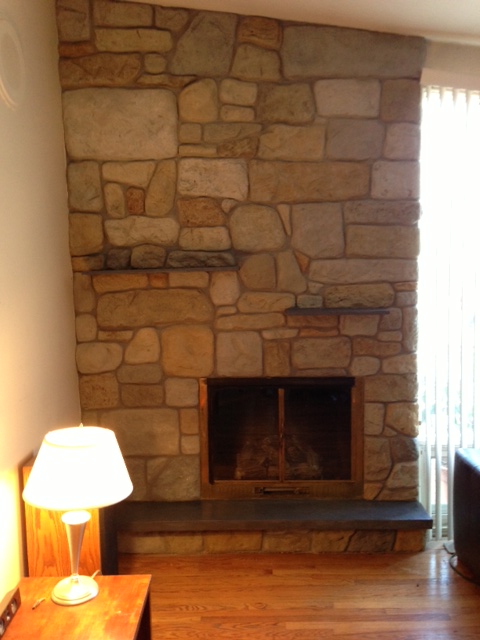
Here, a mantel was removed, stone was added to the surface and thin shelves were attached as an alternative to a bulky mantel.
Replace
Here is an example of another style change. Here, 1950’s style stair-step mantel shelves were swapped out for a beam mantel:
After shelves were removed, the resulting scars were addressed and colored before the beam was installed.
Alter
Sometimes a mantel can have elements added as in this project, where a more substantial mantel was desired:
Alter
In this next case – along with other extensive changes – an element in the center of the horizontal portion of the mantel was removed so as to make a less substantial mantel:
Replace
In this next example, one mantel was removed and was replaced with another of similar dimensions. The tile was also covered and colored.
Replace
Here’s a second example of style change as one mantel was removed and replaced with another:
Custom
Finally, it may be appropriate to have a carpenter create a custom mantel for your fireplace as in this example of a newly constructed fireplace. This one was created out of wood but was given a stone -like finish:
Custom
Besides altering the shape of a mantel, the color can also be changed. An option in addition to re-staining and to painting is to cover with a synthetic plaster that creates the look of stone, as in this project. Routed-molding portions of the mantel were removed in favor of pieces with square corners. Then the acrylic stone finish was applied with small trowels and putty knives:
Add a Beam Mantel:
While most traditional mantels have included both horizontal and vertical elements, a beam mantel is another option. They can be rustic or refined. There is currently a trend that favors the rustic variety.
The beam might include supports as in this example:
Stain it dark
A beam can be created out of a 6”x6”x8’ cedar beam, often available at home improvement stores.
Stain it light
A beam can be created out of a 6”x6”x8’ cedar beam, often available at home improvement stores.
Alternatively
You might choose to purchase a beam reclaimed from an old barn:
Purchase online
If you need it, we have it
What can be done with Hearths?
Remove
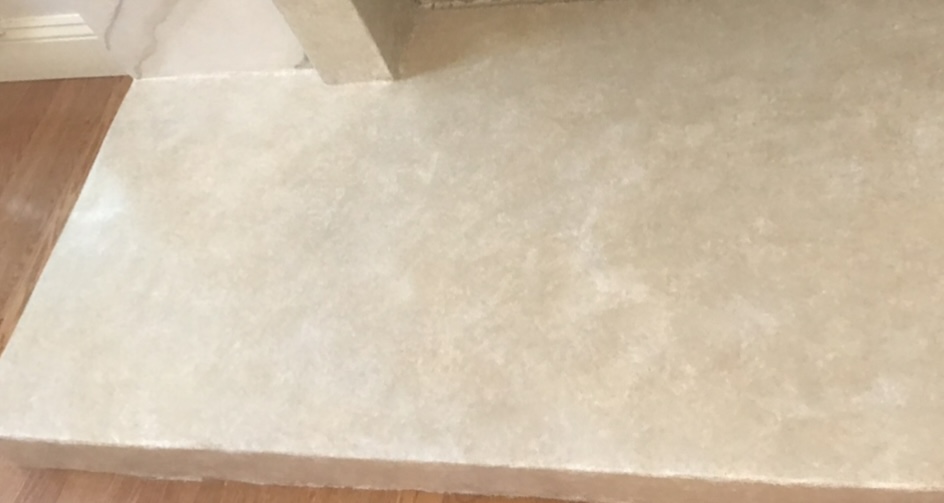
A hearth can be removed. A new hearth can be made out of self-leveling cement, which is later decorated.
Paint
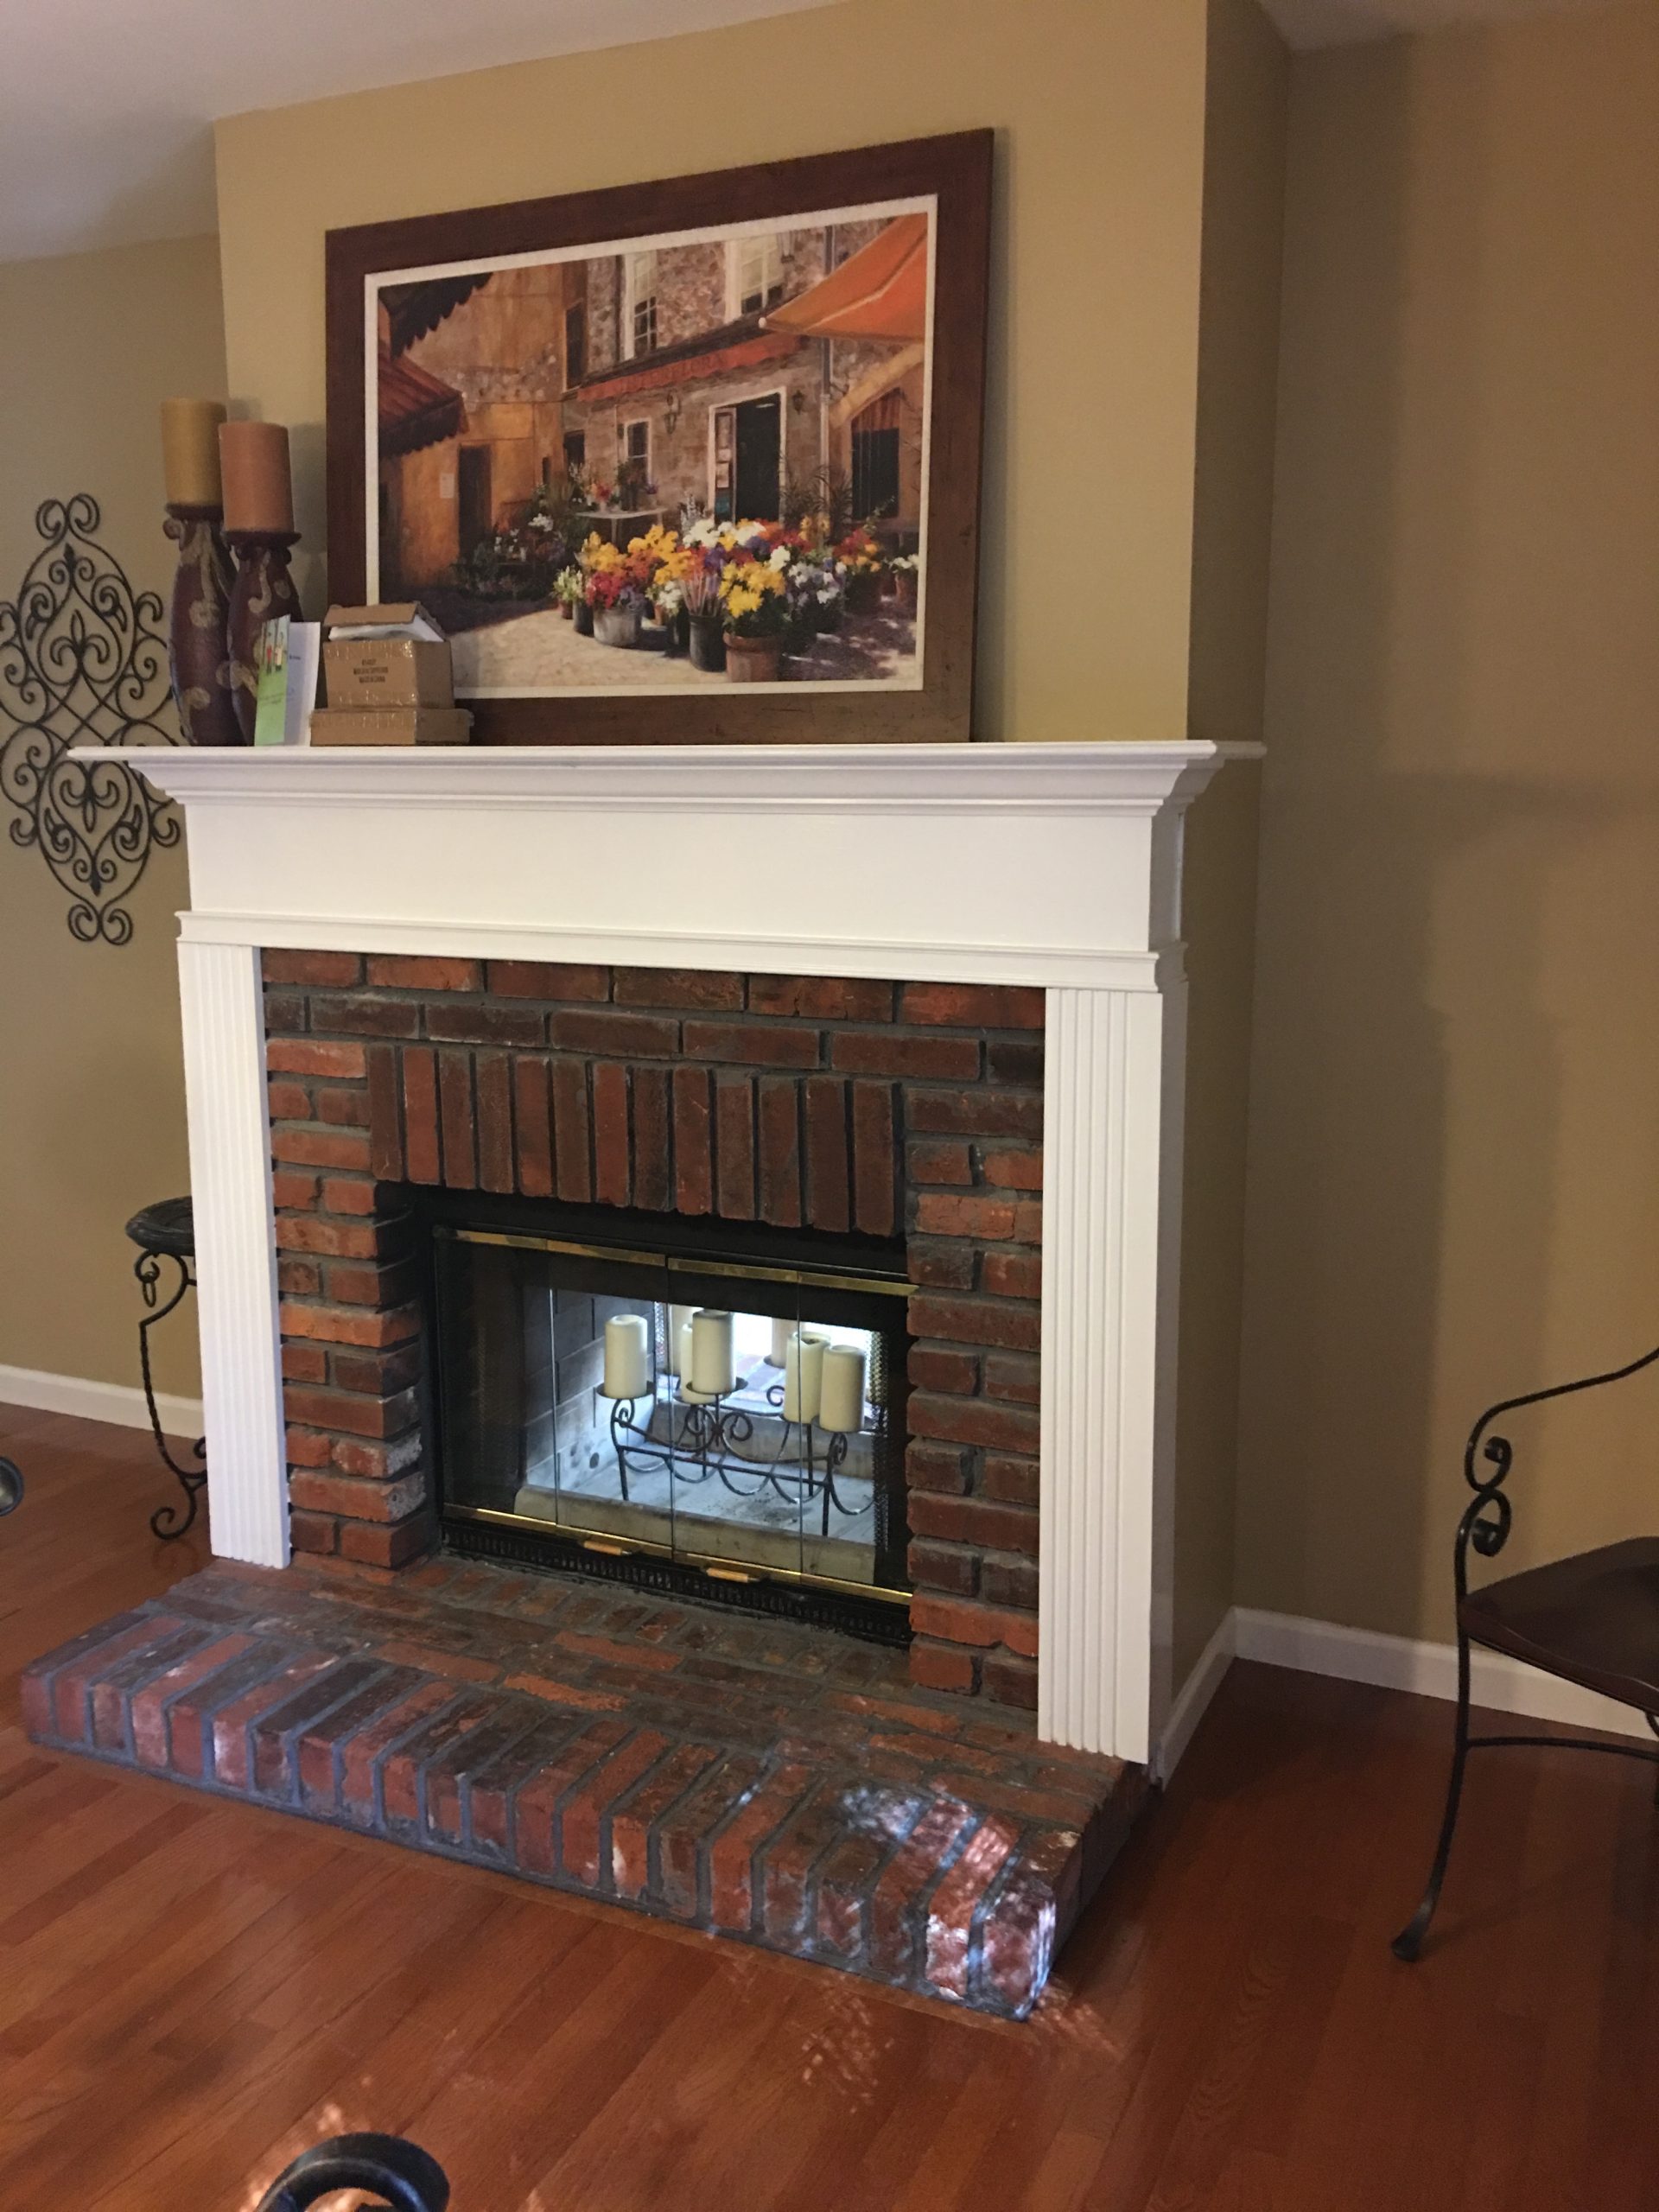
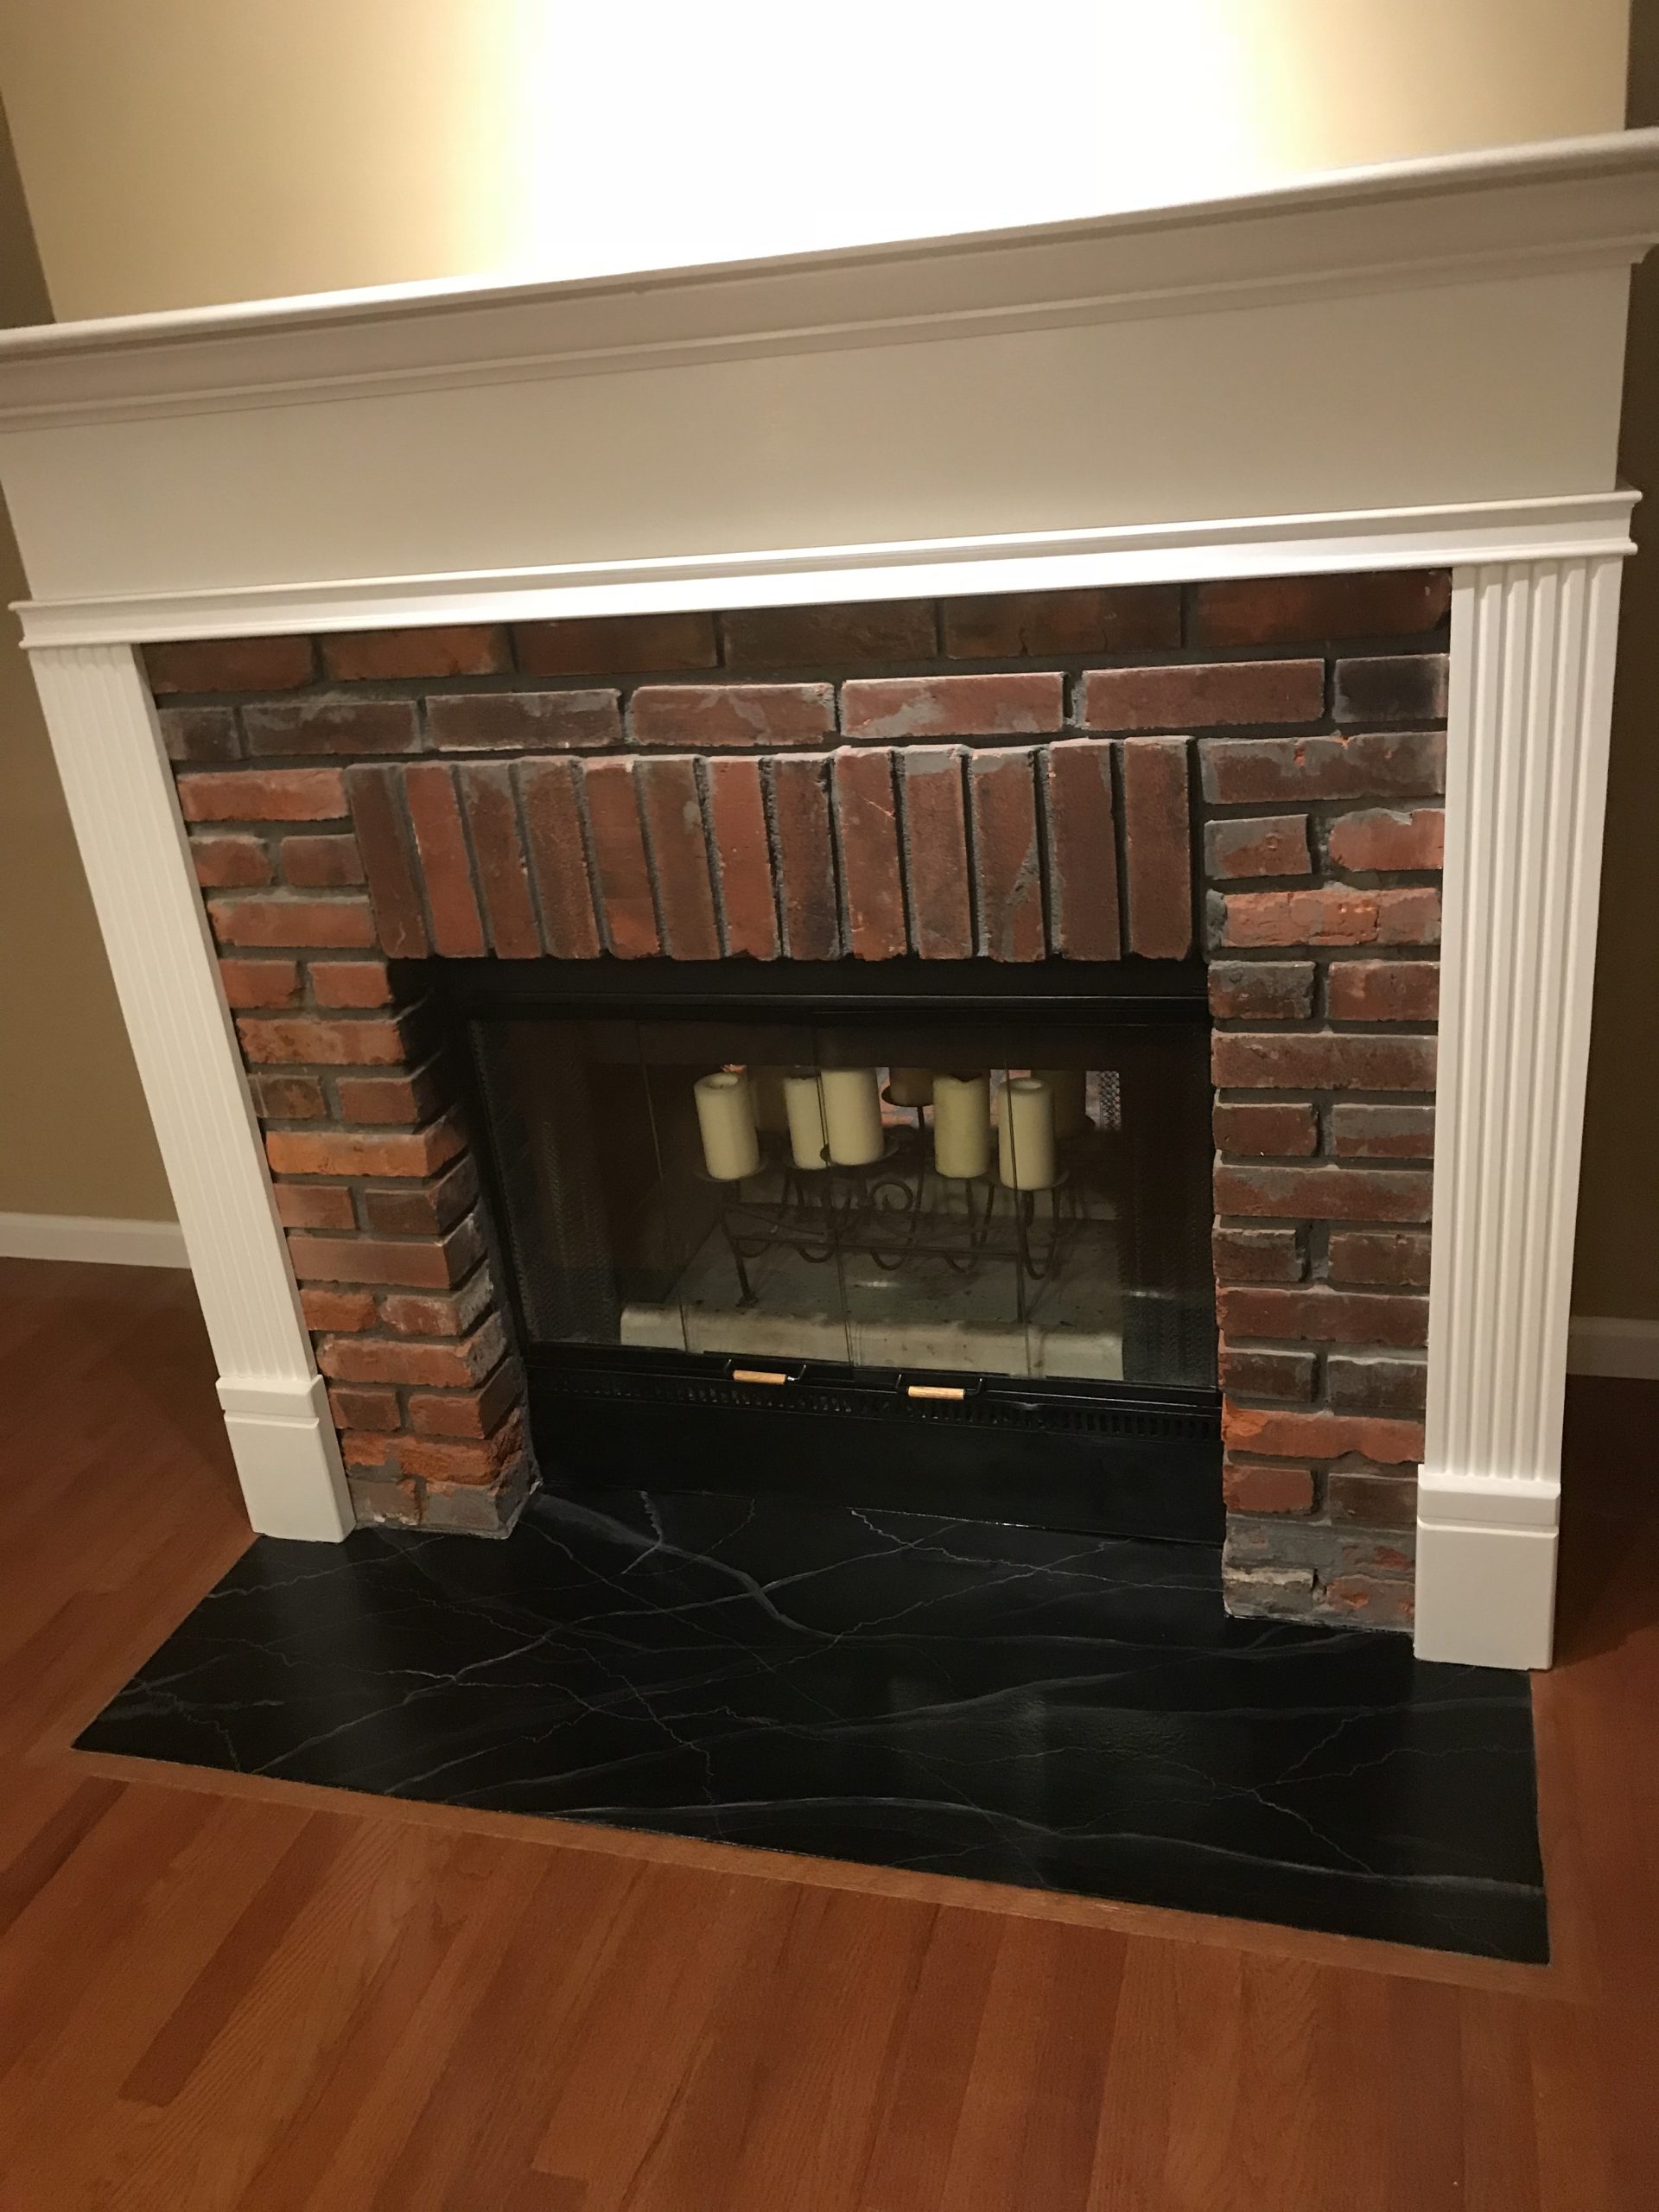
Another option would be to paint a hearth to look like marble.
Painted brick can be basecoated with paint which is the color you want your new brick to have. You might choose to use several colors that are similar. Next, use a dry brush technique to alter the color of the new paint colors.
Limewash
Limewash was applied and then rubbed off in some areas. Sometimes a slightly different color of Limewash can be employed for variation.
Replacement & Removal
A hearth can be removed and replaced with other materials as here. A marble slab was removed. brick veneer was then installed and grouted.
paint


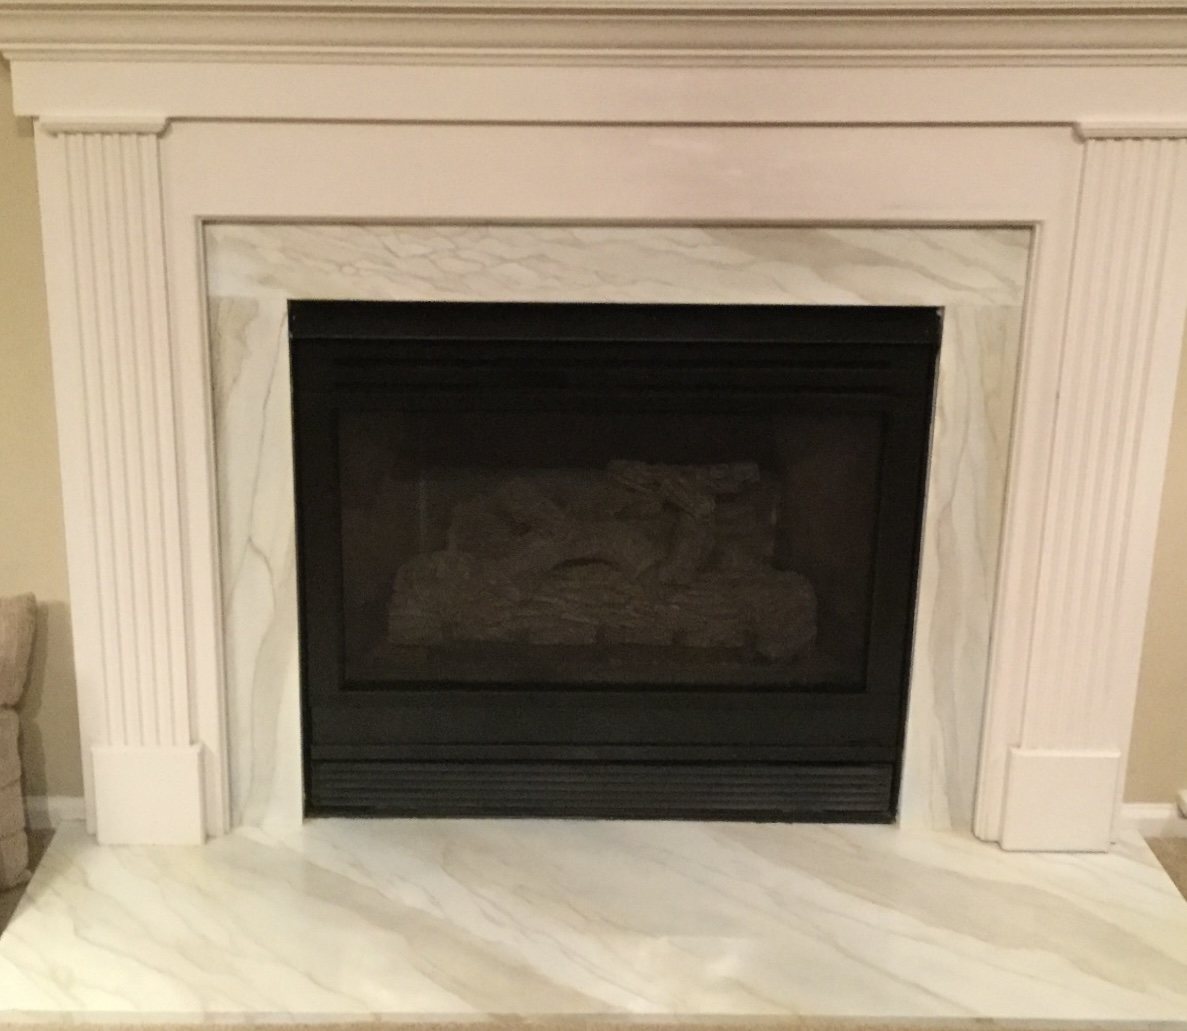
replaced
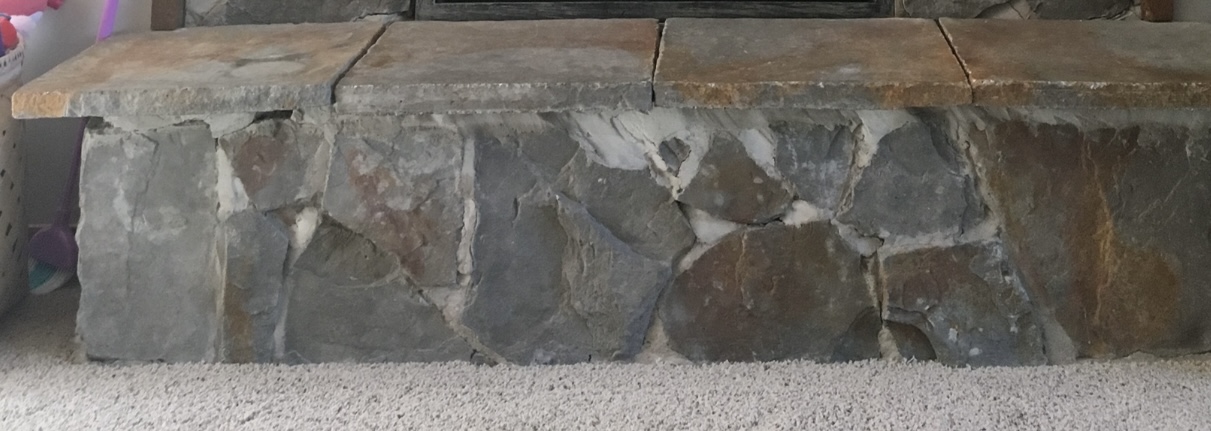


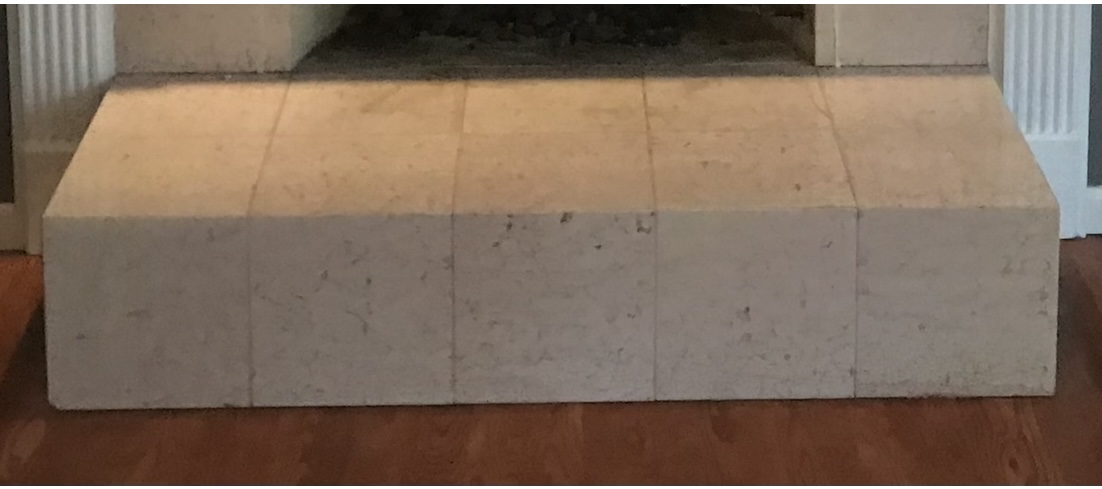

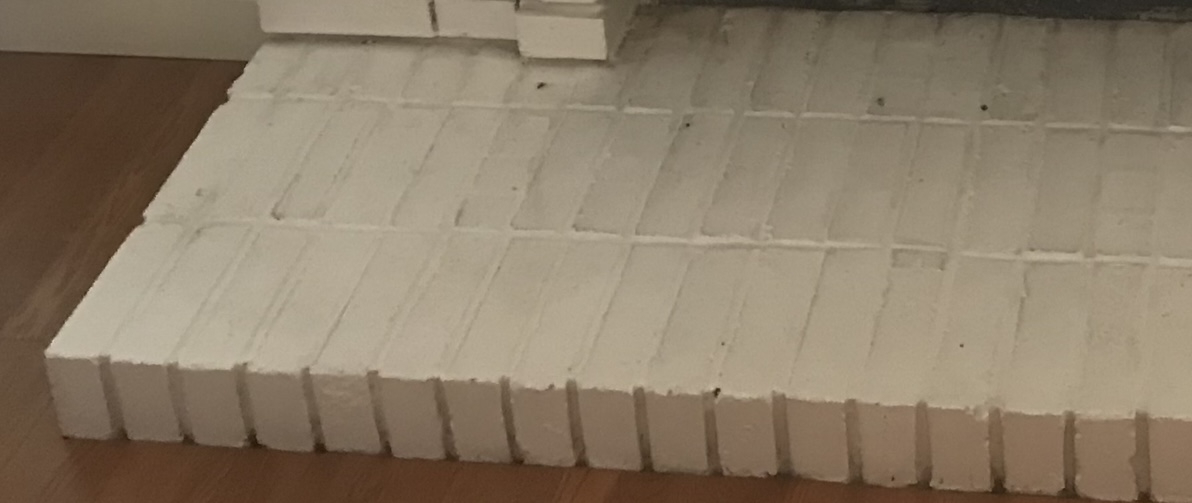


put your trust in us
What can be done with overmantels?
An “overmantel” is typically an architectural feature that is attached to the wall, rather than hung on the wall. So, while a picture or a mirror might be hung above a mantel, those items are MNF not called an overmantel. Often an overmantel is made of wood, either shiplap planks or – in a more rustic presentation – reclaimed boards.
We might stretch the definition of “overmantel “to include a painted finish, so long as the finish (decorative paint, burnished plaster or even plain paint) creates contrast with the rest of the walls in the room.
overmantels
Below are examples. Originally, all of these had plaster or drywall above the mantel.
Decorative paint effect over a mantel
Polished plaster, surrounding a mantel
Coarse textured plaster above and below the mantel
Stone tile above and below a mantel
NOTE: Both of the fireplaces immediately above are included here because, originally, the fireplace stopped at the mantel. There was nothing decorative above it.
Sometimes an overmantel includes molding made of wood or plaster. It typically relates to the mantel in color or form
a recessed area above a mantel received a decorative plaster finish
we take care of every detail
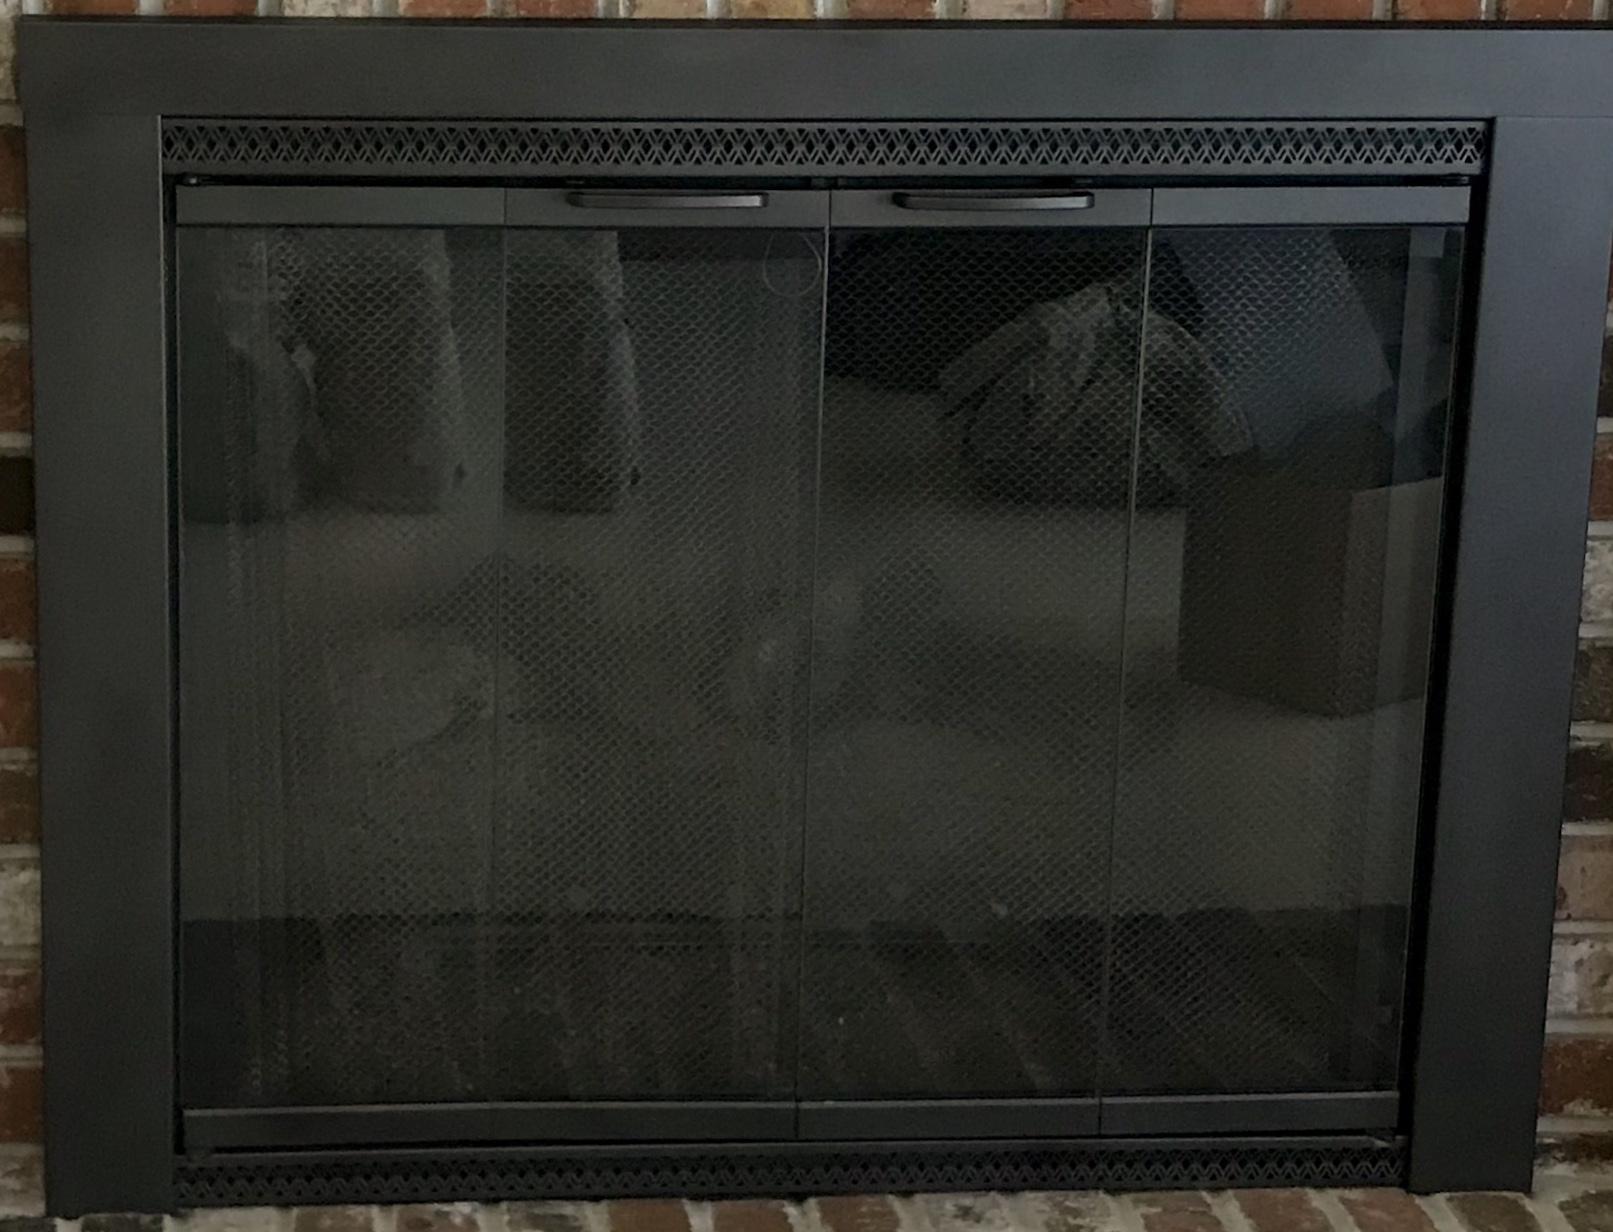
What can be done with doors?
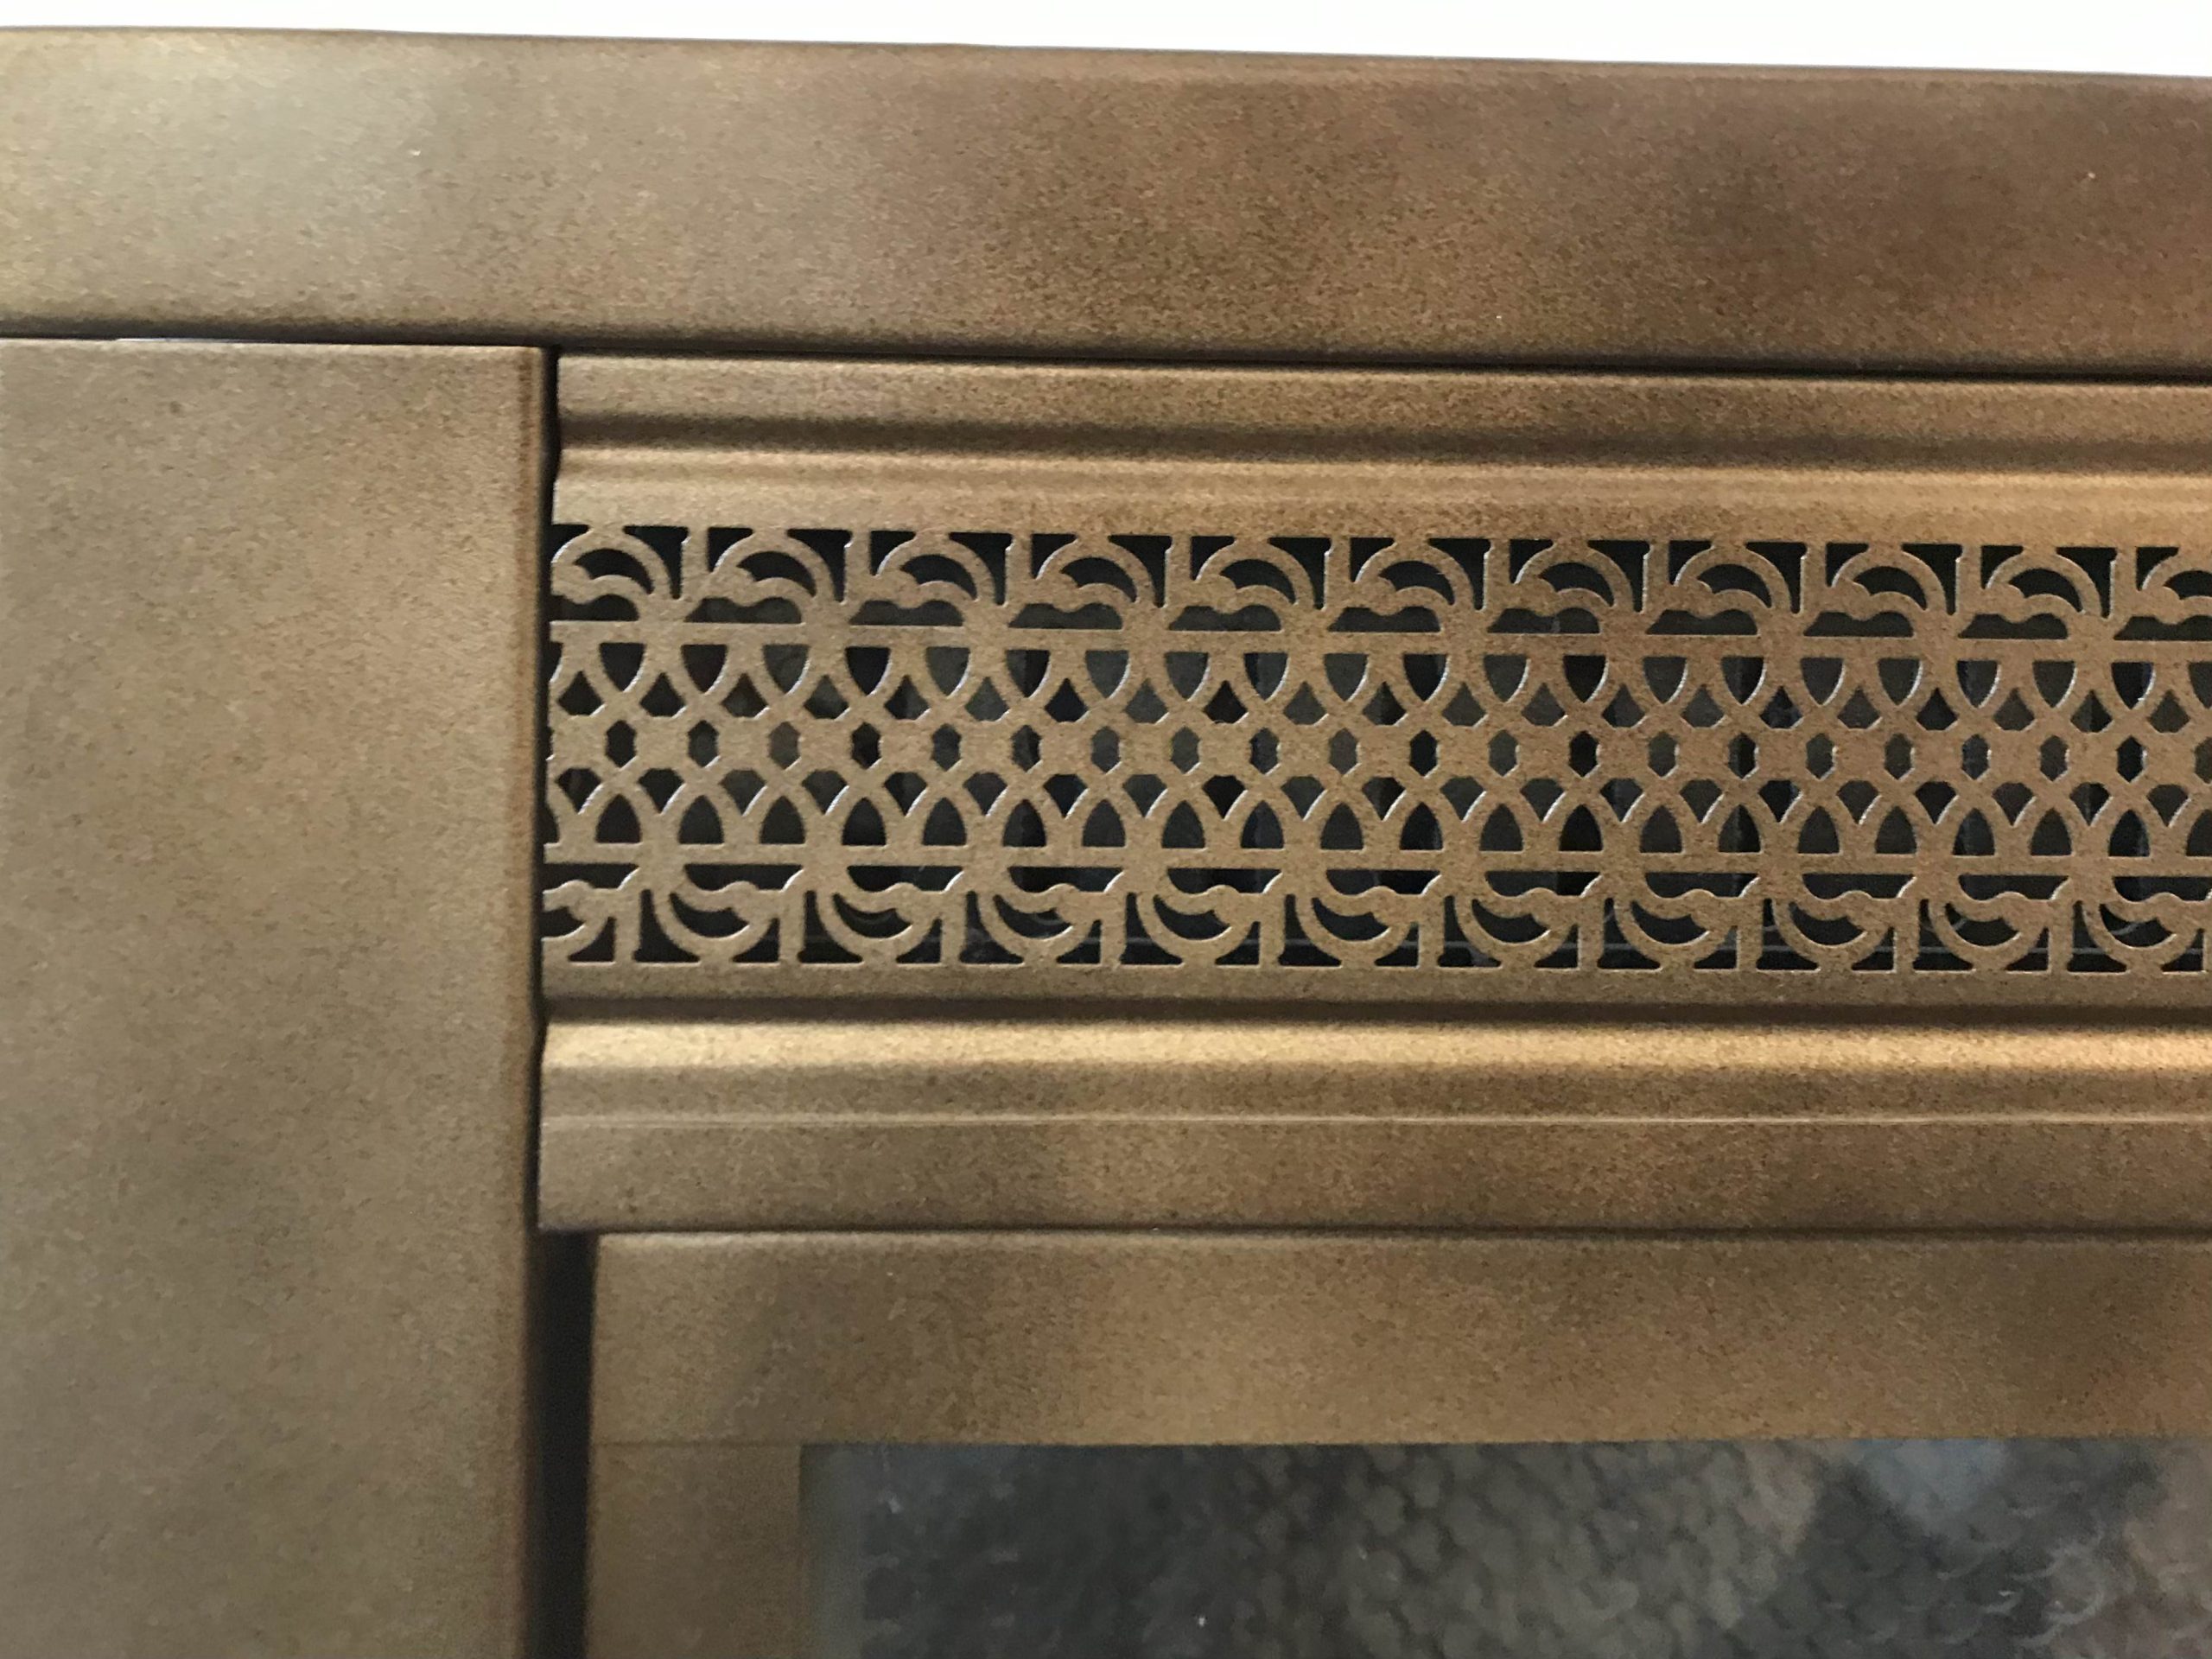
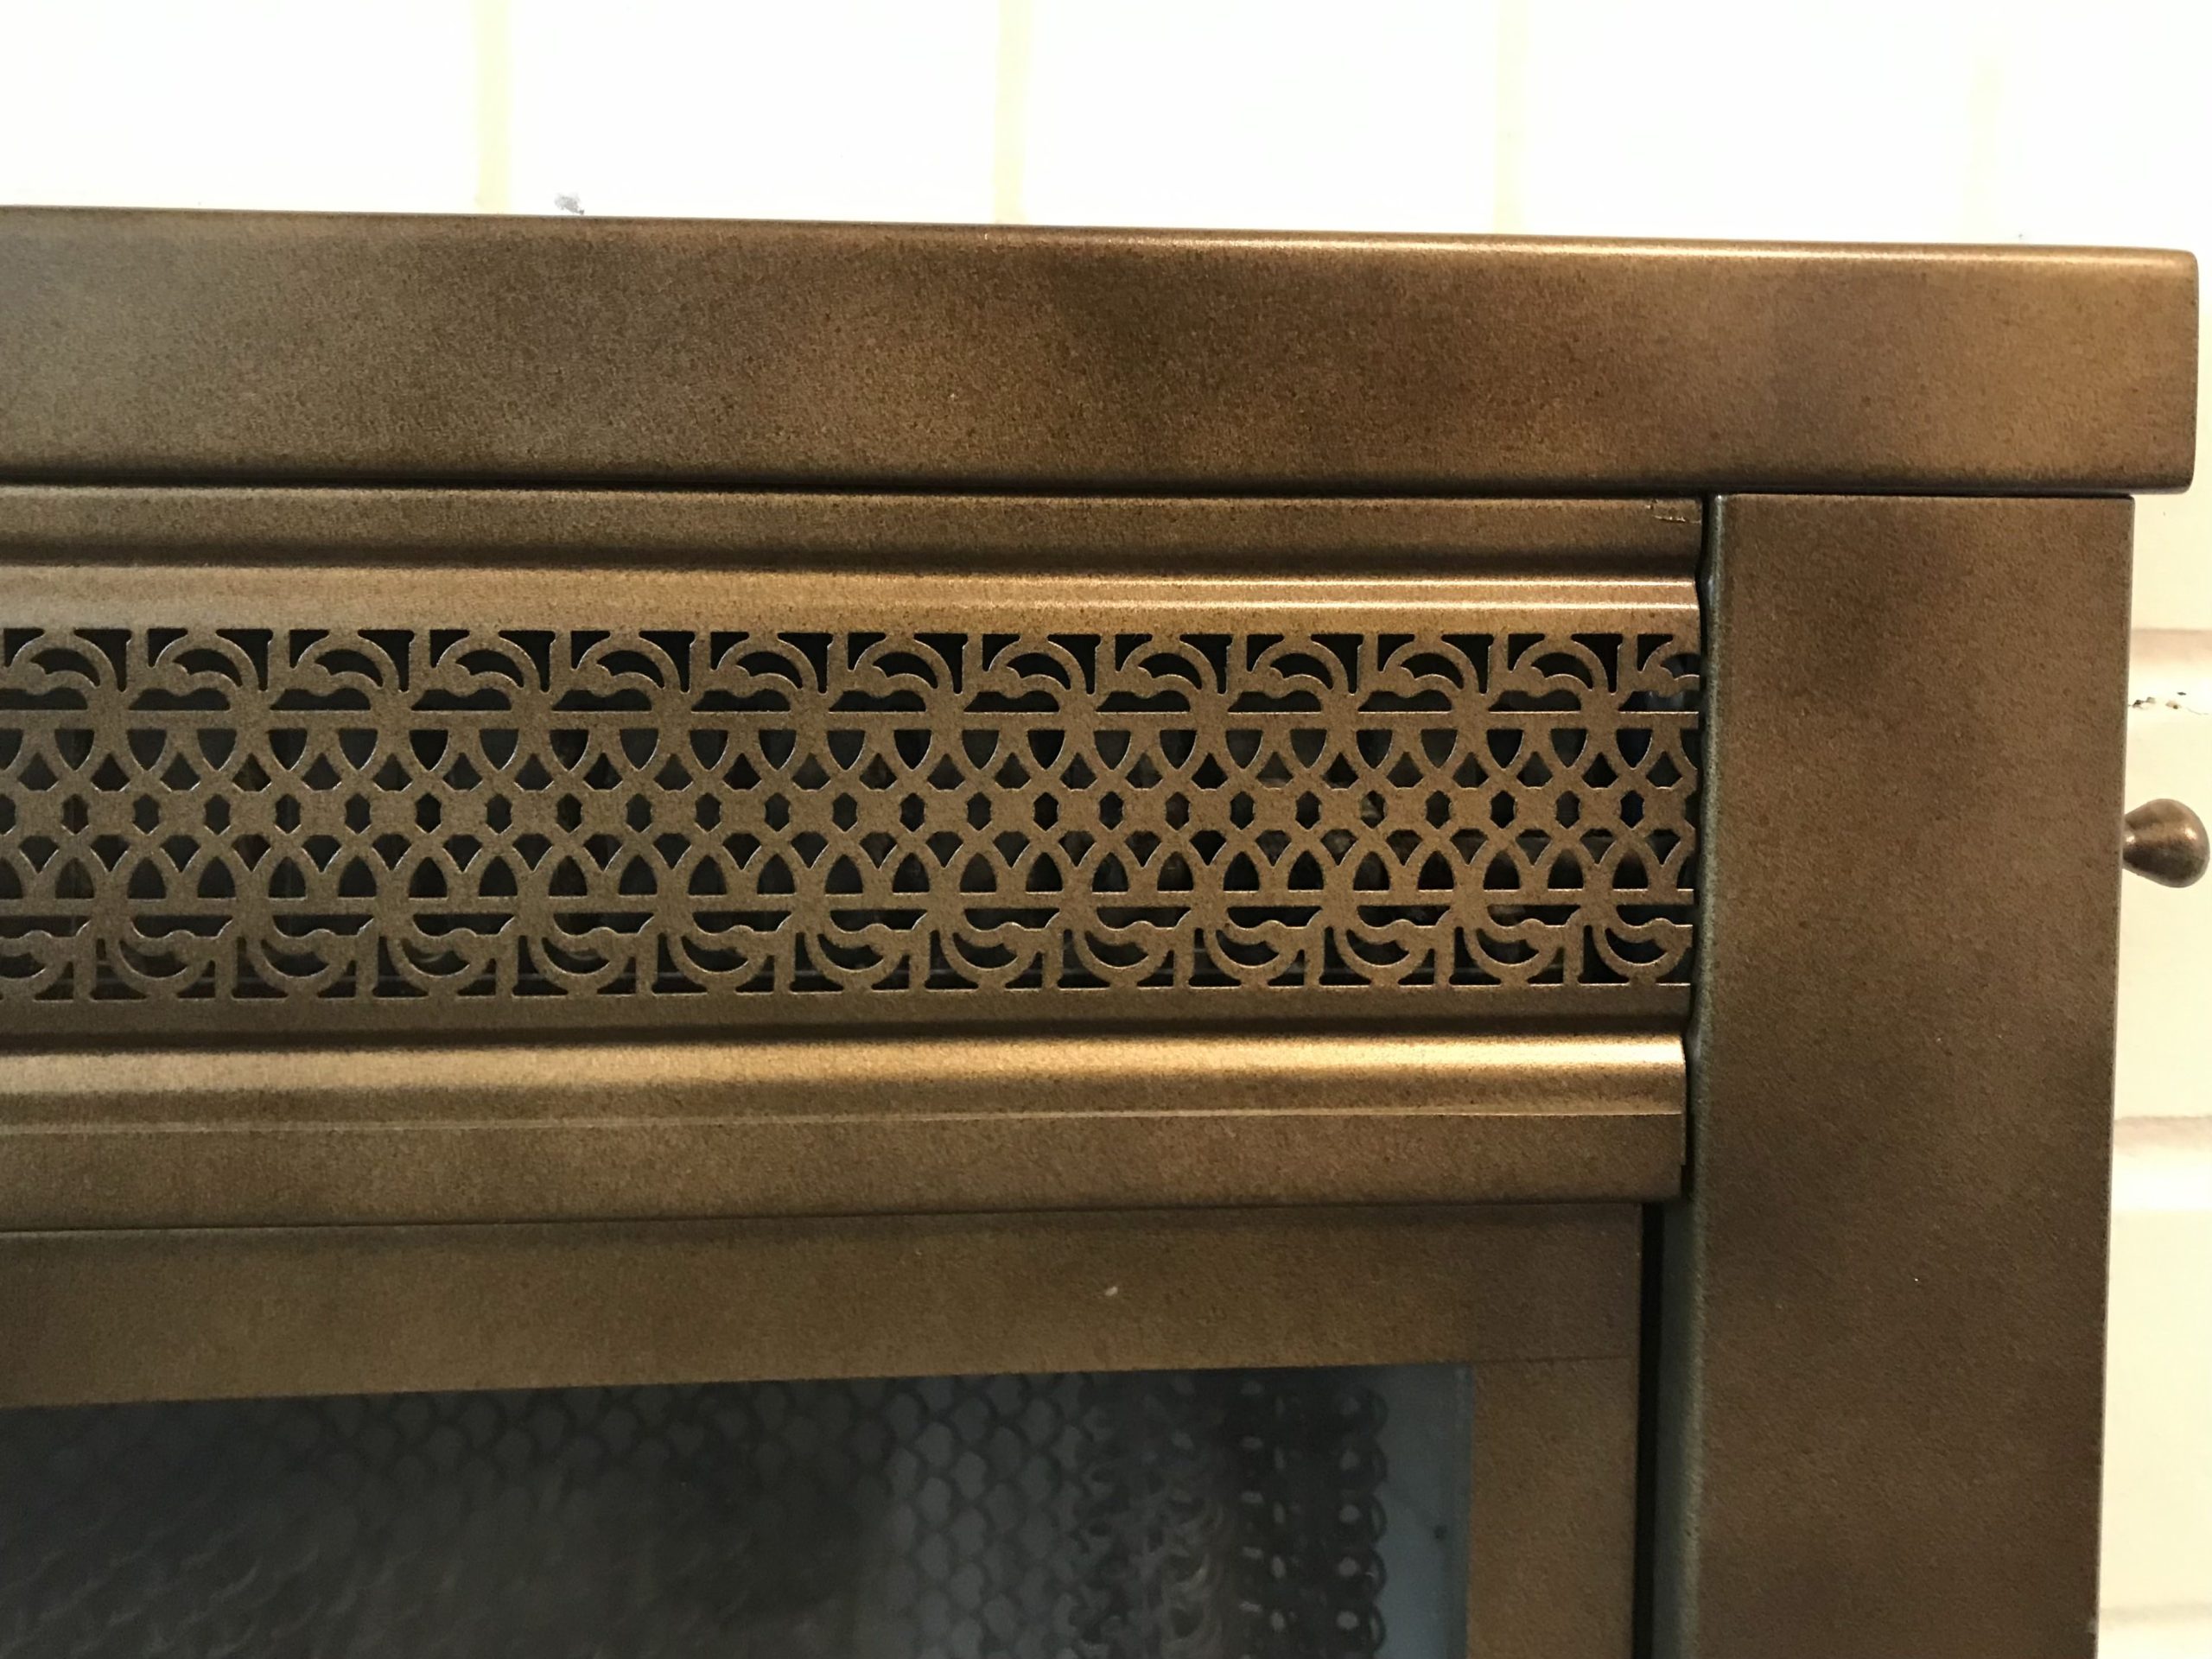
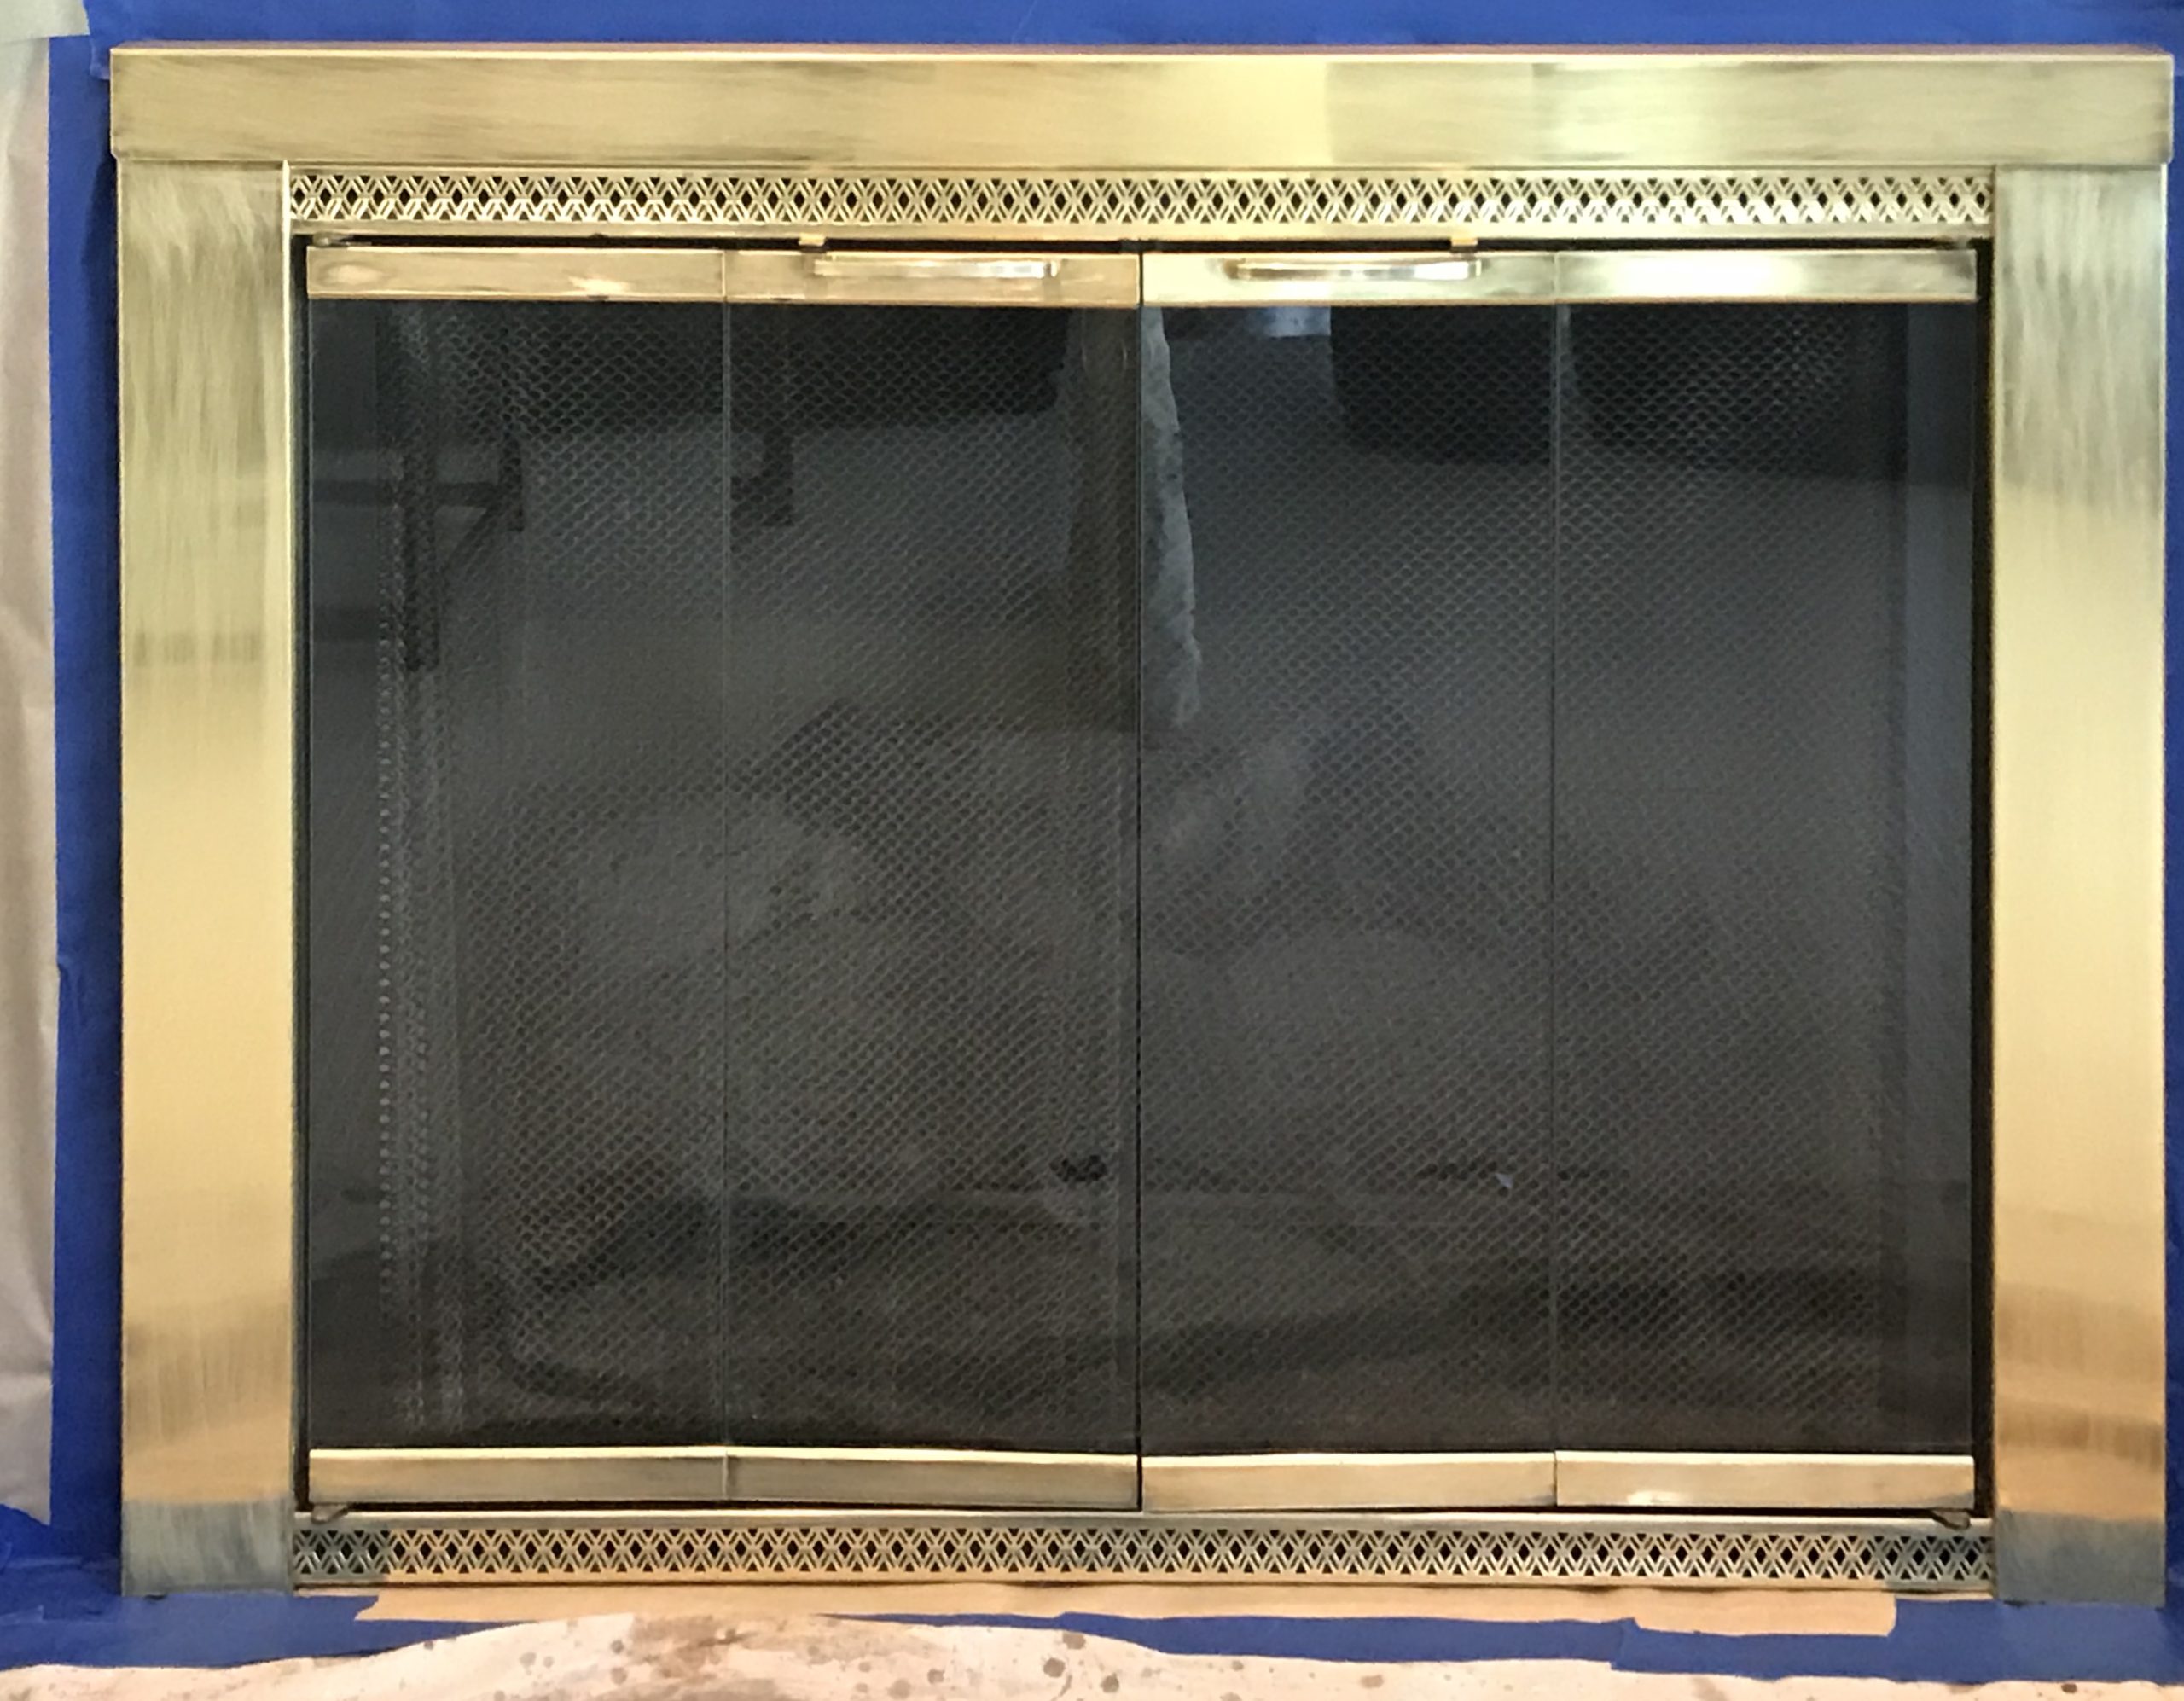
Bright brass doors have fallen out of favor with some homeowners. Fortunately, these can be painted with spray paints which are heat resistant. First, the surface should be sanded with very fine sandpaper. Wipe off the Sanding dust that remains. Next, mask off all areas that are not to receive paint.
Finally, I recommend using two different – but related – colors of paint. Deftly spray in such a way that neither color predominates and both blend into one another. This approach helps to keep the surface from looking painted.
One exception to the above rule of using more than one color is when darkening the brass to have a black finish. In this project, the bright brass was sanded with very fine sandpaper and then cleaned and masked.
Satin black high heat paint can either be sprayed onto the surface or applied by brush. Brushing yields a thicker coat but might leave brushstrokes.
color change


if you want it we will make it
Next Steps
- If you’ve looked through this site and have begun to put together a plan for the changes you want, you might like to use this checklist for your next steps:
- Research the products that you might use; stains, paints, engineered cements, stone tile or stone veneer, new doors, tile, etc. Also research where to access the products.
- Choose the colors and materials you’ll employ.
- Whether or not you’ll use the services of a contractor, it may be helpful to write out the scope of work. It may aid in communication with the contractor and also may help you to plan the sequence of work; what will come first?
- Some phases of the work might require an artisan that has skill in color matching or in the creation of texture. Perhaps you can find such an artisan in the “Find a Pro” section of DecorativeArtisans.org
- If you’re in the St. Louis, MO area, The Color Craftsmen are available to help with your project.

